Category Archives: projects

Maintaining an AutoProp Propellor

This post is a bit more technical and more for other sailors interested in propellers. Hopefully it may come in handy someday for those with AutoProps, because there isn’t a whole lot of community info on them that I could find.

We have an AutoProp propeller on our boat. It’s like a MaxProp, which is also a feathering propeller, except that the AutoProp is also dynamically pitching – instead of a fixed, preset pitch, it changes its pitch to match operating conditions.

It’s really a very clever piece of engineering – dynamic pitch means that in theory it’s always at the optimal pitch for our speed and engine power. This mainly applies when motor-sailing (which is pretty common in the Northwest) – our sails can contribute some speed while the AutoProp contributes some as well, but allows our engine to work less hard – meaning lower engine RPMs, saving on fuel but getting the same power as a higher RPM.

Continue reading

This Year’s Haul-out: Bottom Paint, Thruhulls, and Prop Work

As I set the sails in Elliott Bay under blue skies with a perfect 8-10 knot breeze at my back, it was hard not to feel overwhelmed with joy at the successful completion of our haul-out. In five days we (myself + the yard) had gotten a ton done, nothing had gone wrong, and the haul-out was completed on schedule. Amazing. And no leaks!

It felt really good to have the boat back in her natural element, and as we glided smoothly along I noted it felt faster than before – probably thanks to the freshly painted bottom and prop, but more testing is needed to say for sure.

If you’ve ever done boatyard work, you know that haul-outs are stressful times. In a short period of time we take the boat out of water, do some of the most critical projects of the year and also incur our biggest expenses of the year (in one week, a haul-out doubles our yearly maintenance cost). It’s easy to see why some people avoid / postpone them as long as possible. But we want to get the boat into prime cruising condition, and delaying bottom paint any longer wouldn’t have been good.

Continue reading

Oops, We Bought a Project Boat!

It’s winter, and for us that means it’s project season. Nearing 3 years of too many projects to count (but also a lot of sailing), I’ve been asking myself – did we actually end up with a project boat? While shopping for a boat, the one thing I was sure of was we didn’t want a project boat!

I had heard of people buying project boats and spending years working on them without sailing. I have a lot of admiration for people who do that, but for us sailing and cruising was always the number 1 goal. If a project boat meant we couldn’t cruise, we’d be better off continuing to charter and sail in clubs.

I’ve written before that eventually I realized all boats are project boats (“What Exactly is a Project Boat Anyway?“). And even though living aboard has made it easier to work on projects, the project list hasn’t gotten any shorter. For every project finished, we discover one or two new ones.

[Note: I’ve added a Projects page to the site, listing most of the major and minor projects completed]

Haul-out in June 2015

Another reason I didn’t want a project boat was I understood that boats are expensive but not in the initial purchase cost – an old boat is only as much as two new cars, which many middle-class families have (and if you told them two cars are a luxury rather than a necessity, they would probably disagree). The real budget killer is in the carrying costs – yearly moorage and maintenance.

Continue reading

The Joy of Easy Projects on a Boat

Sailboat maintenance and refitting often involves many difficult, frustrating jobs – diesel engine work, rigging, fiberglassing, boatyard work. So it’s really nice to have some easy, fun ones mixed in sometimes. If you only did hard projects all the time, you’d probably burn out.

Easy projects are short, cheap and rewarding because they quickly make some small improvement to your life. They’re simple enough that unlike most boat projects, there aren’t 10 different things that can go wrong.

Ice Box LED Light

The first one, which I should’ve done a long time ago, is add a light to our fridge / ice box.

You see, our ice box is a great, giant, cavernous hole in which my beers sit at the bottom in the dark. So last summer when I wanted to find a beer, I’d often have to grab my headlamp or handy pocket flashlight. As everyone knows, beer is important to sailors. And often when cruising BC, we had a variety of types to try (Lighthouse IPA, Red Racer, Russell Brewing’s mixer pack, etc), so I couldn’t just grab any blindly.

Finally I realized a cheap solution to this inconvenience: motion activated LED light bars which you can find on Amazon for about $10! And this one came with a 3M adhesive strip on the back, so all I had to do was stick it on a surface inside the icebox.

Continue reading

Harnessing the Sun: Solar Power on a Sailboat

Adding solar power to Violet Hour is something we’ve been meaning to do since returning from our cruise last summer and having trouble keeping our batteries charged because we weren’t motoring enough. Most sailboats in the PNW do a lot of motoring, which allows their engine’s alternator considerable time to charge up the batteries. We prefer to sail, and were sometimes getting less than 15 minutes of alternator time per day.  

Surprisingly, it’s common to hear sailors say they were “motoring to charge up the batteries.” This is apparently one explanation for SMDs (sailboat motoring downwind). This seems incredibly silly to me, and is something I’ve always vowed to never have to say. Burning diesel to convert it into electricity while pushing an 18,000 pound boat through the water is terribly inefficient. As a believer in Muscles Over Motors, motoring your sailboat around just to run your fridge seems downright sad.

Solar panels will allow us to sail more while still keeping the fridge cold enough to not need to buy bags of ice or allow premature spoilage.  It may also allow us to anchor out more since we’ll no longer have to visit a marina once a week to top up batteries (although we may still visit marinas to make groceries + laundry easier).

GoPower solar panels mid-installation

Cost

Solar has come down in cost a lot in the last 20 or so years. A 200 watt system is only about $1000 ($1400 minus the 30% solar tax credit*), if you can install it yourself.  In other words, enough energy to power a fridge for 5 years with zero pollution costs less than half what the average American spends on gasoline in one year. From this perspective, solar is a no-brainer.

*A quick note on the solar tax credit if you’re not familiar with it: It’s a tax credit to incentivize clean solar energy replacing dirty energy sources. It might start getting phased out in 2020-2022. It can be applied to your second home, which a boat counts as if it has a galley and head. Anyway, our boat is our first (and only) home currently. Also, a tax credit is not like a deduction – credits are for anyone who pays any federal tax at all. (note: I’m not a tax advisor – do your own due diligence of course).

The system may even pay for itself after about 5 years. The electricity cost savings are small, because Washington’s plentiful hydro-electric plants provide cheap energy rates, but all the little savings add up:

  • Reduced electrical consumption at dock while living aboard.
  • Abstaining from shore power hookups in BC marinas once or twice a month ($5-8 per night typically).
  • Skipping 1 or 2 marina visits per summer cruise ($50-60 per visit).

Continue reading

We’re Gonna Need a Bigger Pry Bar

The hardest kind of boat project, in my opinion, is any involving getting stuck things out of the thing they’re stuck in. Seized bolts, corroded screws, prop shaft couplers, etc. You may recall 3 months ago I started the project of rebedding our Navtec U-Bolts that connect the rig to the tie rods and chainplates.

Three months later I had completed 5 out of 6 but still had one stubborn one remaining – the first one I had started on, the last one to finish, and by far the hardest. For whatever reason, the starboard aft U-Bolt was more stuck than all the others. It wouldn’t pull free despite trying all the methods I had used on the others – a 2’ long pry bar, heat, PB Blaster, mineral spirits, BoatLife Release, hammering. I even sailed on it with the nuts slightly loose, and tensioned the shroud to 1500-2000 pounds (this didn’t do anything at all).

IMG_20170517_165925.jpg

Tensioning the U-Bolt with the main halyard while simultaneously prying with the pry bar

Continue reading

Choosing a Non-Skid Paint

Recently we passed the 2 year anniversary of owning our boat – two years since Feb 14 2015. It’s amazing to think how far we’ve come in that time – with many major projects completed (a rerig, rudder removal + steering system repair, rebedding lots of deck hardware, etc), plus two major summer cruises (lower west coast of Vancouver Island, and Seattle to the Broughtons and Back), along with lots of weekend sails in between those.

Somehow that 2 years feels like much longer.

One project we still haven’t completed is redoing the nonskid on the deck. In some areas the old non-skid was literally worn away – it was so smooth behind the helm that when sailing upwind our feet would gradually slide down the floor until we wedged them against something. So before leaving for our 3-month sail last spring, we painted the cockpit with KiwiGrip. That was a great help – but there are still more areas to do.

It would seem that choosing the best non-skid paint would be simple, but it’s not. Any time there are 5 or more product choices available for one purpose in the boating world, it’s a good sign there’s no clear winner. If it were a simple answer with a clearly superior option, there would only be 1 or 2 products, not 5-10.

There were three things we wanted from a non-skid paint:

  • The non-skid part (not slip and slide around on it)
  • Look reasonably nice
  • Not hurt our butts or bare feet when we sit or stand on it.

Continue reading

Rerig Completed! The Ups and Downs of a 3 Month Boat Project

Since I started the rerig planning three months ago, two of the suppliers I considered have gone out of business – Navtec (news broke on SailingAnarchy) and Hall Rigging USA (announced on SailingScuttlebutt), both in Rhode Island. Both still have foreign operations, but shuttered their US operations while I was waiting for our rigging to be produced by BSI. Despite significant delays from BSI, it could’ve been even worse if I had decided to go with Navtec or Hall – I could still be waiting!  

At the same time it’s sad news for their employees and the sailing community, because the US sailing industry has two fewer suppliers now. Navtec’s equipment and inventory is going up for auction (“by order of the secured creditor”), featuring an impressive array of very advanced machinery. Quite sad, but if anyone wanted to pick up where Navtec left off, all the equipment and more is there.

Completing the Rerig – Success!

As we hoisted the sails last Sunday, I quickly scurried about the deck checking the mast – is it leaning to port, to starboard? Is anything about to go horribly wrong?  Amazingly, everything was perfect – my at-dock tune was good enough that no tuning was needed under sail.

As we sailed out of the protection of West Point and Discovery Park into a 20 knot southerly, the boat heeled more and the mast still looked good – no fall off to leeward or bends at the lowers or intermediates. And the mast rake was good (some weather helm but not too much) and forestay tension was good (no sag).

It was a huge relief to have successfully finished a rerig. After nearly two months (plus one month of planning), it felt really good to be out sailing again.

img_20170217_142915

Heading out of the large Locks.

img_20170216_161808

The entire rod rig (not counting D2s which were replaced last year), coiled into a circle weighing about 40 lbs.

Continue reading

Rerig Part 4: Stuck Navtec U-Bolt Chainplates

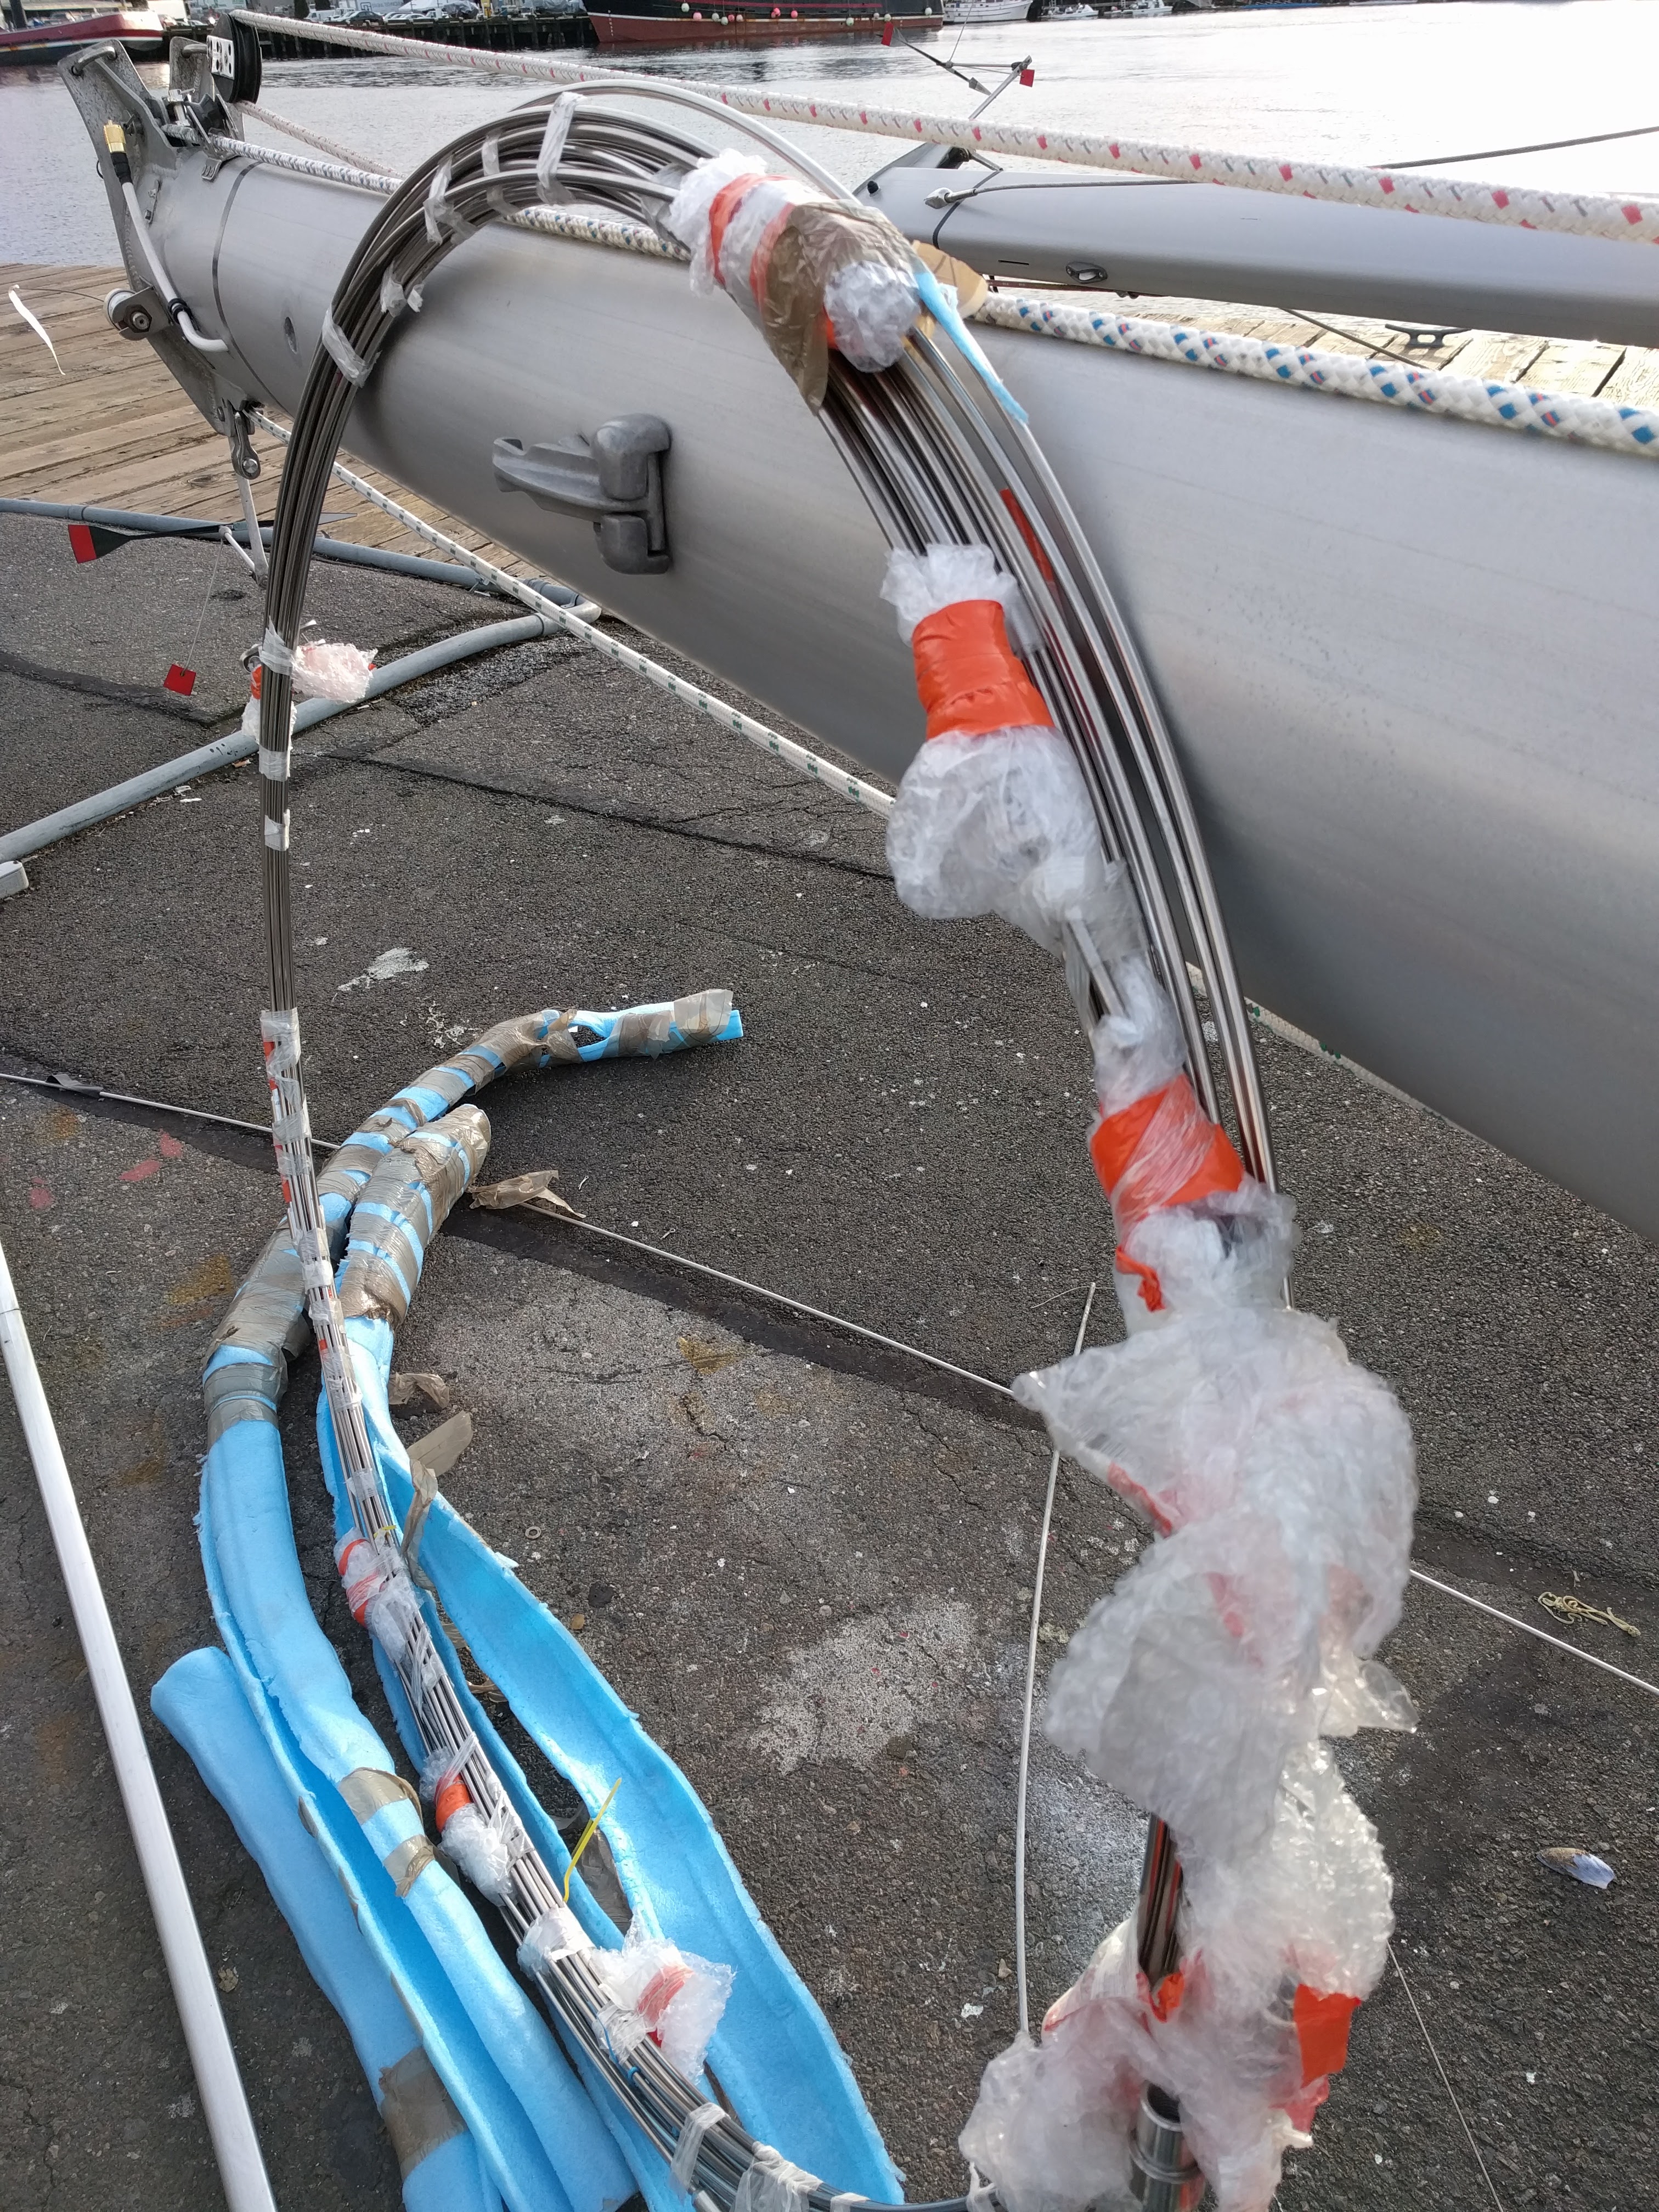
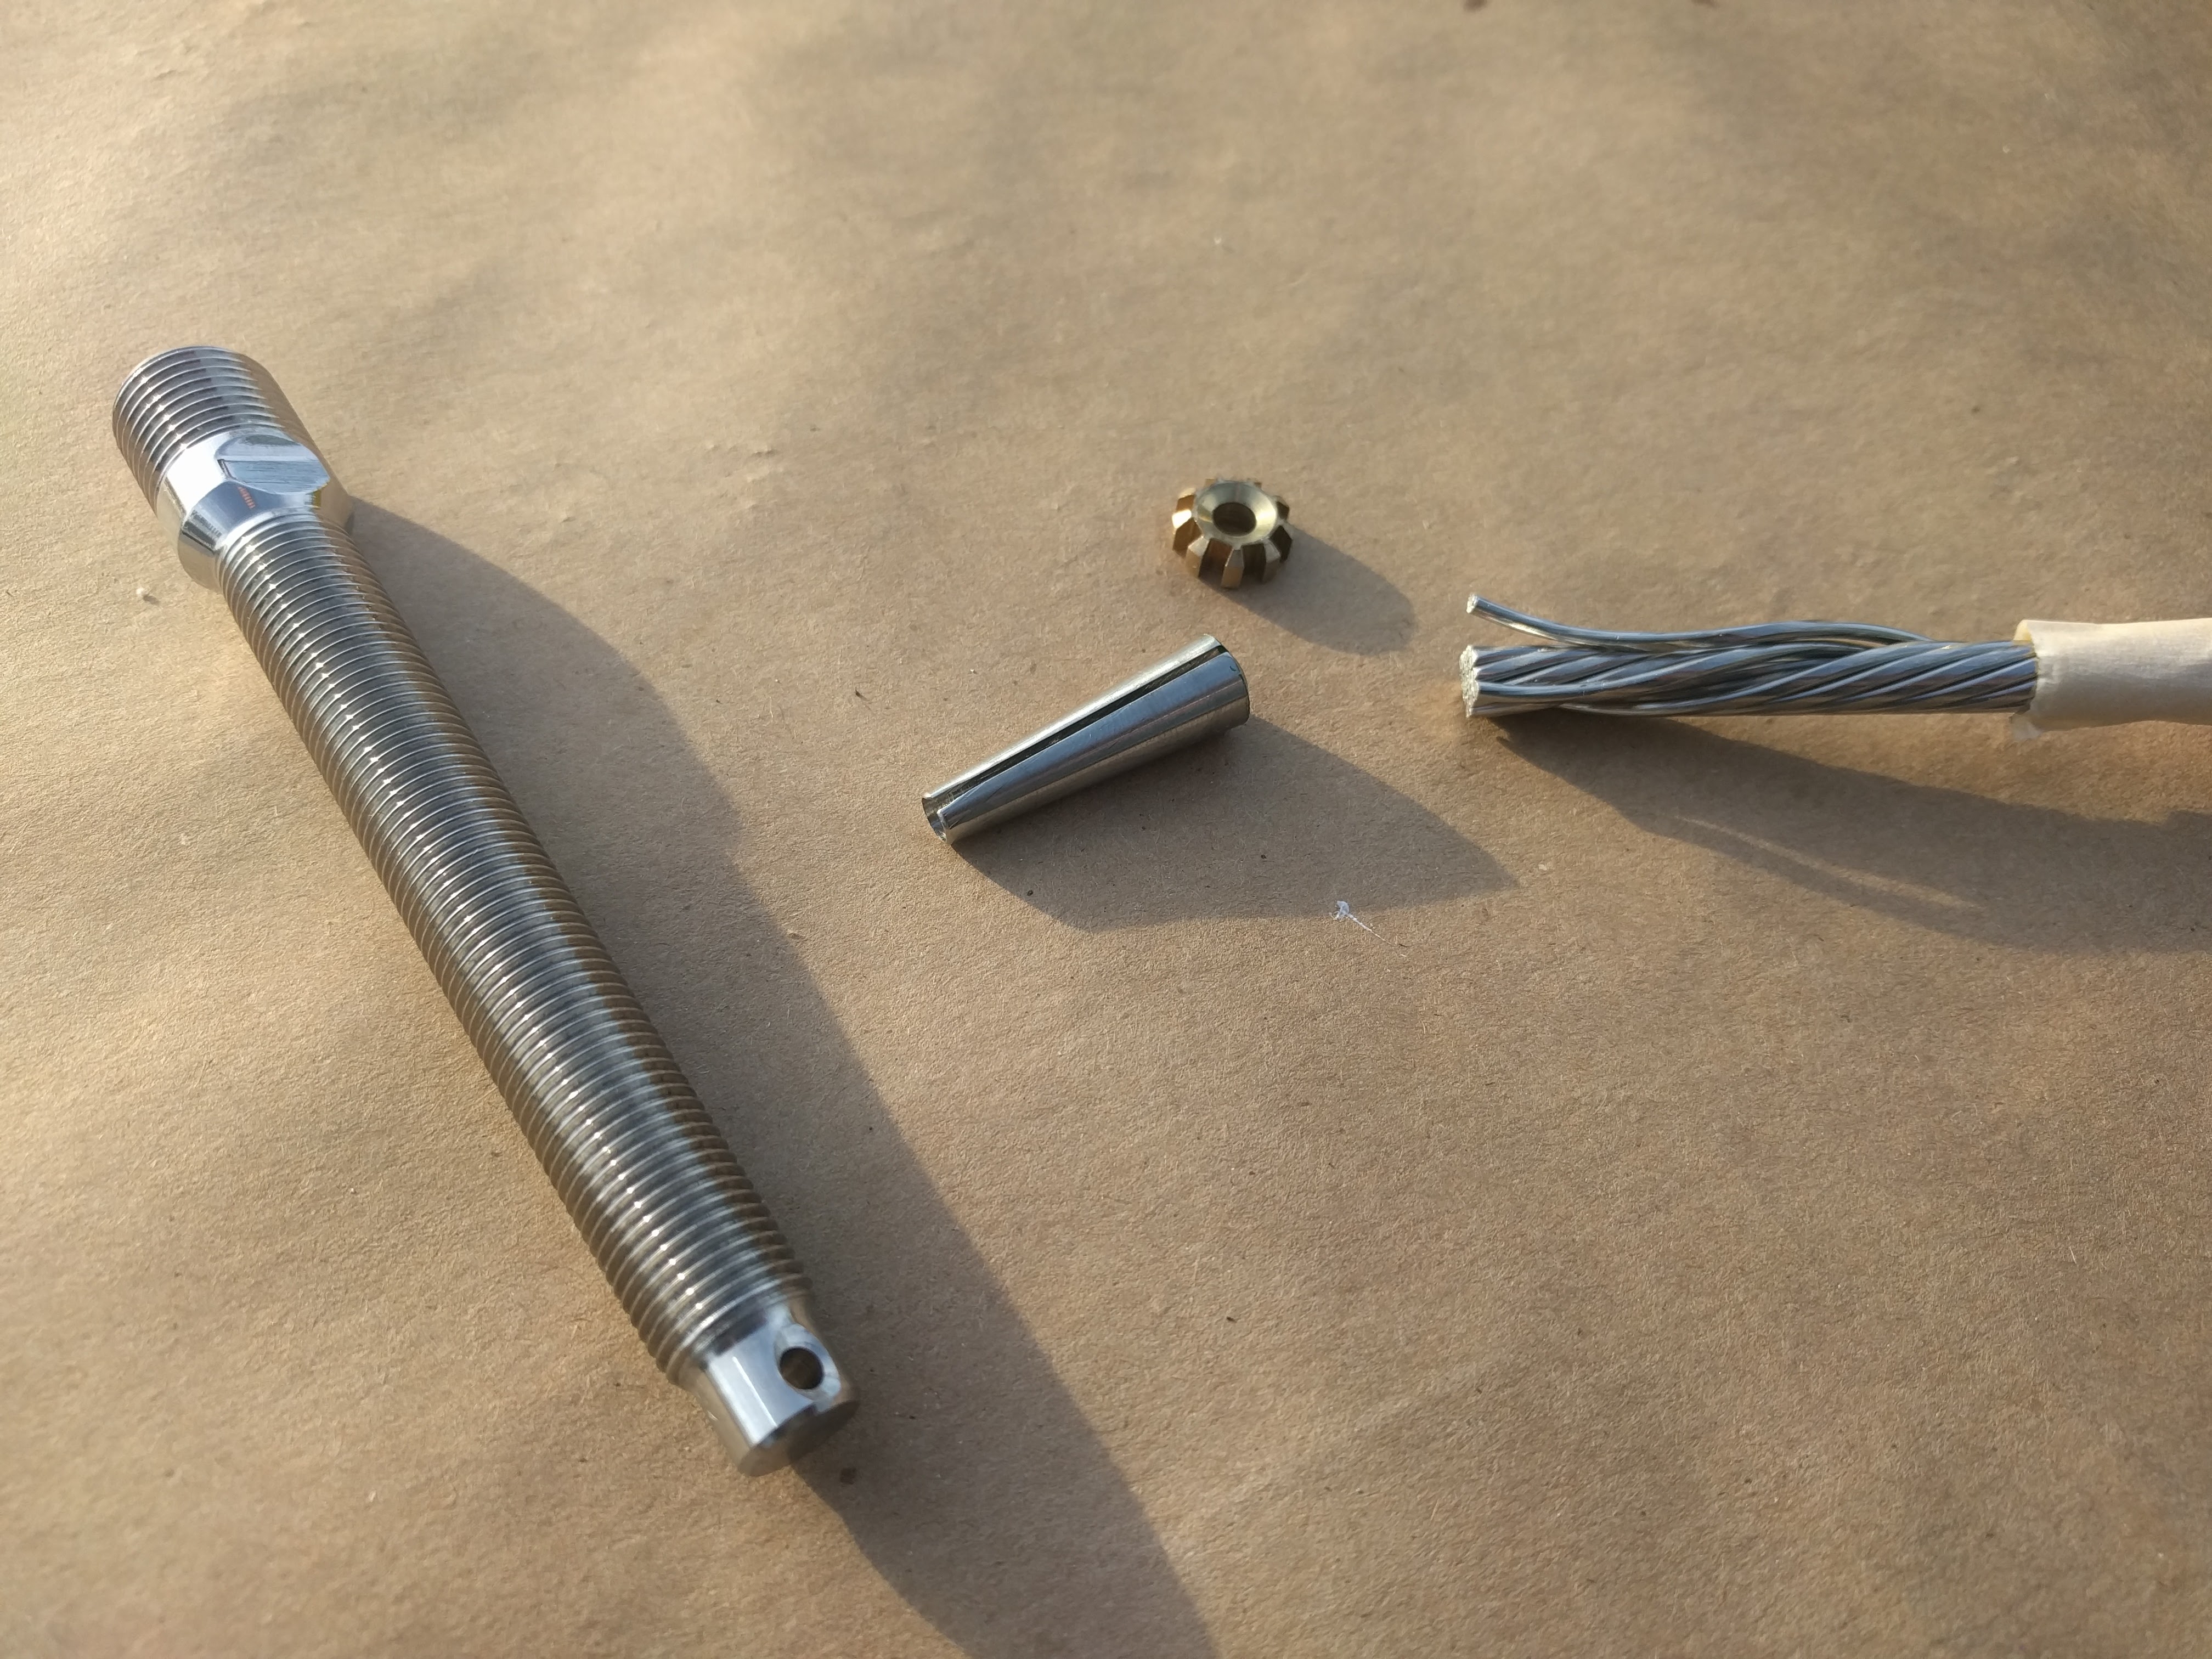
It’s been a long road to finishing our rerig. Going on 5 weeks now with the mast out, I’ve started to get very antsy to go sailing. Being patient is always the hardest part of any project that takes the boat out of commission (ex, haulouts). After 2 weeks, most projects had been finished and it was just a matter of waiting for BSI to produce the rod.

The downside to rod, as mentioned in Part 1, is it generally can’t be made locally / onsite and therefore takes longer to get. That downside is apparent now in the delays with BSI producing the rod – even though we gave them the end fittings order 5 weeks ago, and final measurements 3 weeks ago, they still haven’t started producing the rigging.

In contrast, a couple weeks ago two new Selden masts arrived in the yard for brand new boats going to the Seattle Boat Show, with wire rigging ready to go, and those masts were fully rigged and stepped in a week.

I wouldn’t change my decision to go to rod – it’s worth it for keeping the mast tang system the same – but if we were buying a new boat someday, I would probably try to avoid rod or would consider it negative points for a boat being considered. It’s a wonderful material, but for a cruiser, availability and ease of access are more important.

Navtec U-Bolt Chainplates

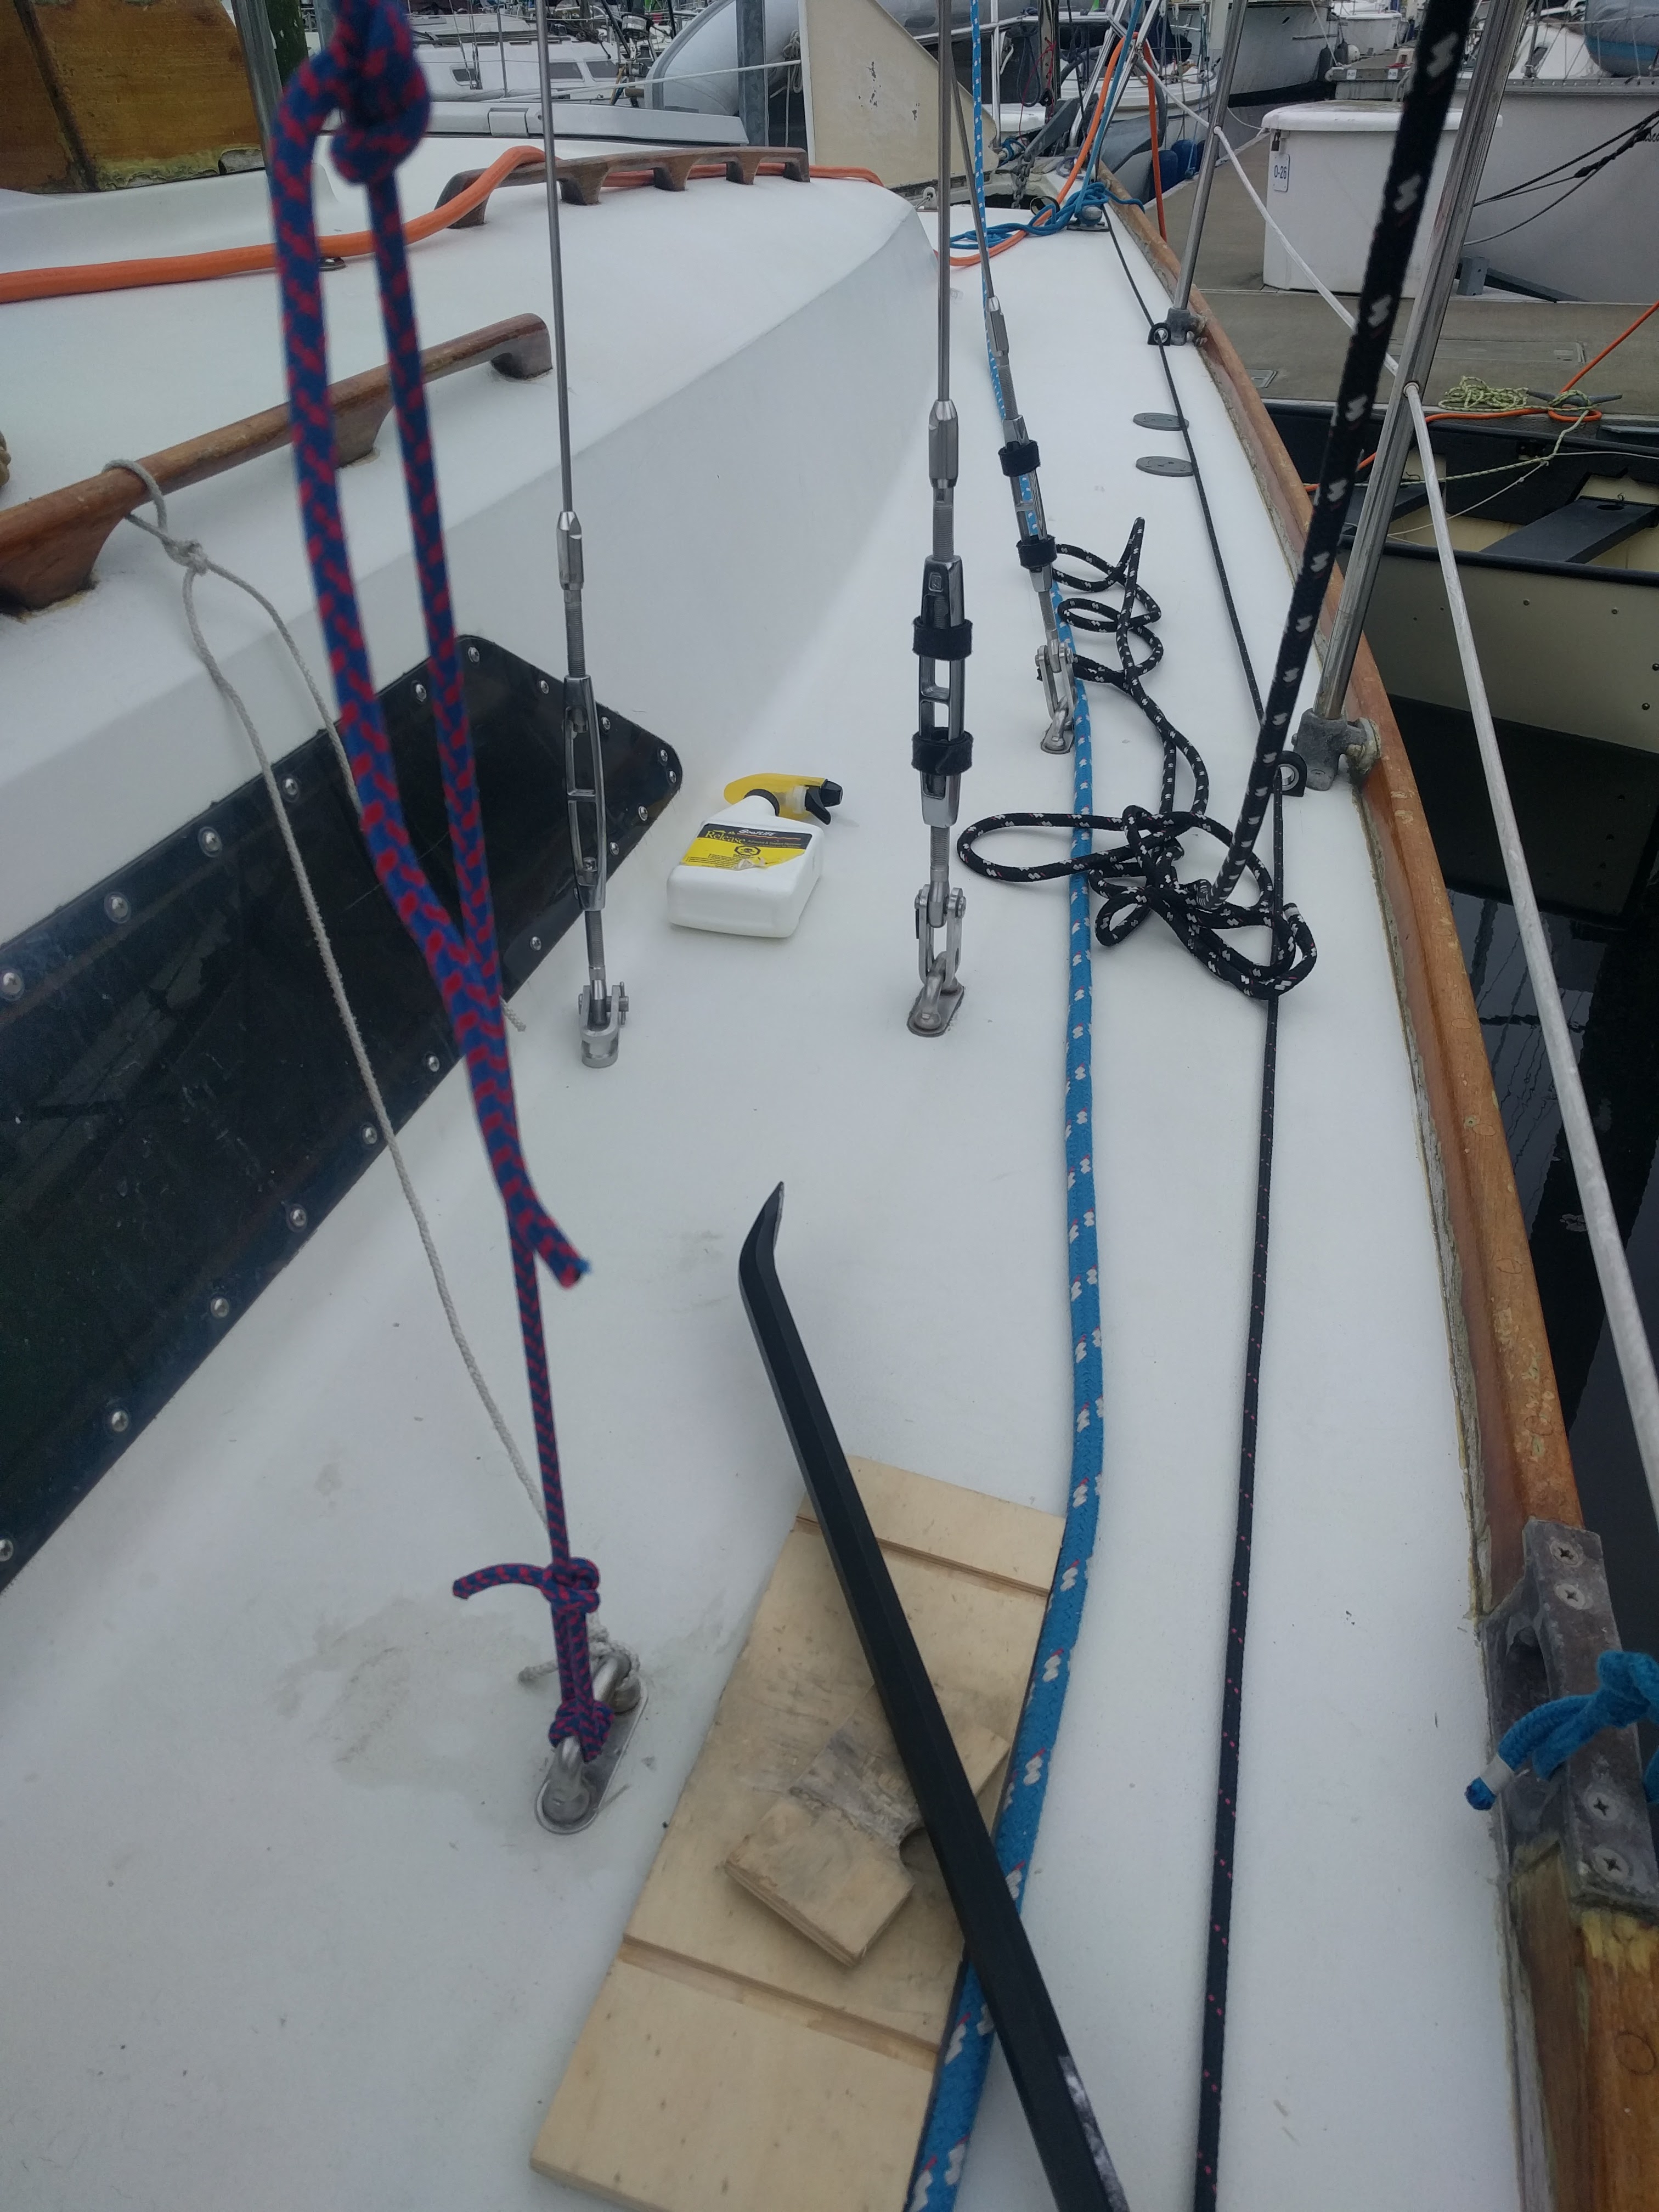
The hardest part of the rerig however (other than the waiting) has definitely been pulling the chainplates for inspection. More specifically, pulling the Navtec U-Bolts above the chainplates.

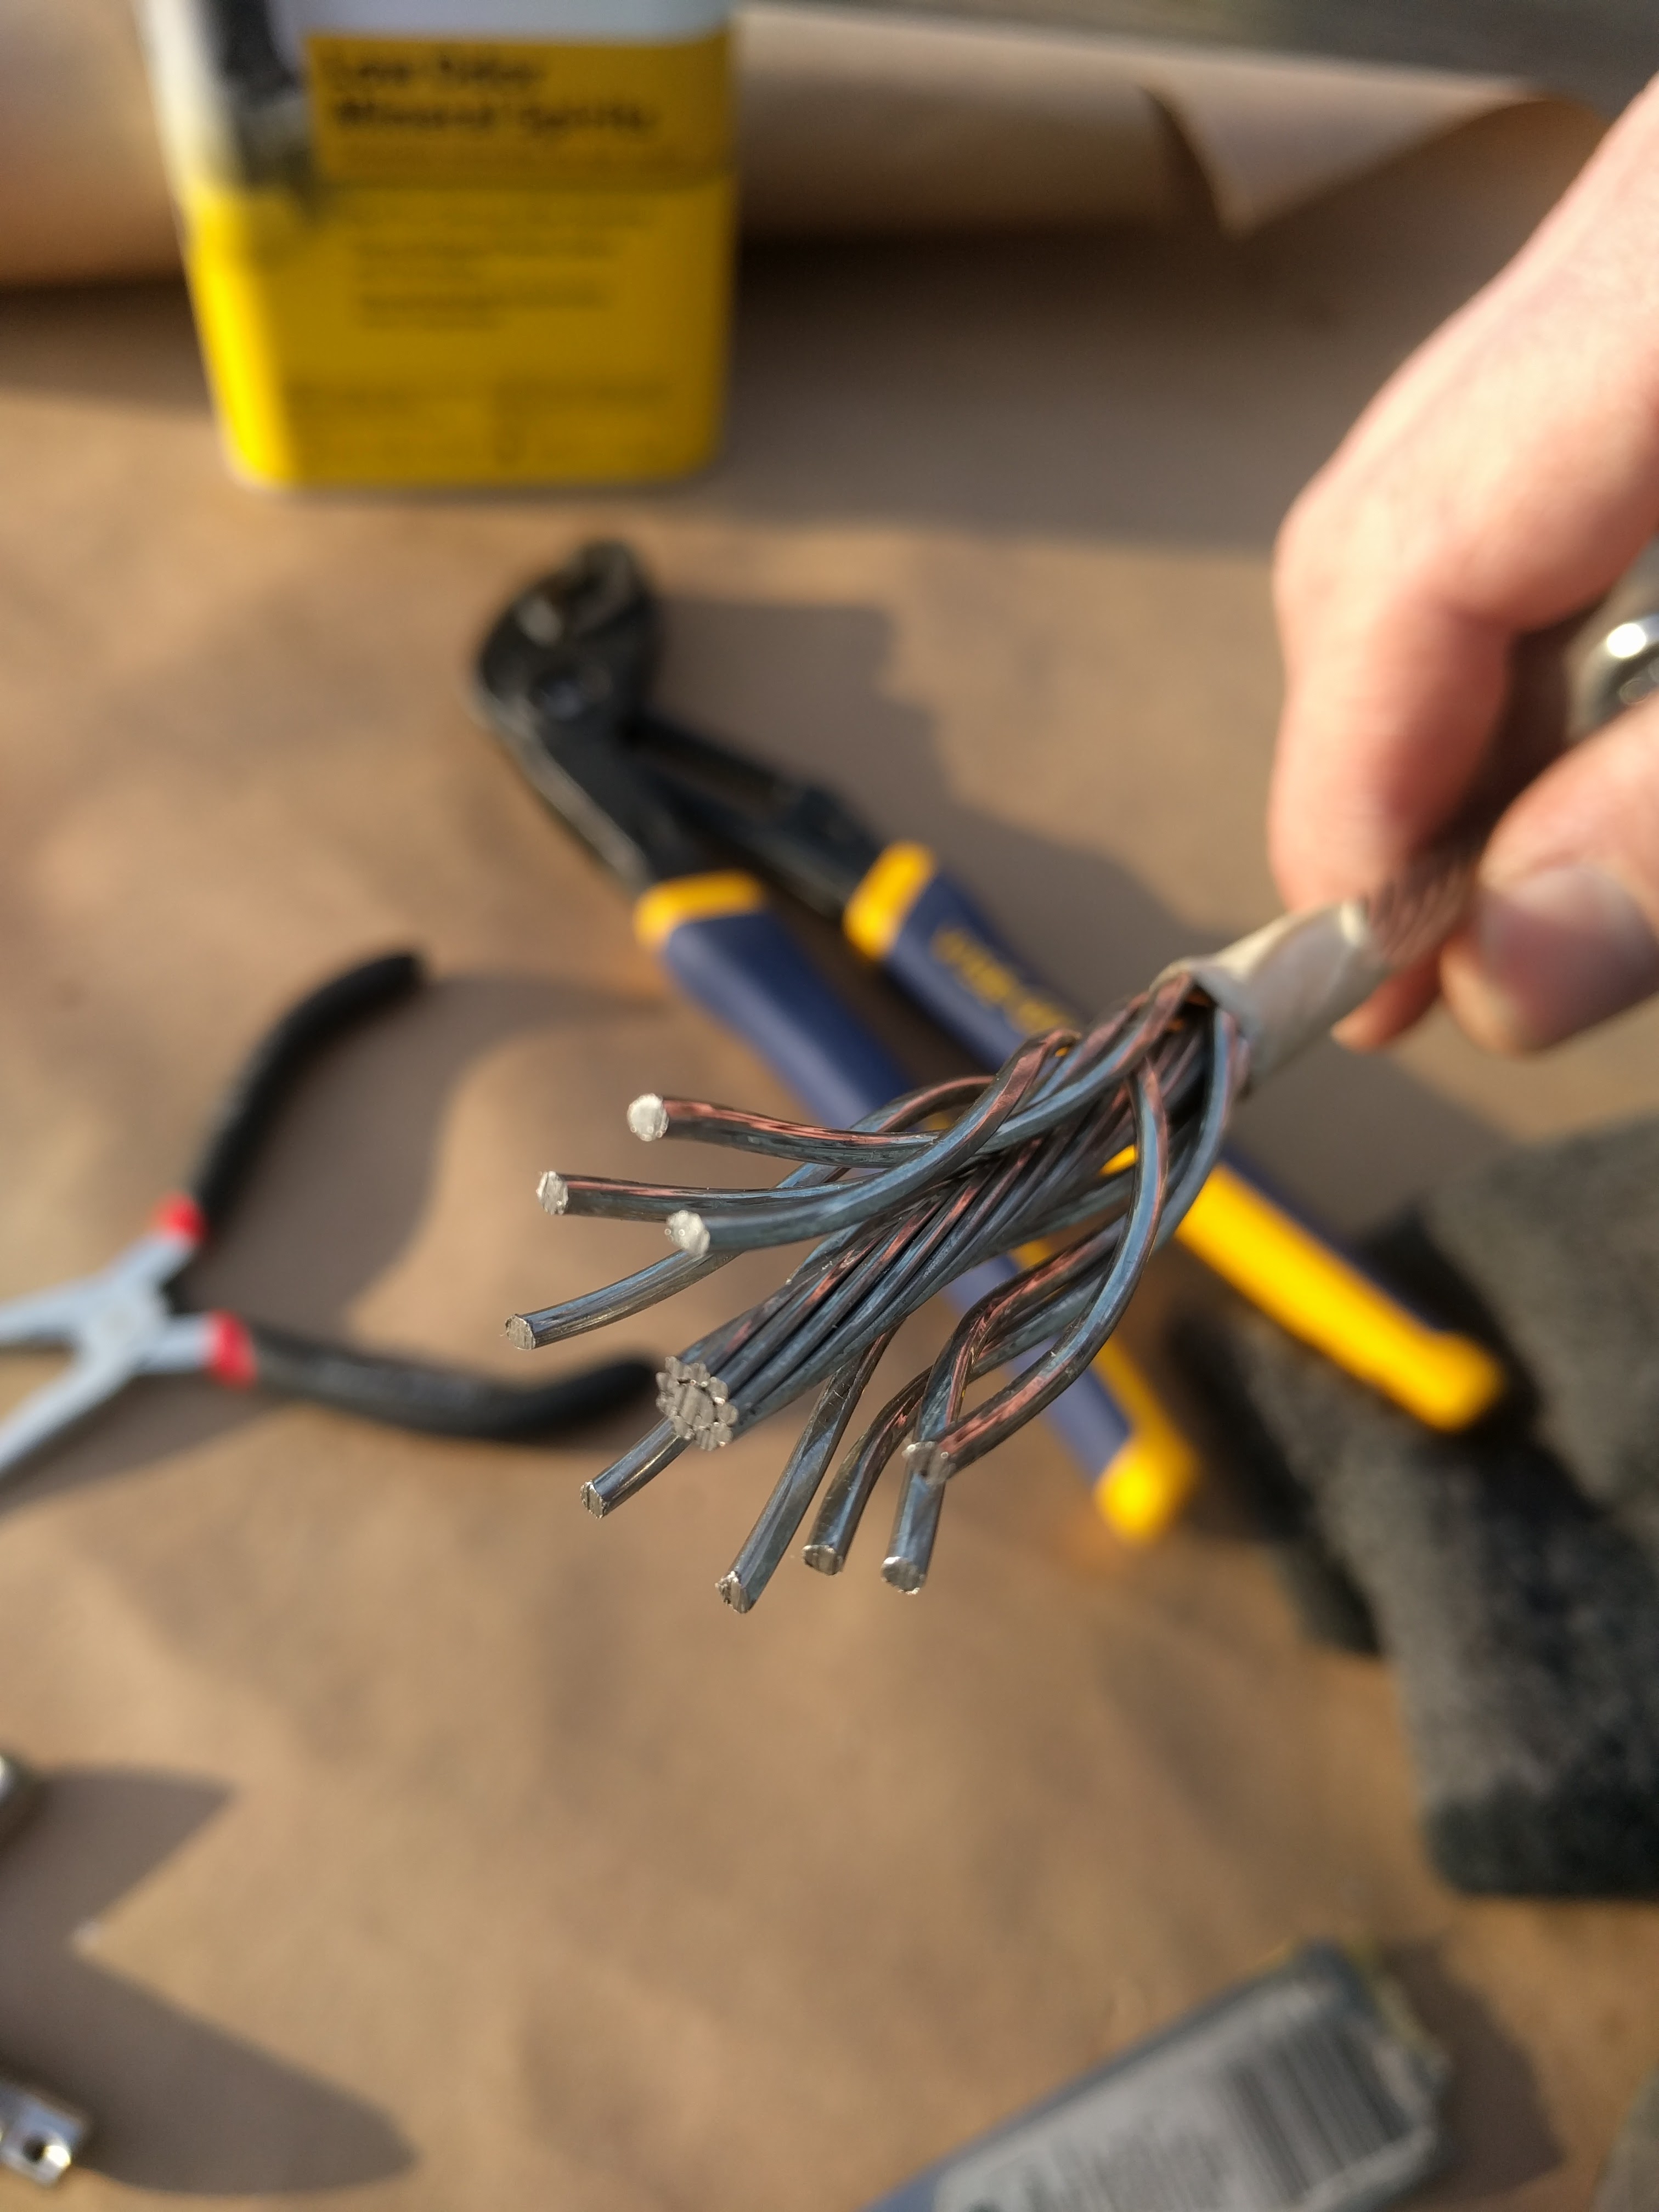
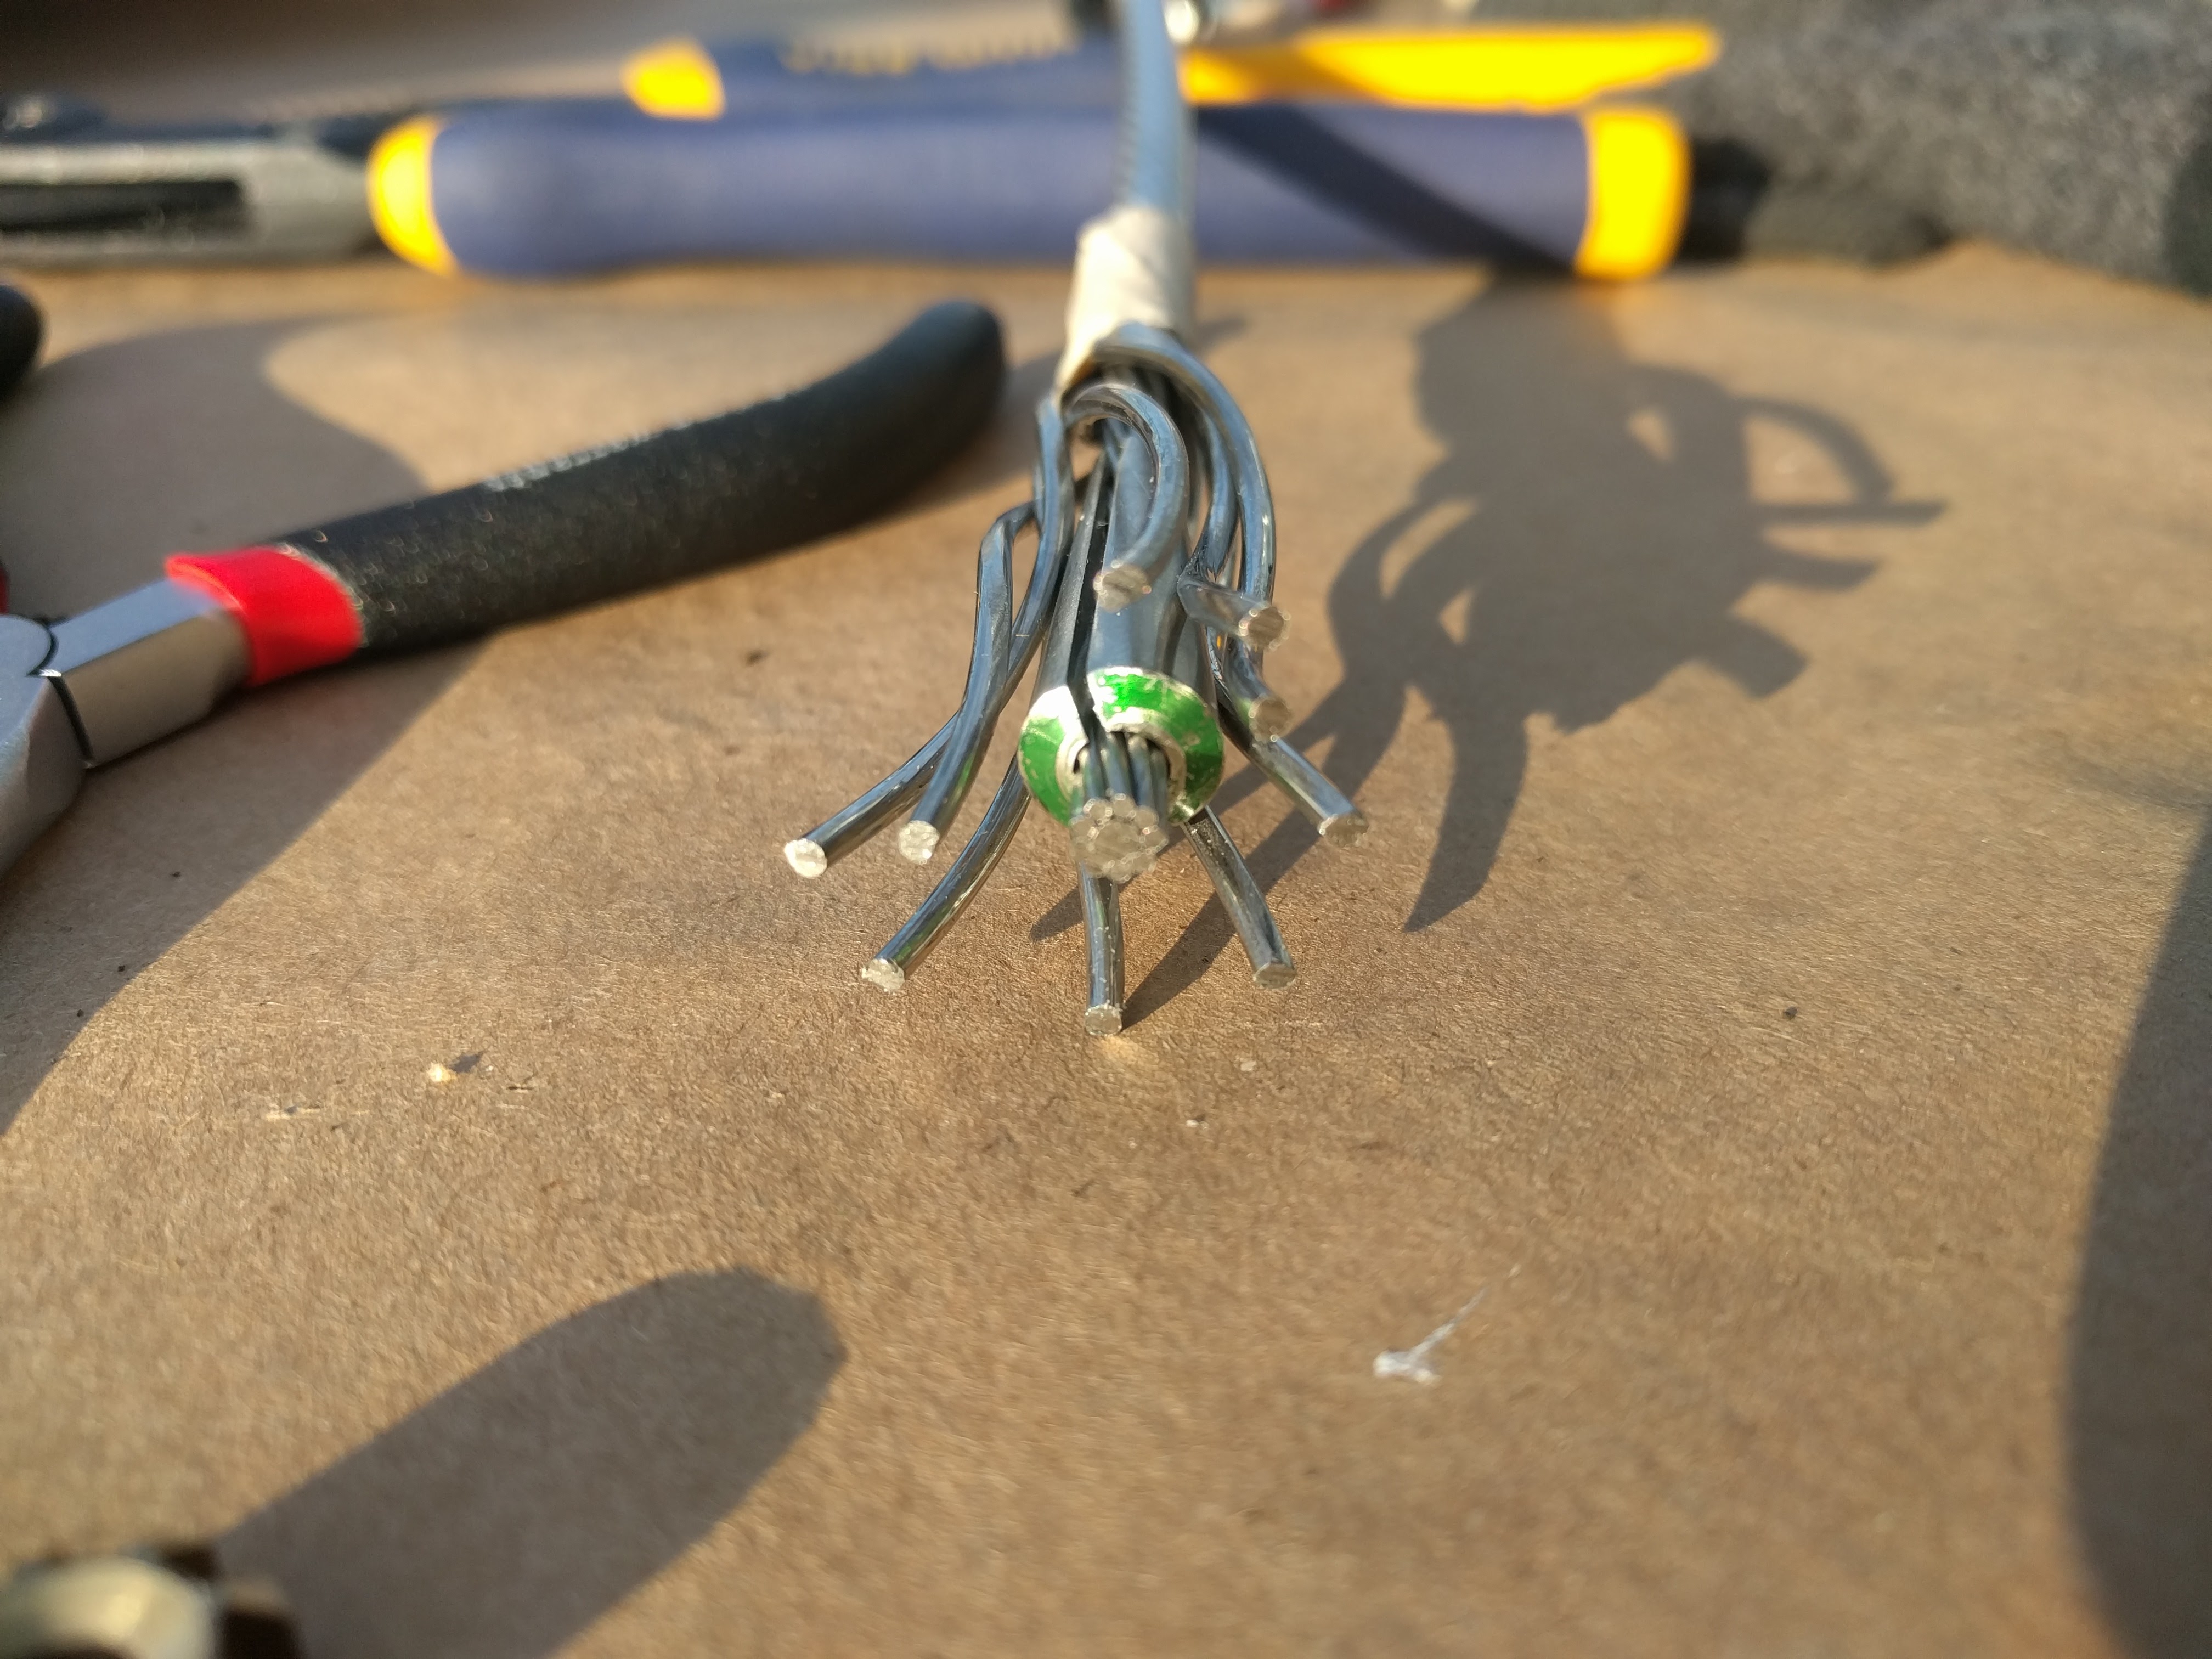
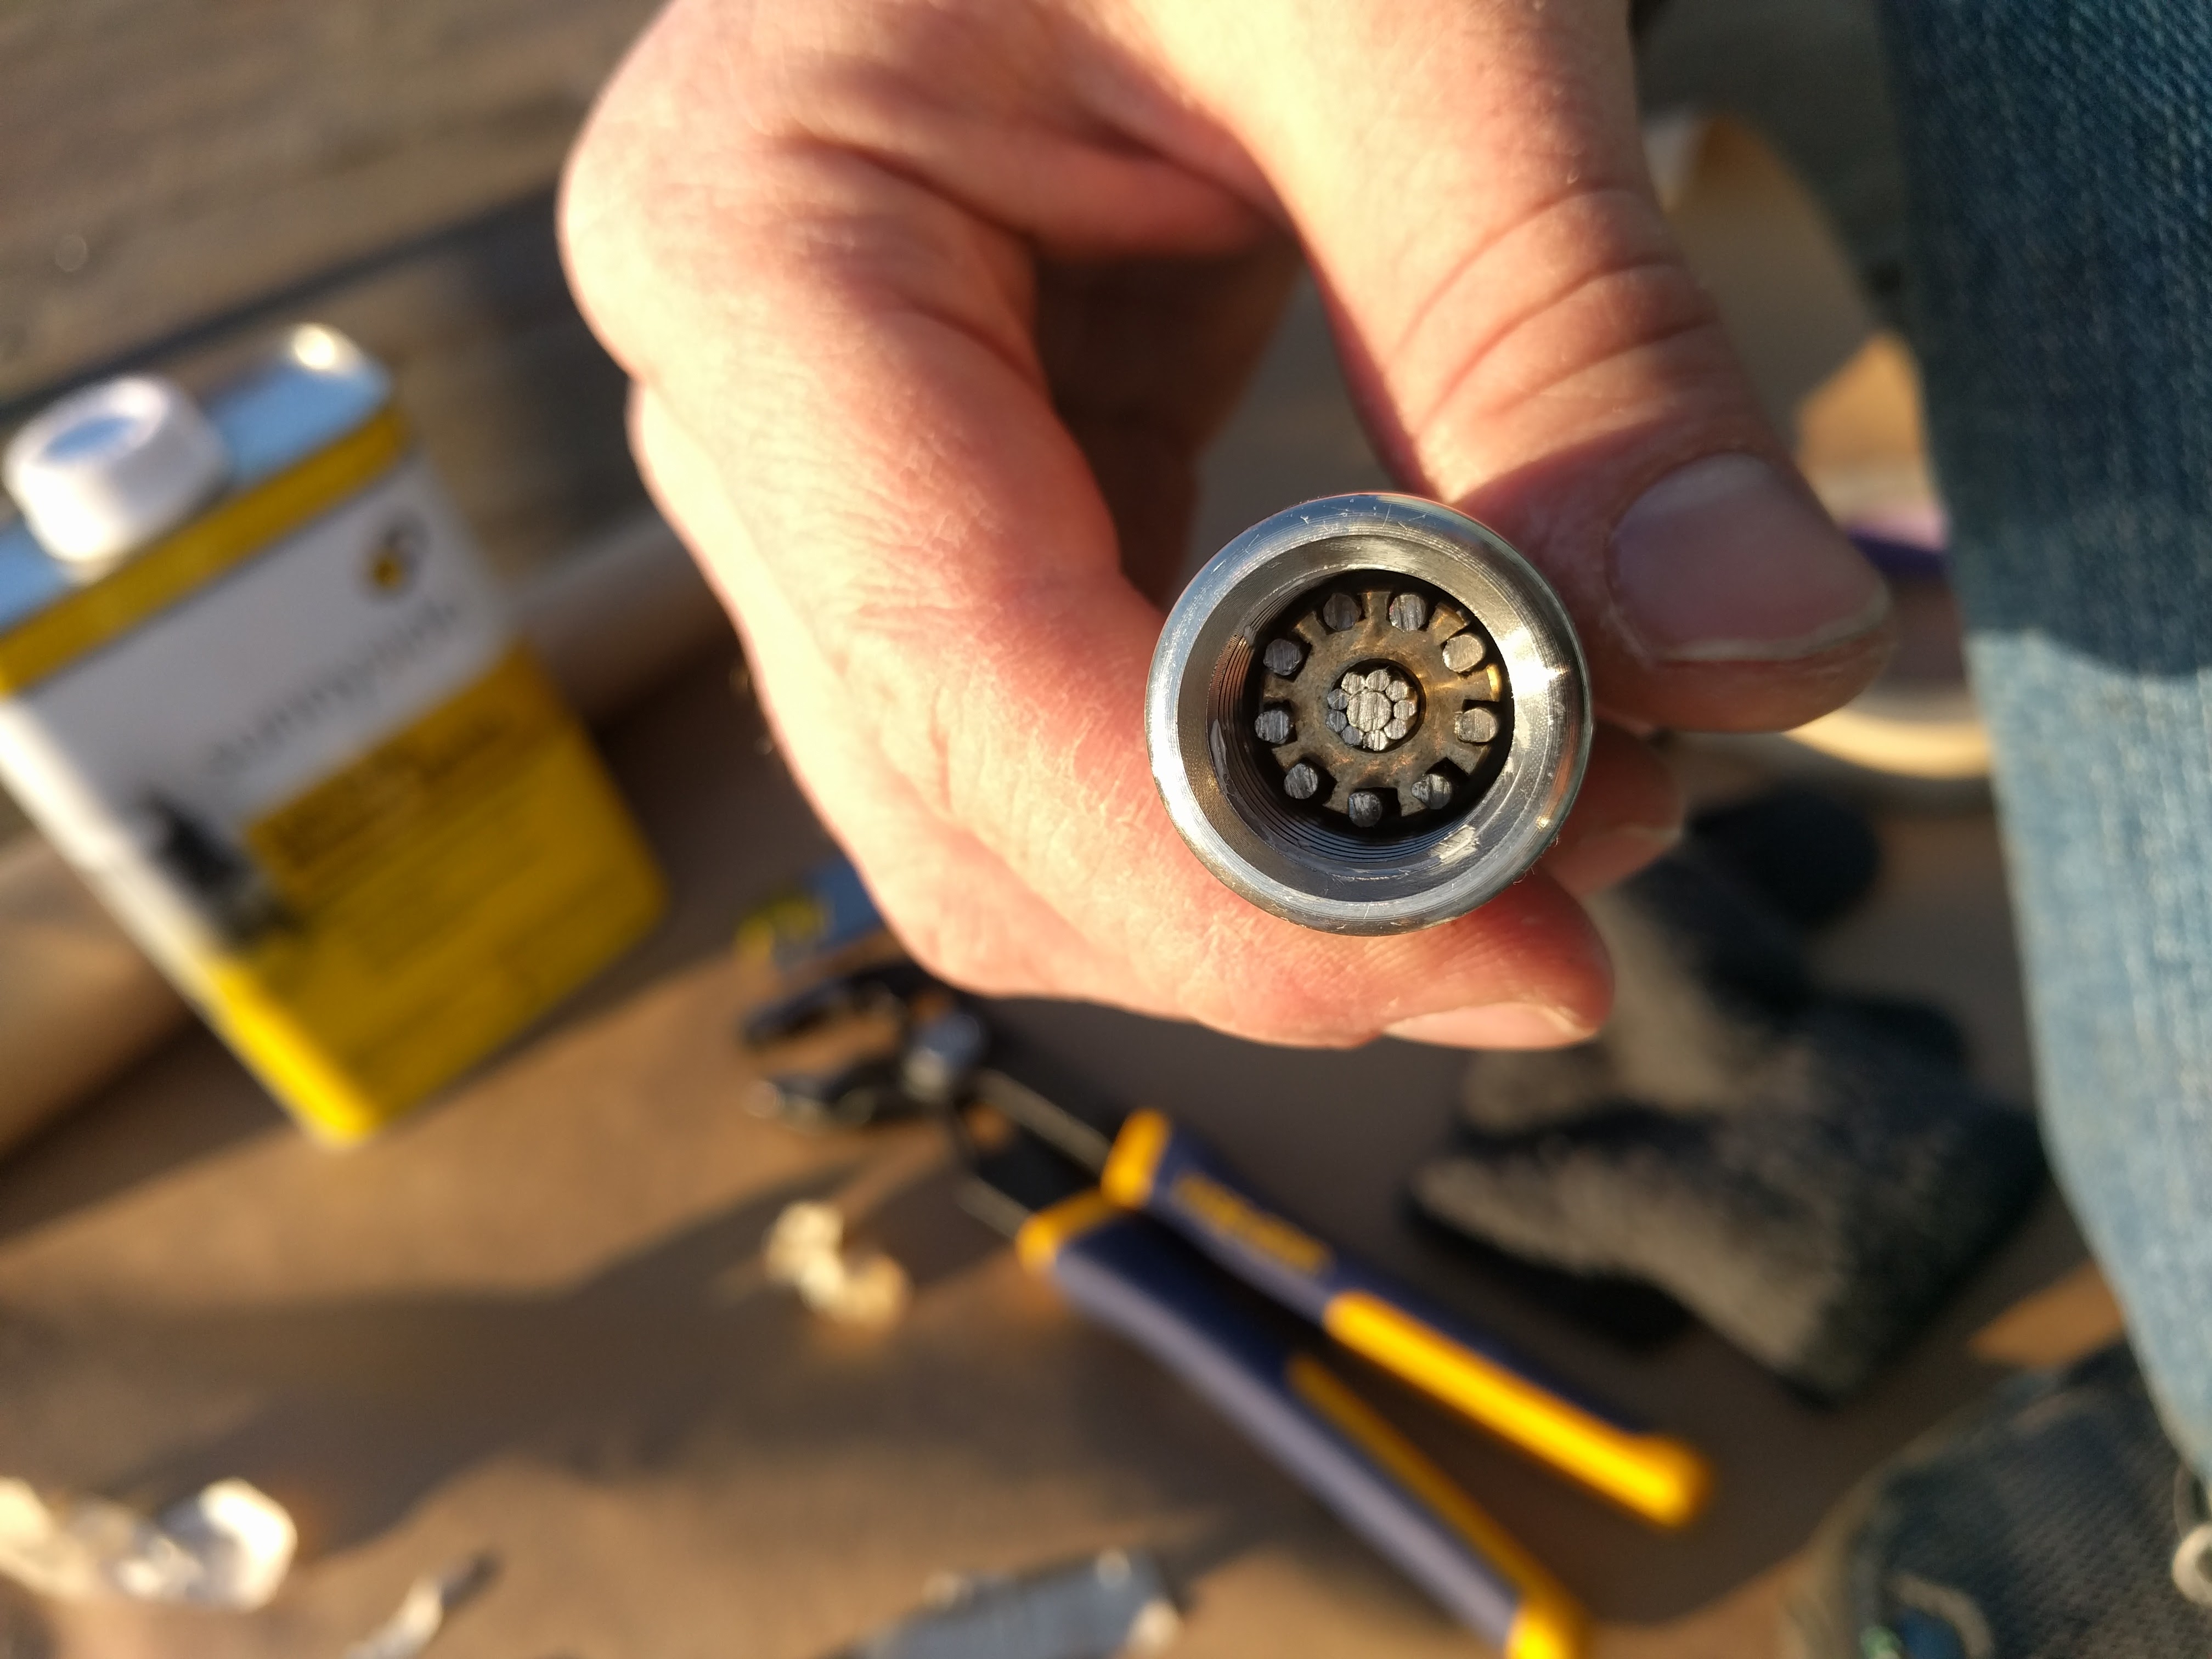
C&C’s with rod have a somewhat uncommon chainplate system (O’Day’s and Ericsons also have a similar system). At the deck there are six big ½” U-Bolts (one for each shroud) that go through the deck to a thick aluminum backing block. That backing block has a recessed cup on the upper side which is used to capture the head of a stainless steel tie rod. The tie rod then goes down to connect with traditional chainplates inside the boat, attached to a fiberglass bulkhead inside some cabinetry.

img_20170122_132904

img_20170122_124107

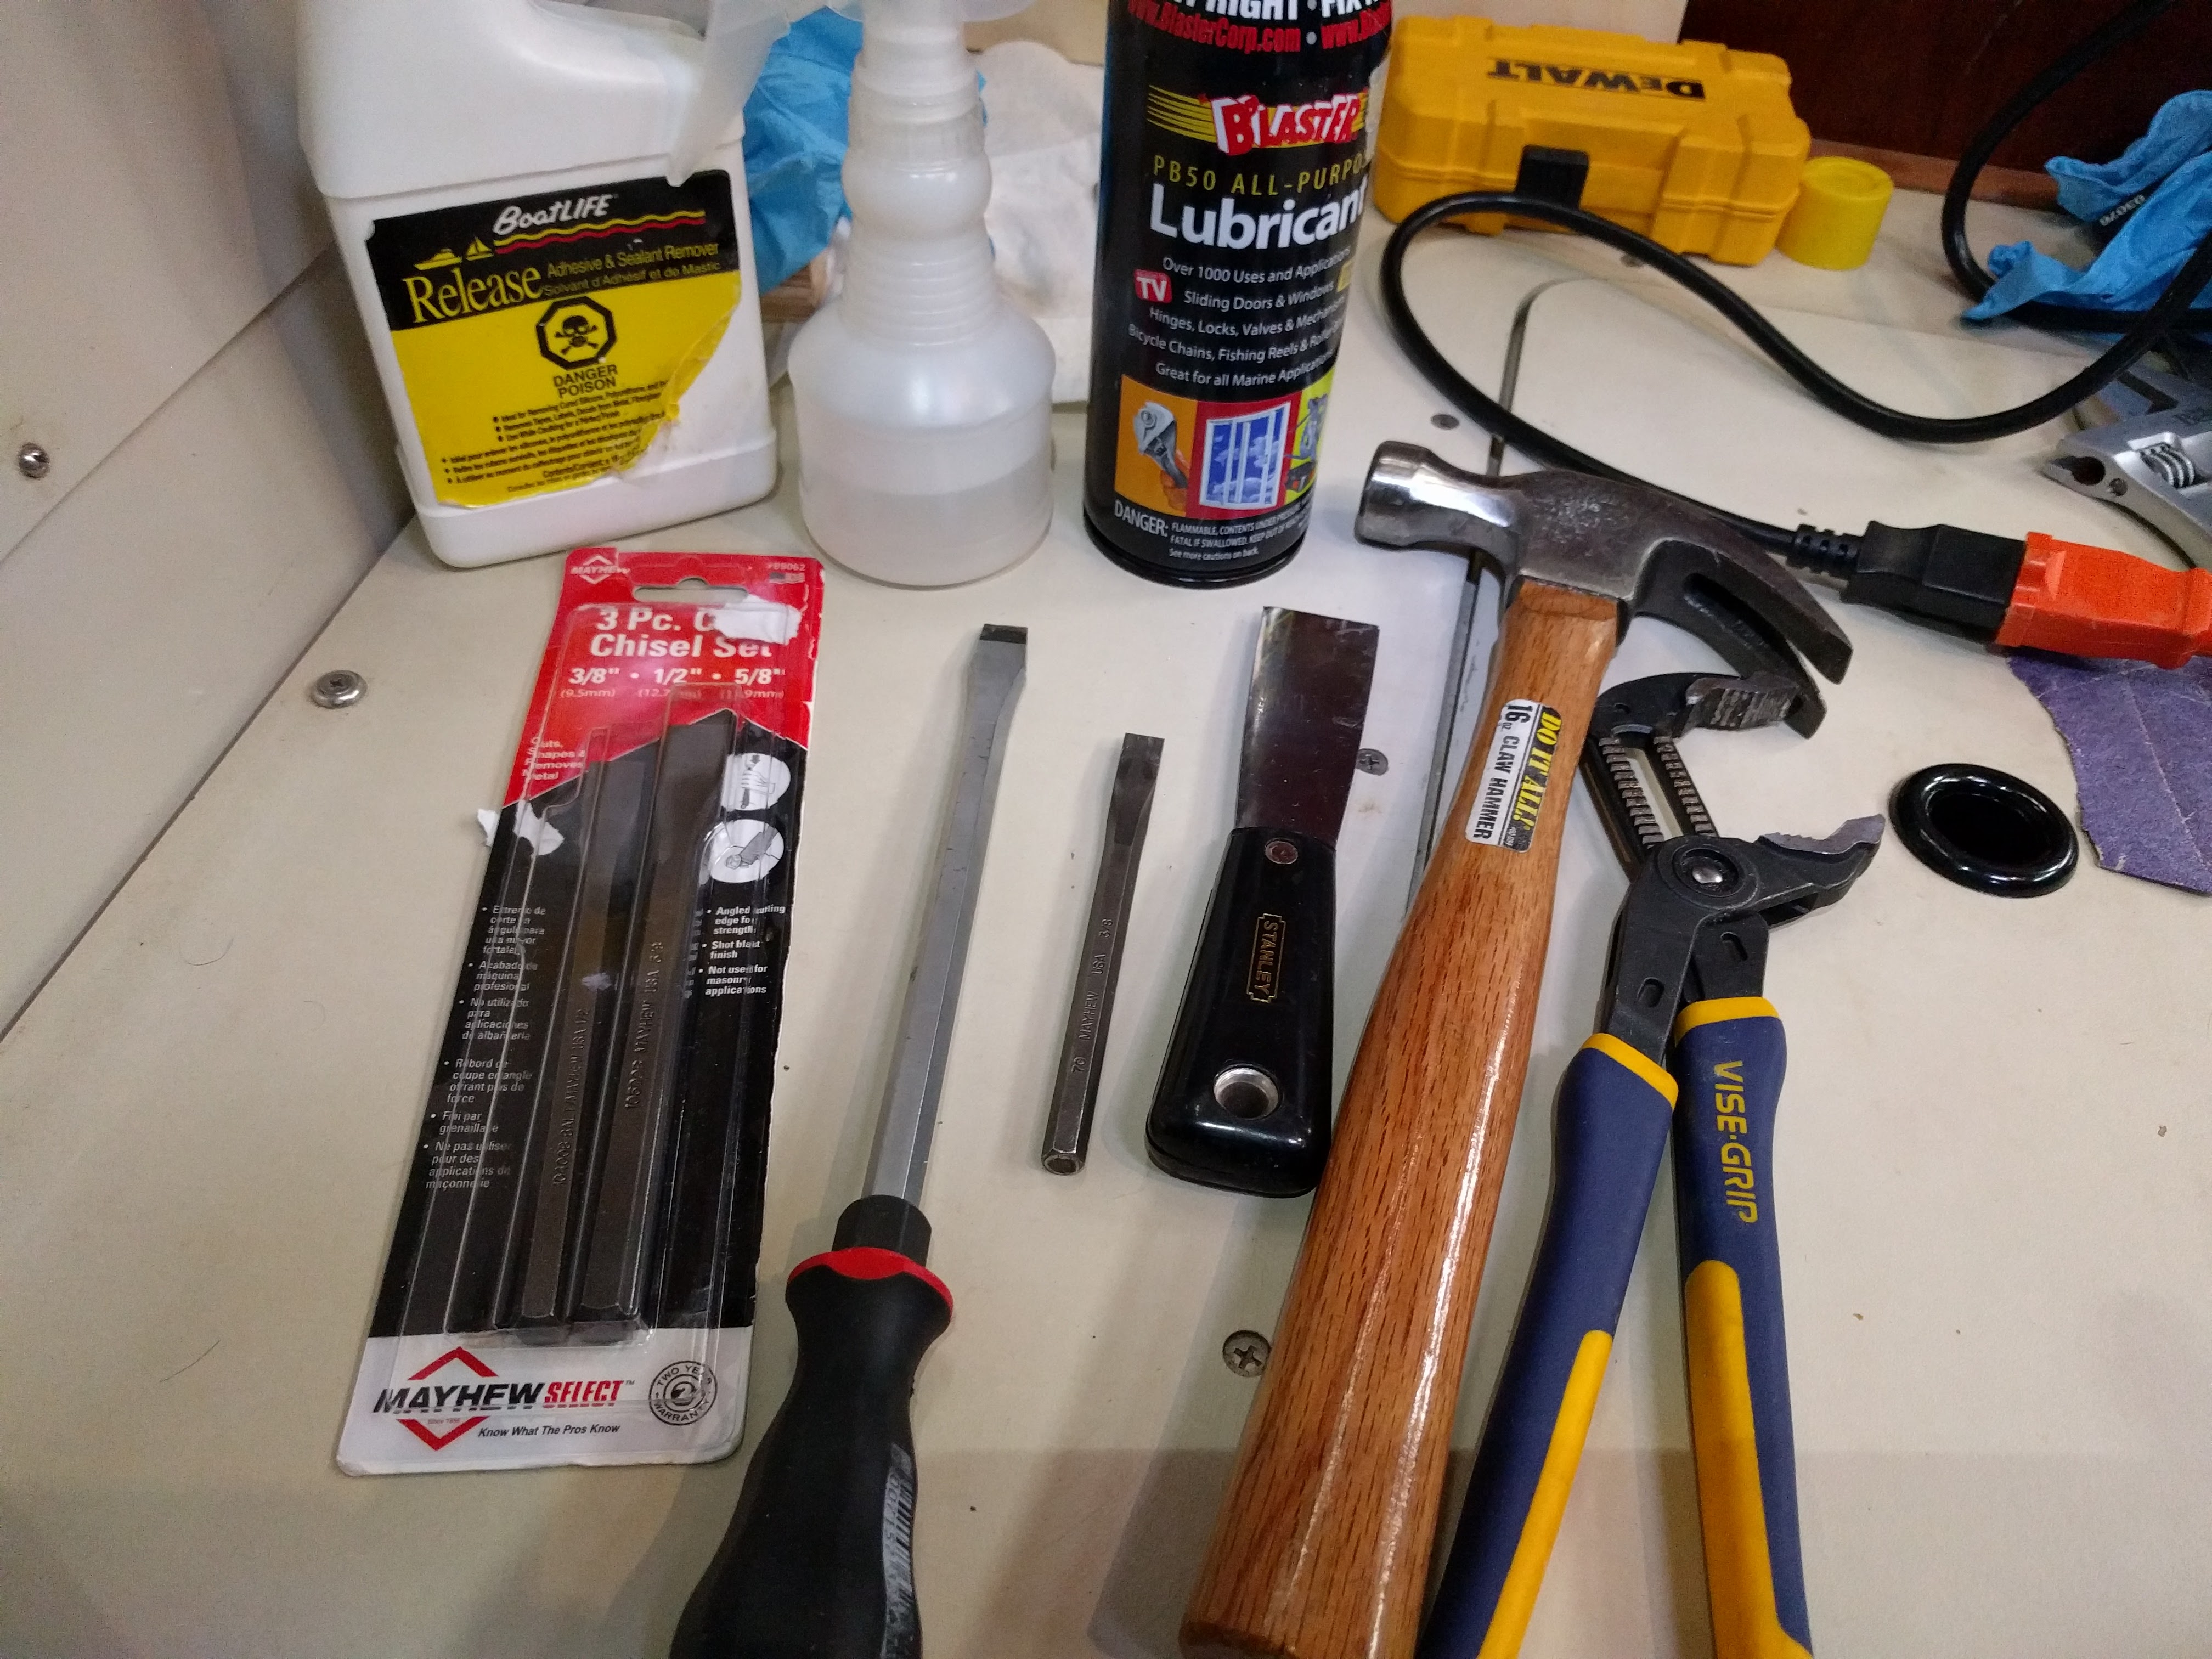
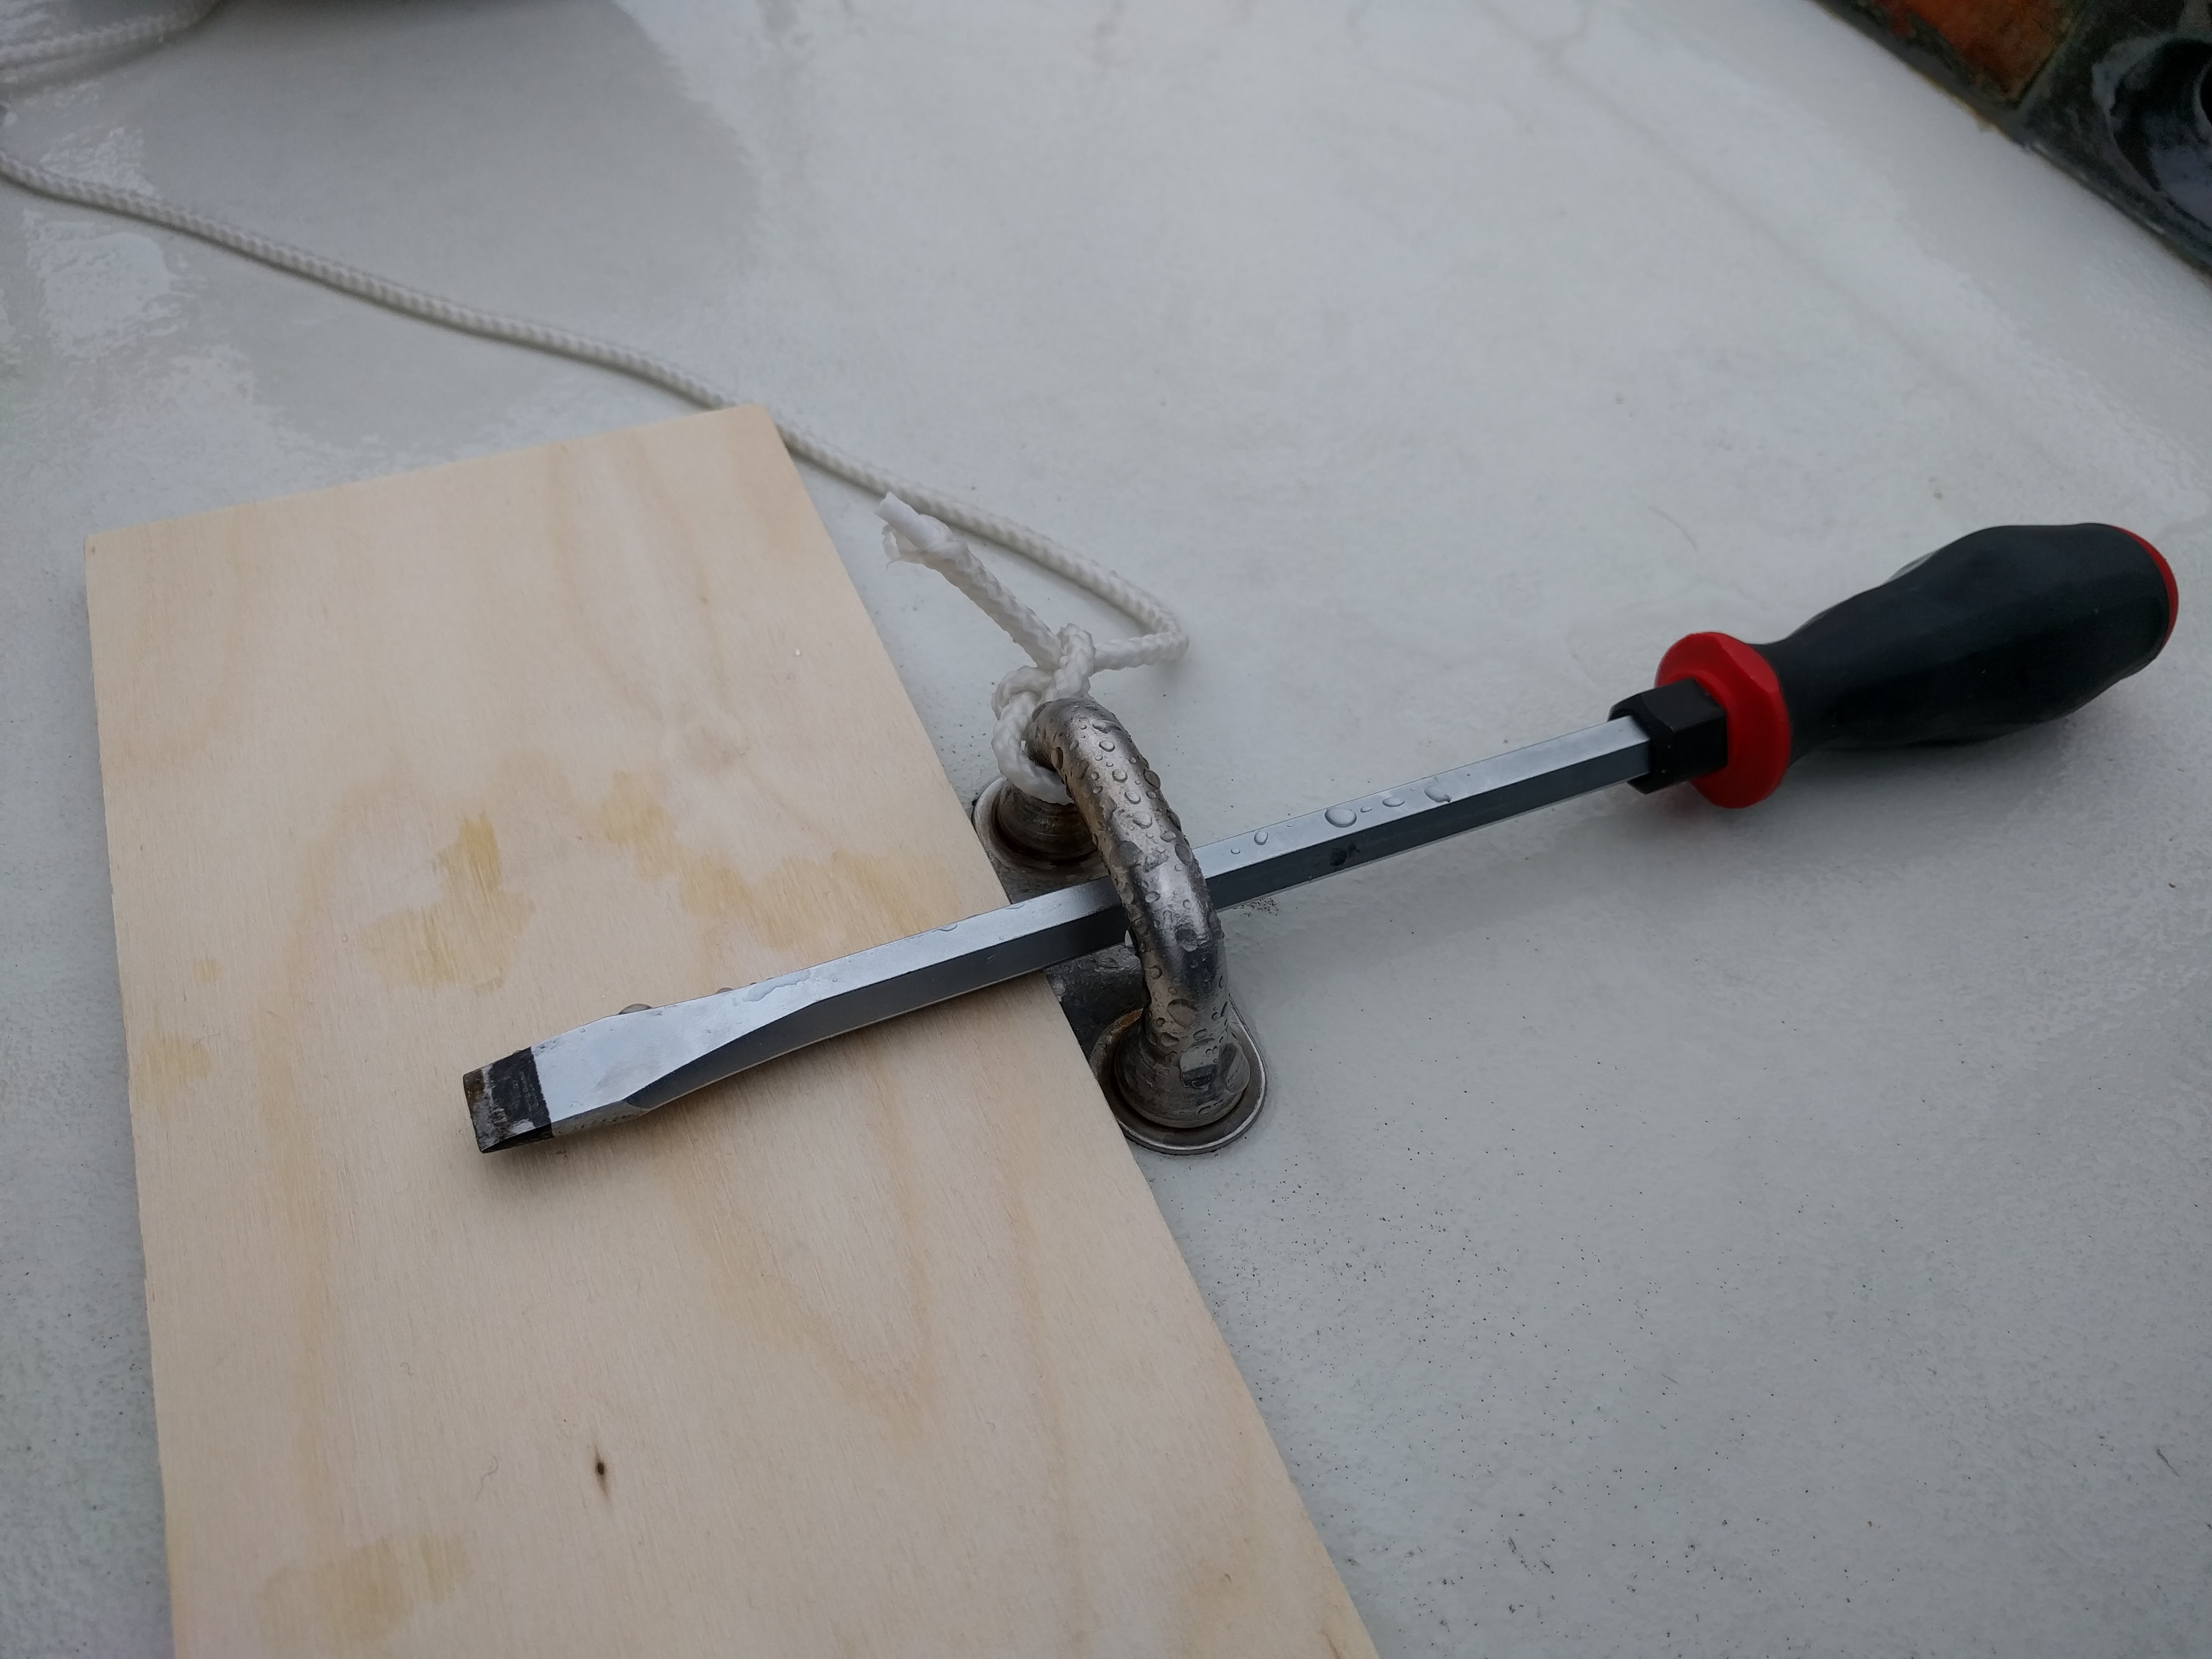
Totally inadequate lever arm for pulling 1/2″ U-Bolts

It’s actually a pretty great design, because the chainplates are completely dry and pristine – I have no concerns about those since they never see water. And the U-Bolts likely do a better job of sealing out water at the deck level than traditional chainplates do. This is because they have a cover plate which fits tightly with the deck, and then the legs of the U-Bolts are flanged (they have a “lip”) so that they are wider than the holes in the cover plate – they overlap it and fit quite snugly.

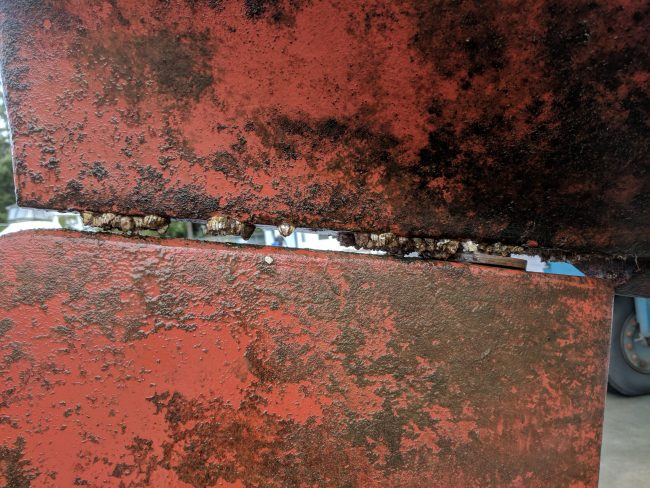
The downside is they’re really hard to get out. The SS U-Bolt legs interact galvanically with the aluminum backing block, producing pasty white powder which basically locked the U-Bolt into the aluminum block.

Continue reading

Rerig Part 3: Now the Projects Really Begin

Warning: This post is pretty technical.  In the last week a lot has gotten done – assembled the wire forestay, a new Harken furler, removed the spreaders, cut out a seized clevis pin, got out a second seized clevis pin for a masthead sheave, ran new VHF coax cable through the mast, sanded and painted the mast collar, and did a whole bunch of cleaning.

Assembling a Hayn HiMod Swageless Fitting

I decided to use a Hayn HiMod swageless fitting for the forestay lower connection so that I could measure / cut the forestay to length, not have to get a wire swaged on site, and have a fitting that could be inspected or shortened in the future if needed.

hayn-stud

Hi-Mod components: threaded stud, cone, and crown ring. (The body, not shown, is already on the wire)

hayn-pullingwire

Unlaying the compact strand wire around the core

haynhimodcone

Hi-Mod cone installed on the core

haynhimodinterior

Cone and crown ring installed in the fitting

Project Time:

  • 1 hour – planning, reading and watching YouTube videos.
  • 1 hour – measuring, re-measuring and cutting forestay.
  • 1 hour – assembling Hi-Mod.

Tips:

  • The 7mm compact strand wire (distributed by Alps) was quite difficult to unlay. Since the strands are so tightly compacted together, it’s hard to pick them apart. Standard flat head screwdriver tips were too thick. A thin paint scraper works well, or perhaps my mini screwdriver set (like an eyeglass kit).
  • The big debate with HiMod’s is whether to use sealant or not. Hayn says not to, in their instructions. They’re saying it’s not necessary but you can use it if you want to (they say it’s ok to use in this PDF). I wish there were a more scientific analysis of this.
    I decided to use sealant for a couple reasons: Brion Toss, the rigger in Port Townsend, recommends using sealant in HiMods. And the HaveWindWillTravel sailors on YouTube had their HiMods show rust after just a few months in Florida. They believe it was from metal dust that got on their wire after cutting it with a grinder. That’s a plausible explanation, but perhaps sealant also would’ve helped prevent their issue.
  • Sealant is hard to inject into a Hi-Mod however. The body of the fitting is already on the wire. And the standard injection nozzle that comes with 3M adhesive tubes doesn’t fit in between the wire and the body. A typical syringe doesn’t fit either (the tip isn’t long enough to get past the threaded part of the body). I didn’t want to gunk up the threads, since those are supposed to be secured with Loctite, not 4200 goop. The best option was injecting sealant into the wire strands alongside the cone. I didn’t get sealant squeezing out the top at the end, so maybe didn’t use enough, but it should still be effective.

Continue reading