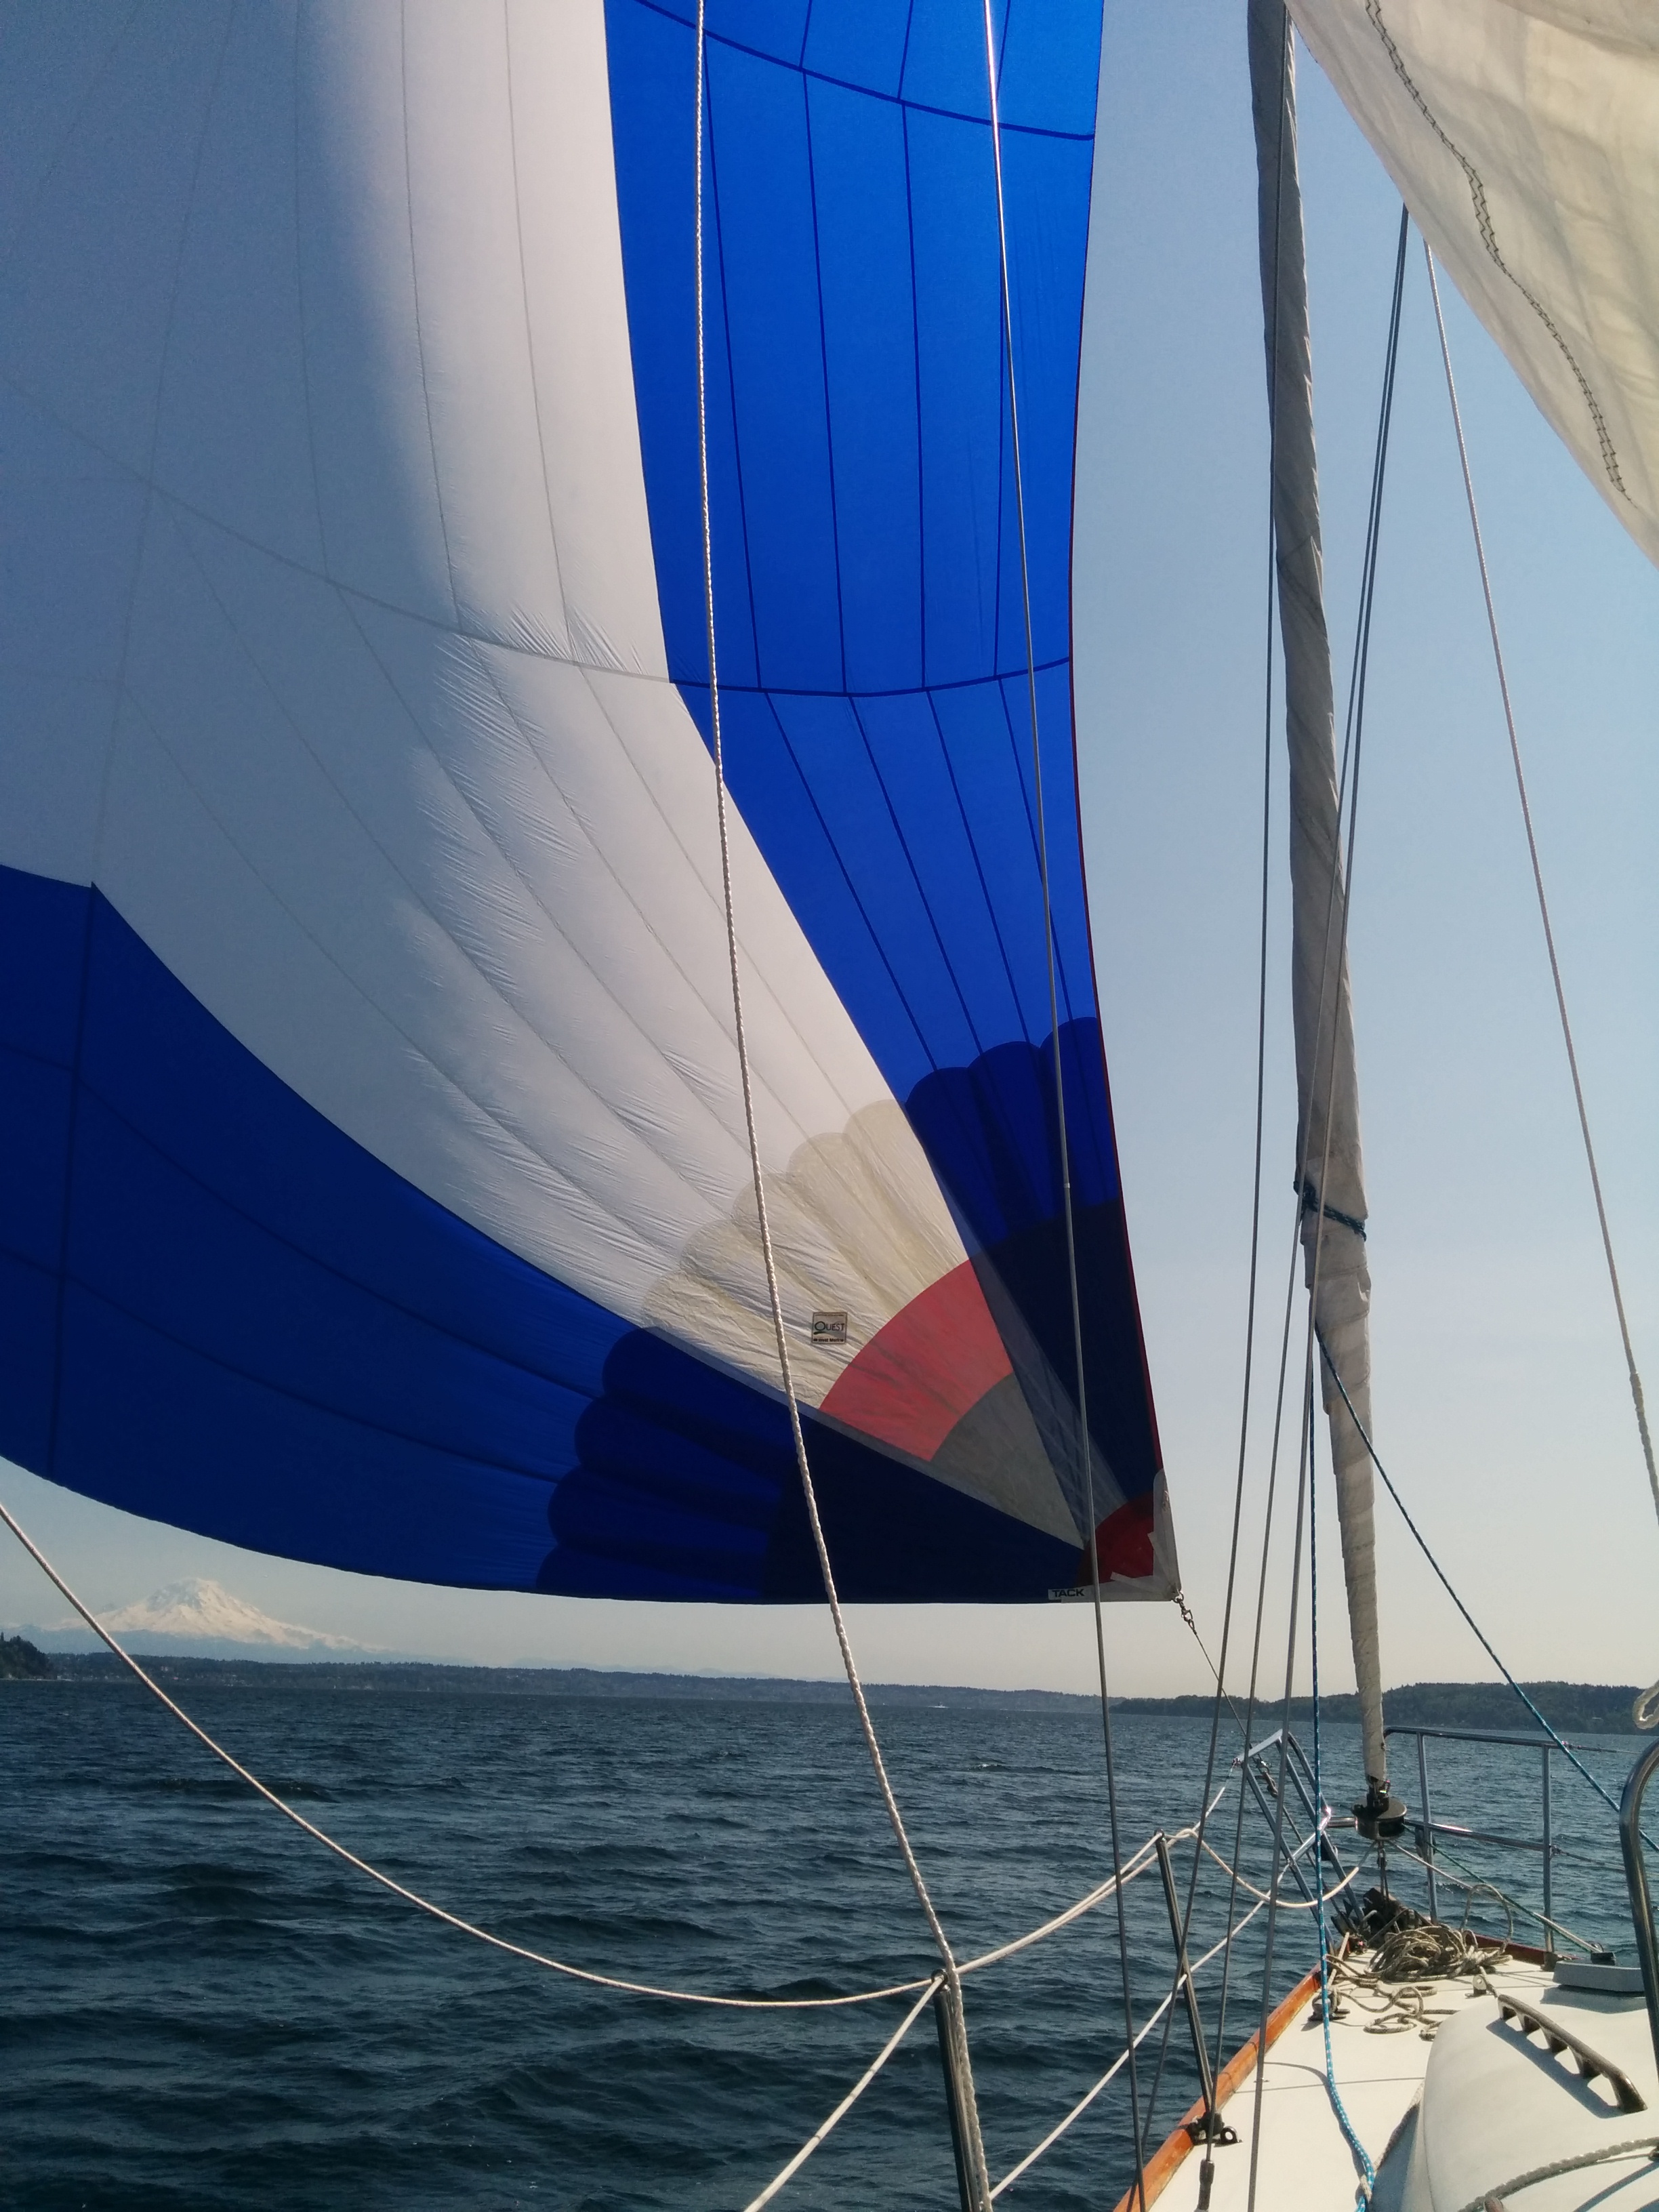
This past weekend we sailed to Vashon Island and anchored in Quartermaster Harbor. It was the perfect weekend – sunny, warm and a steady 15 knots of wind both days. We flew the spinnaker for the first time on Saturday and the ATN sock was fantastic – made hoisting and dousing so much easier.

We also had lots of other “firsts” – first time using a whisker pole (ever! None of the club boats we’ve sailed had them), first time going south of West Seattle, and first time sailing upwind for over 8 hours. A whisker pole by the way for non-sailor readers, is a pole that holds out the foresail (genoa) when sailing downwind – to help catch more wind and make the sail easier to manage.
The Ballard Locks continues to be the most challenging part of our trips, but we’re getting better each time. The Locks seem like they’d be about as easy as docking, but I think that’s a deception – I’d take docking over the locks any day. The Locks are like docking would be if 5 other boats were trying to simultaneously dock next to you, the entire marina was watching, your target slip could be randomly changed at the last minute, and there was a 1-2 knot current or forward/aft breeze in the marina.

Going to windward like a champ

Cleaning Nearing Completion
In other news, we’re almost finished up with all the cleaning projects! Cleaning an old boat is a lot of work (there are lots of nooks and crannies!) and we’re perfectionists so want to do it right once and not have to worry about a deep clean for a while.
A toothbrush really is your best friend for a lot of boat cleaning jobs. I always thought scrubbing floors with a toothbrush was a joke or something only prison convicts do. But actually it’s the best way to get into small nooks, and the hundreds of bristles on it scrub off dirt quite quickly – I guess that’s why they work so well on our teeth.

Before cleaning
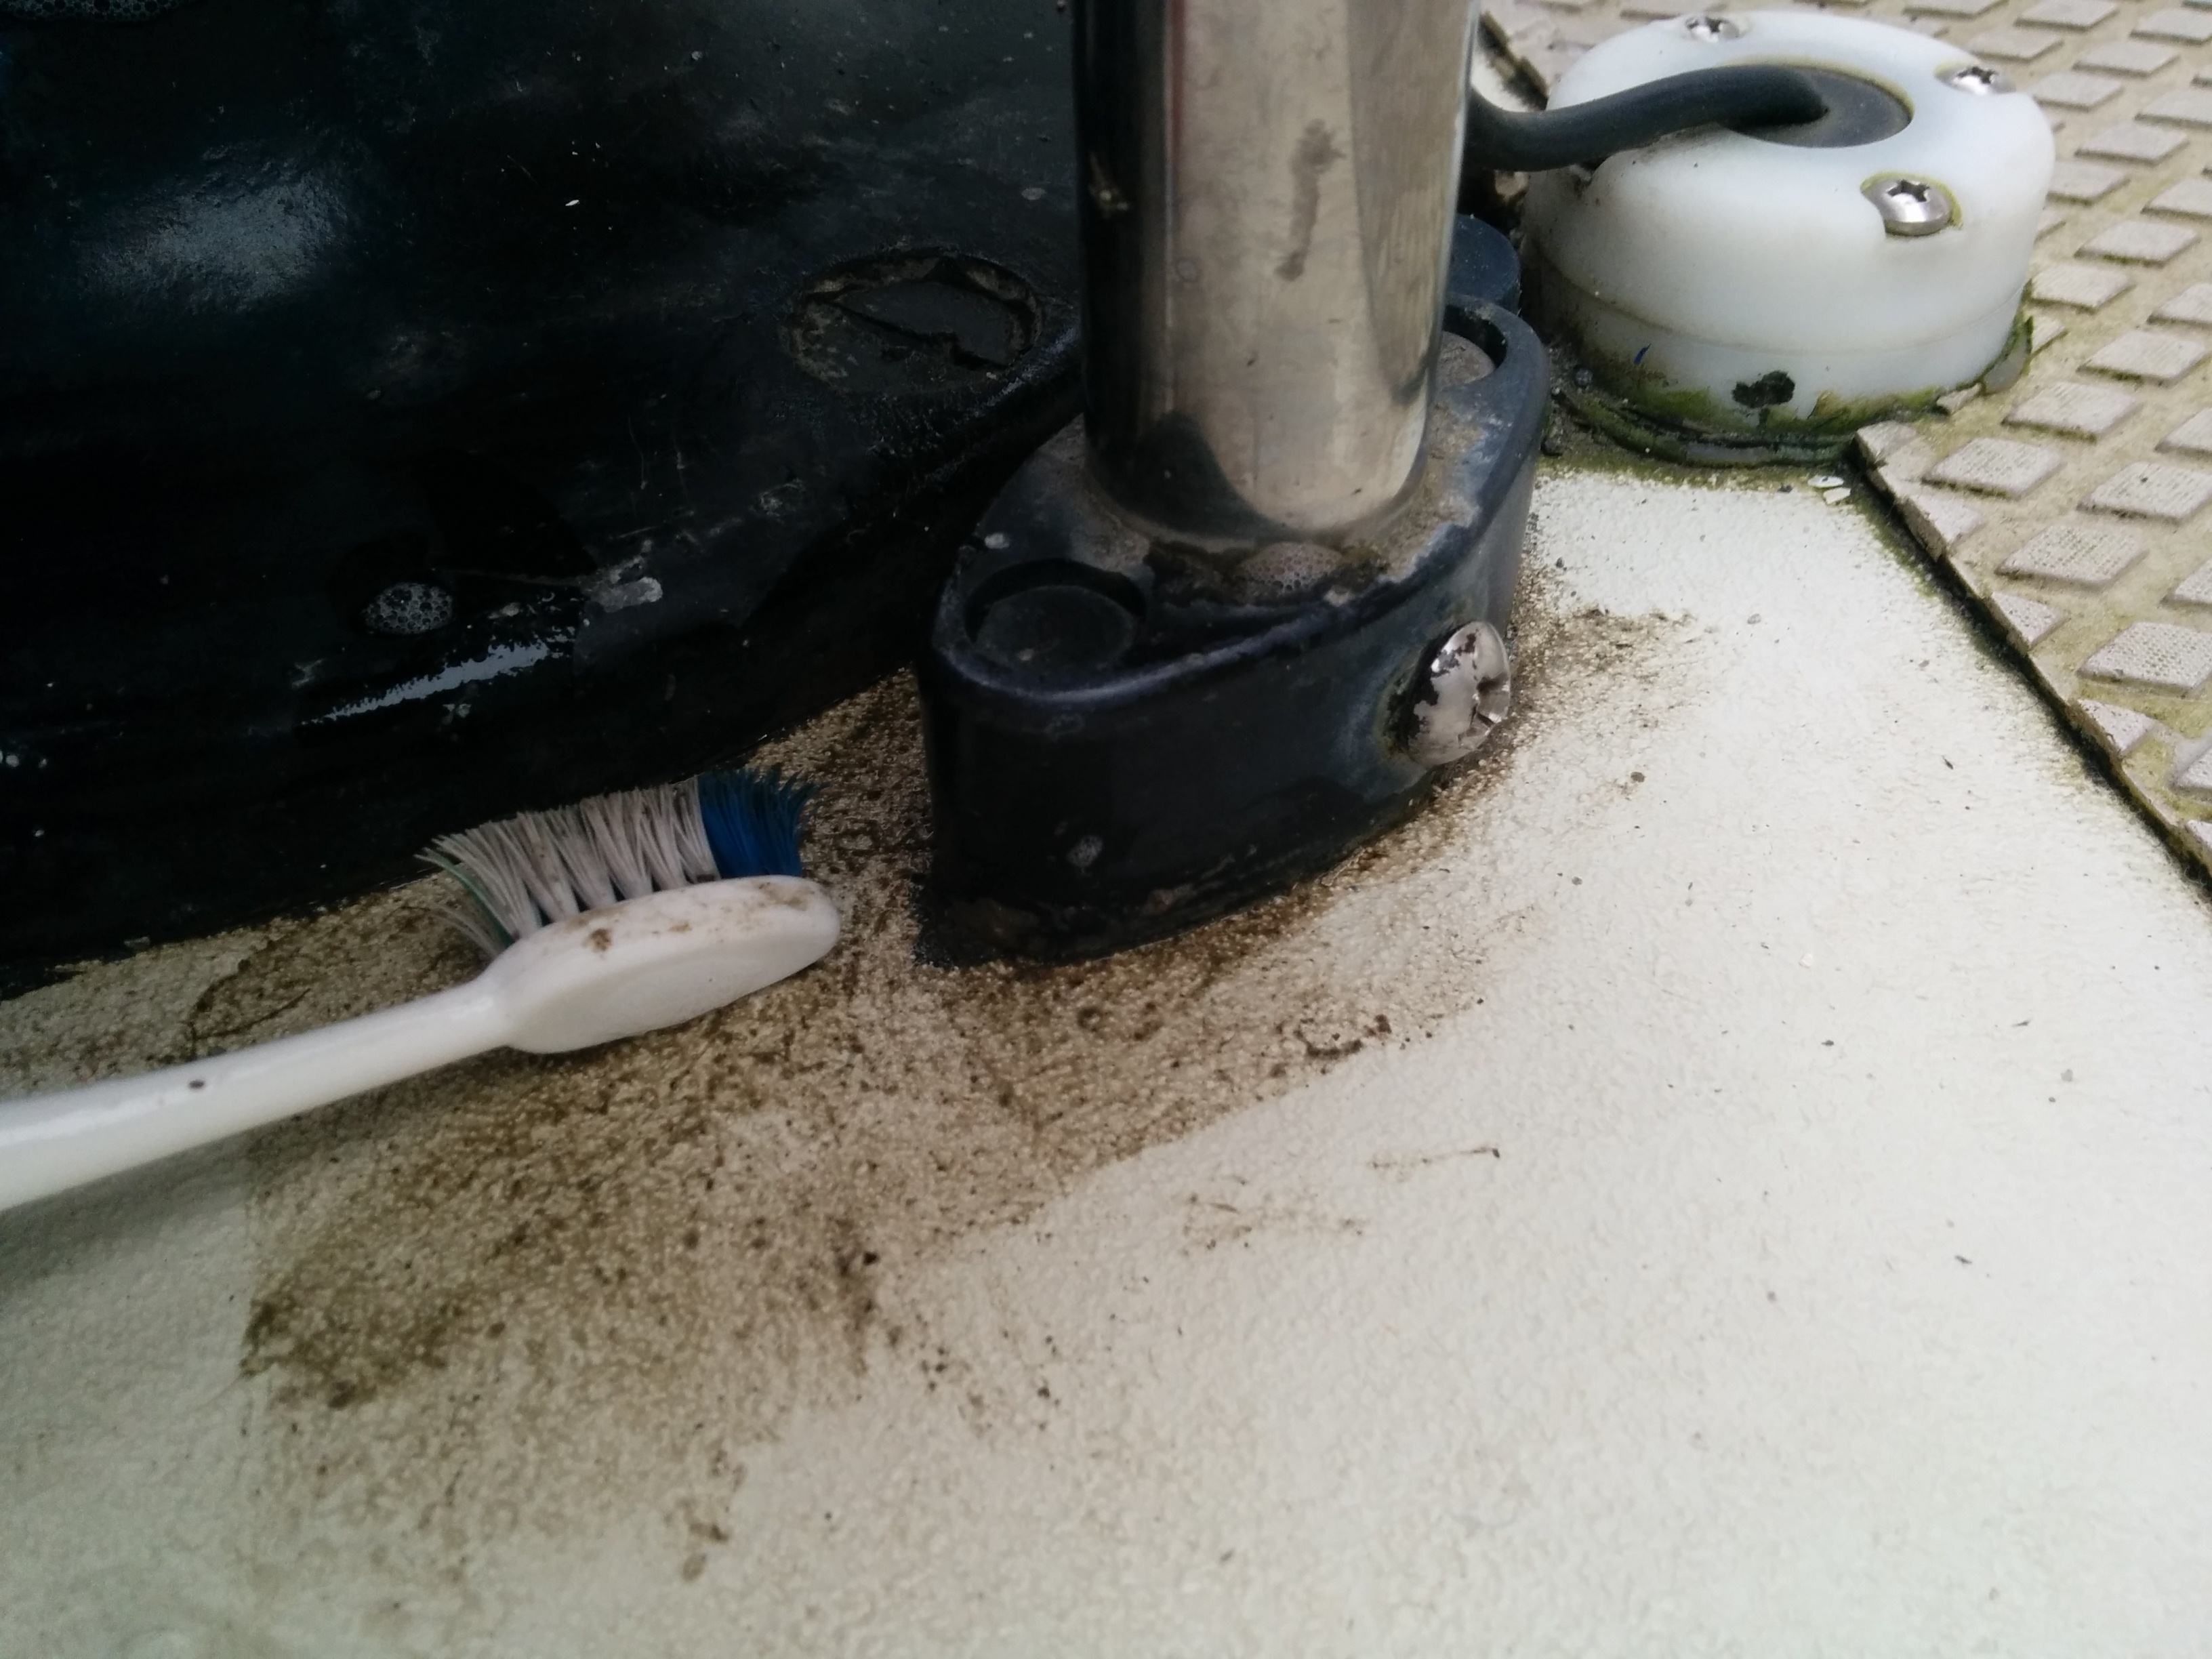
During cleaning with a toothbrush + water

After cleaning!