Project Time: 40+ hours
Project Cost: ~$150
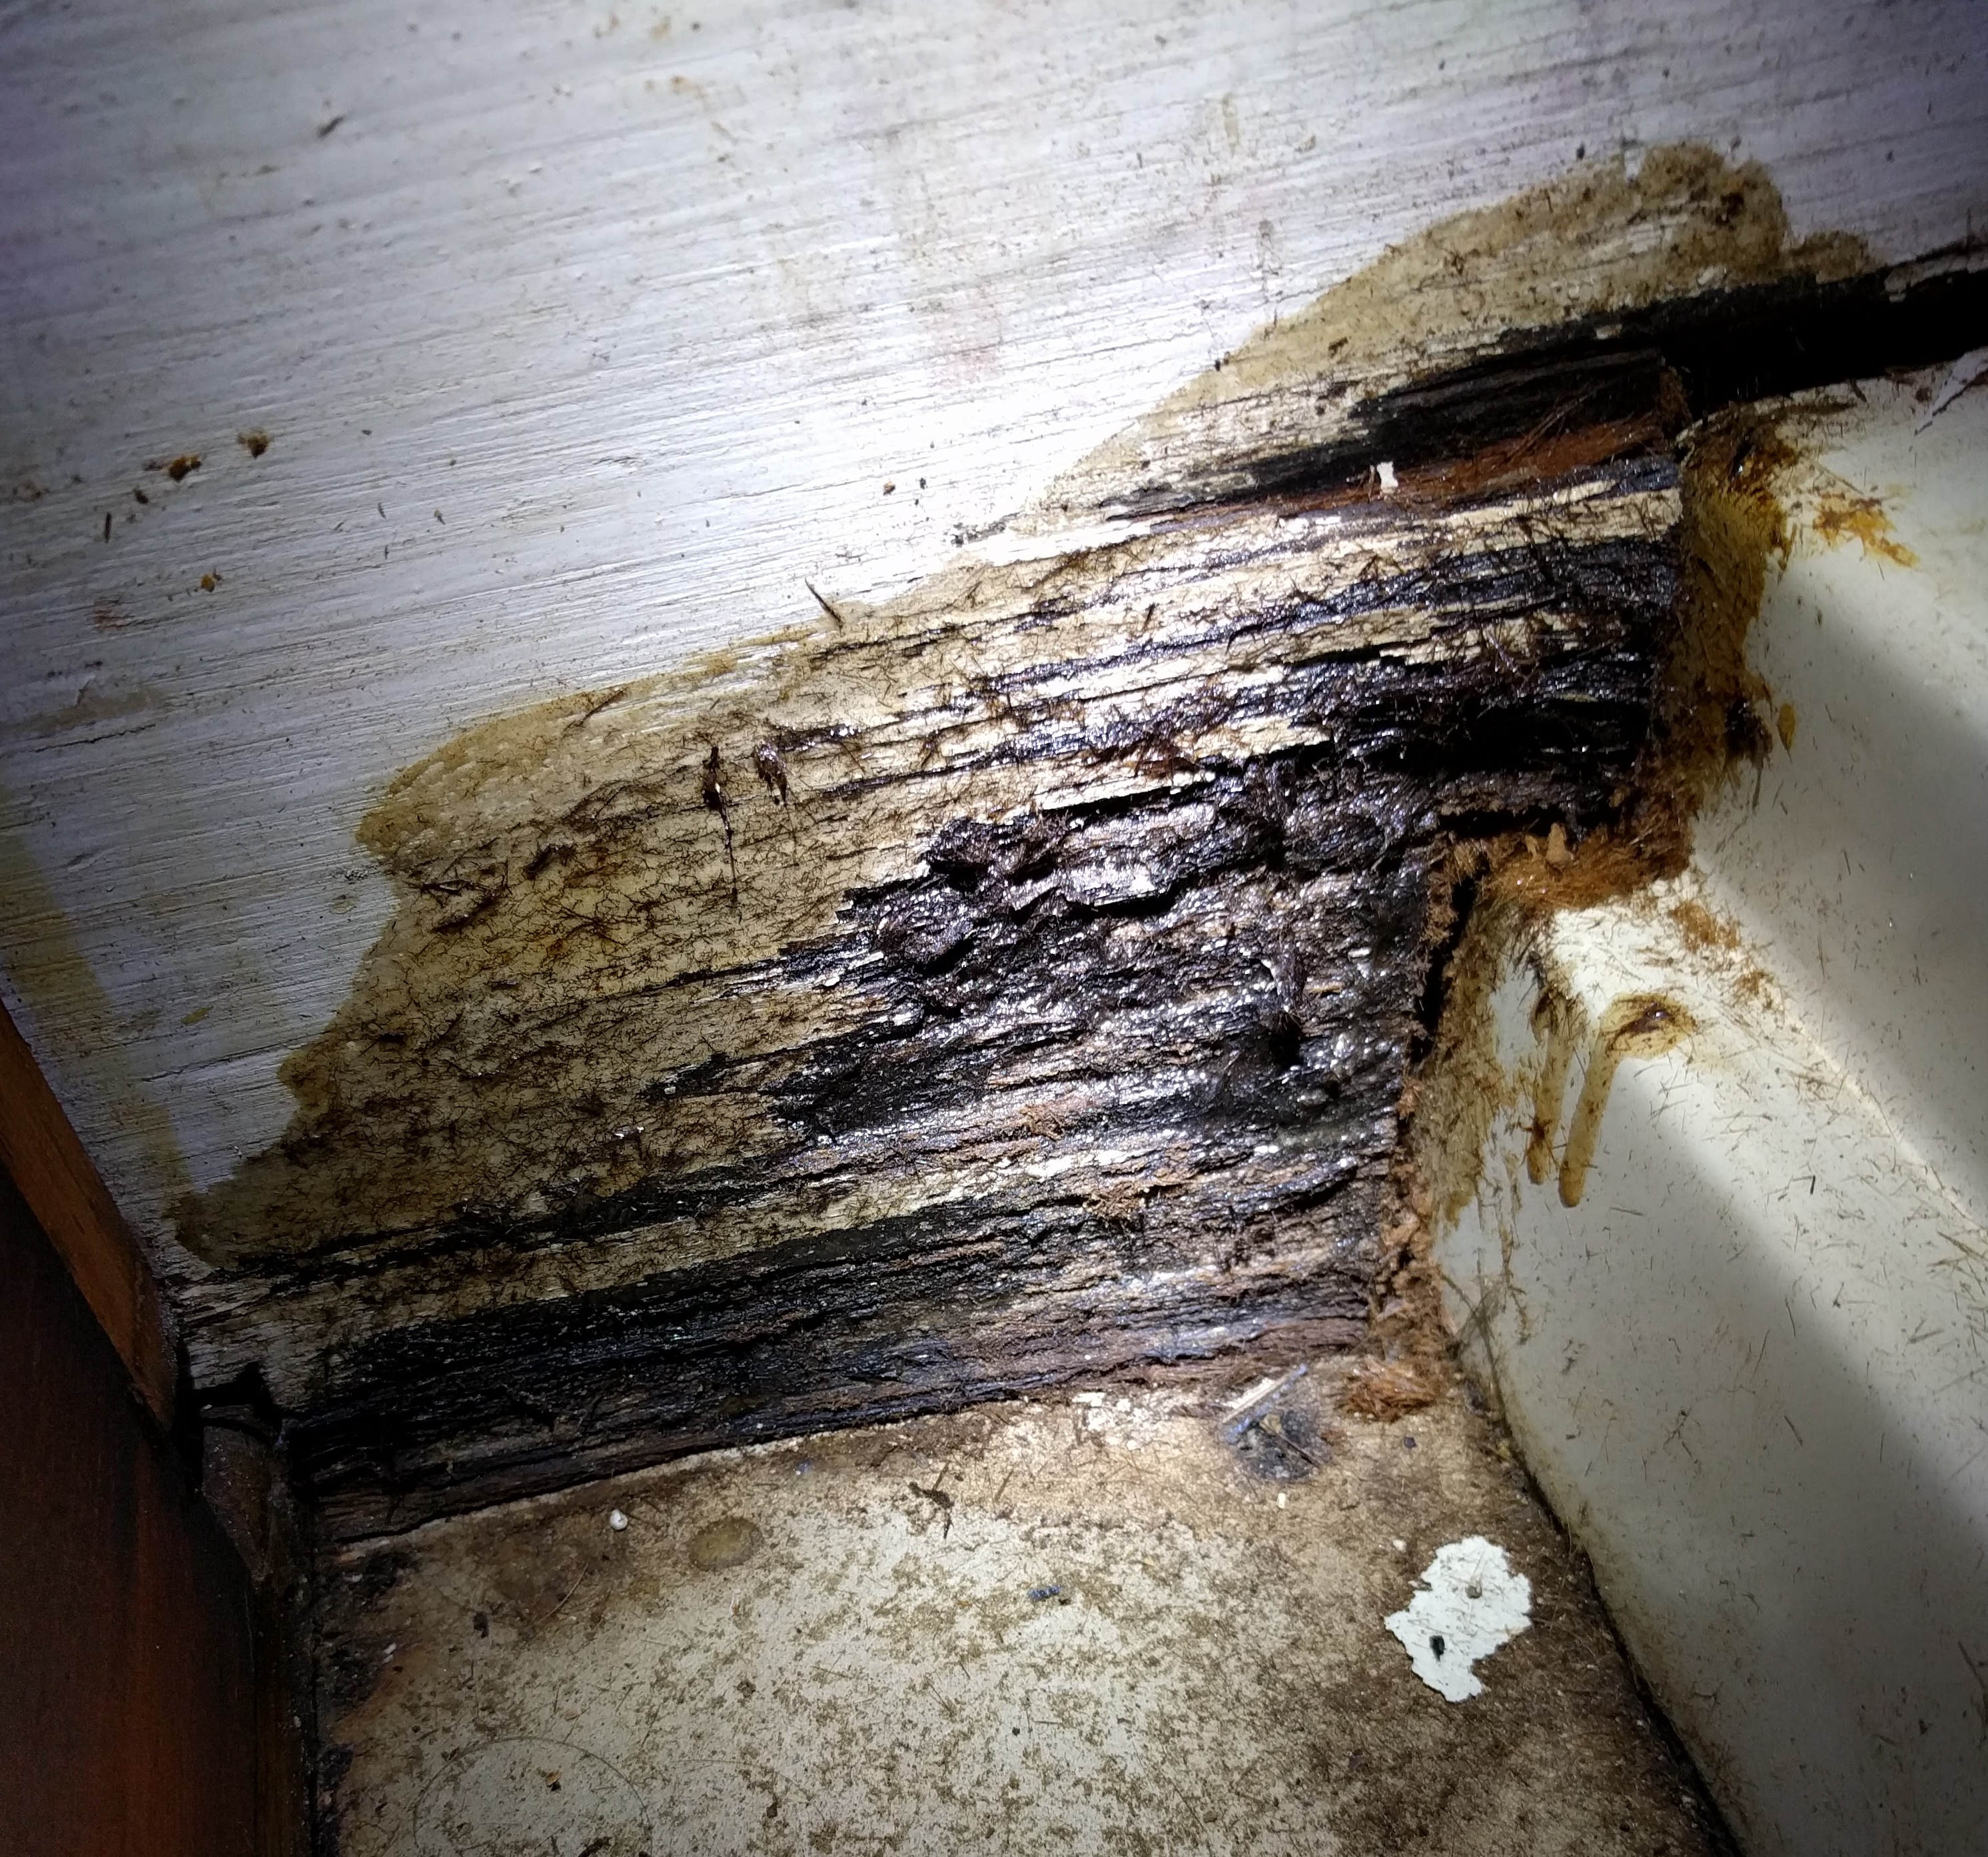
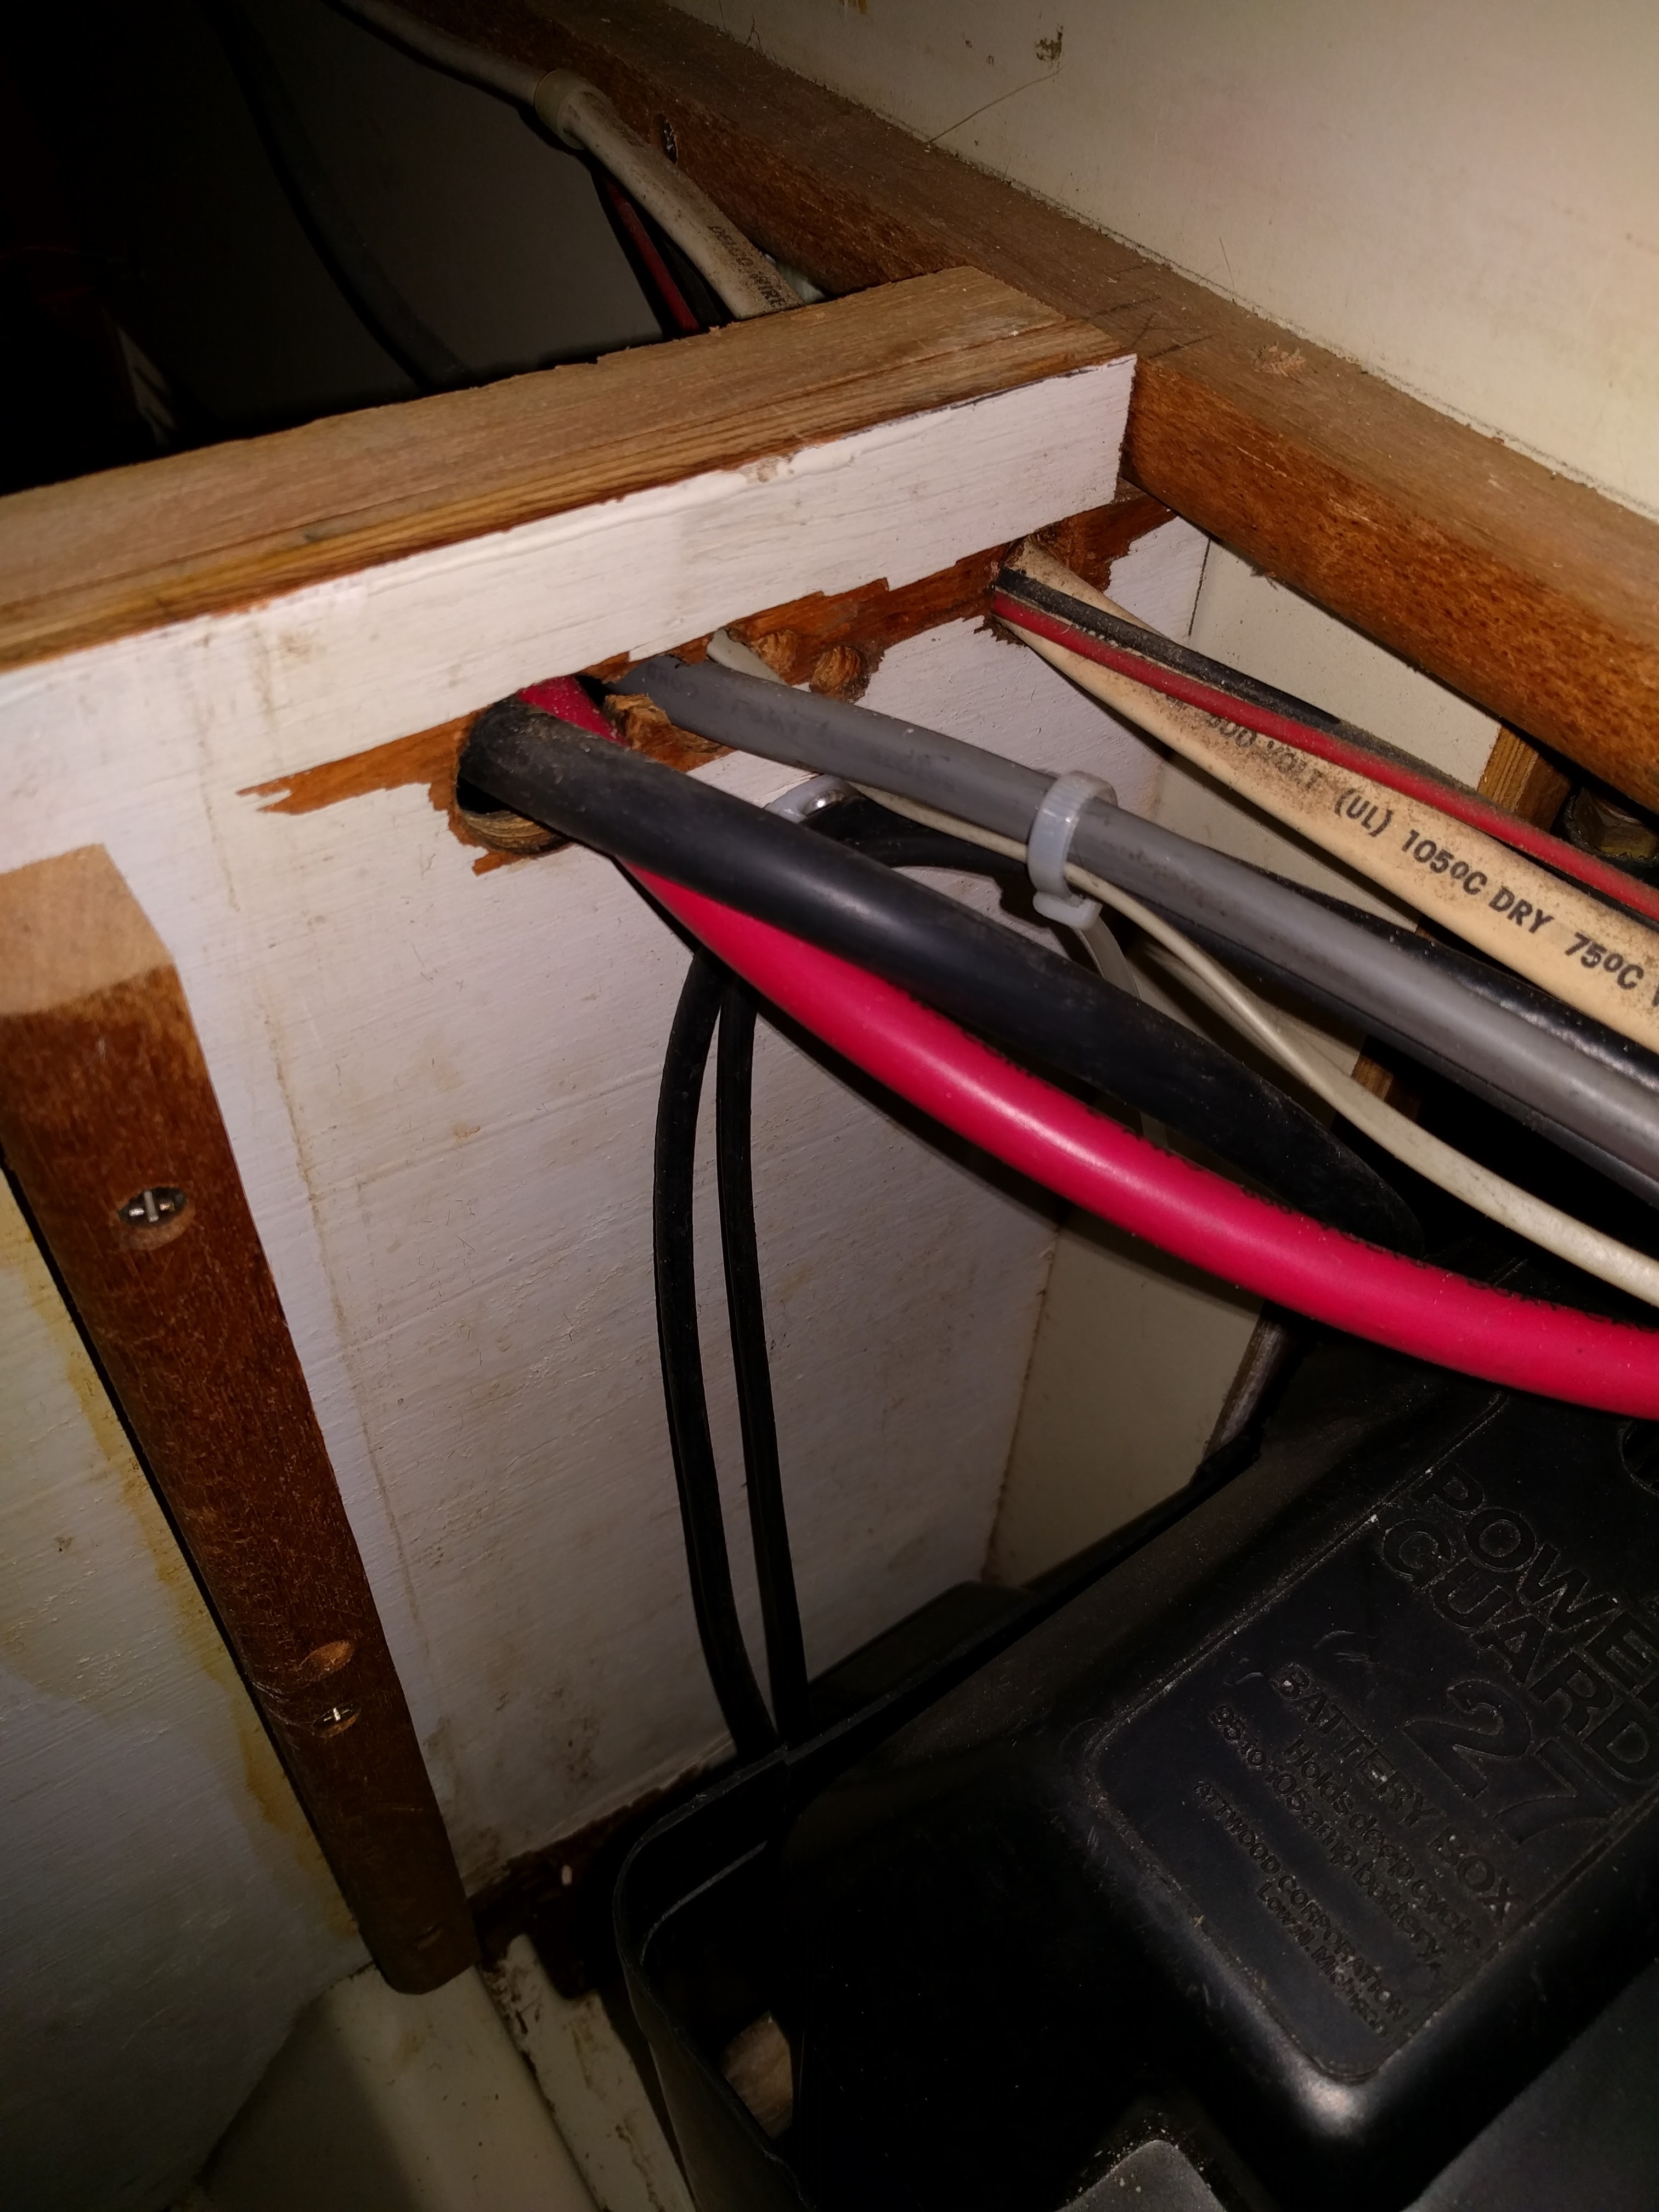
In December I discovered there was some serious wood rot in two interior walls between the engine compartment + below-berth storage compartments. The wet wood was visible as peeling paint, but the worst of the rot was hidden behind the battery boxes, so my surveyor had missed this issue – and I myself had taken 10 months to find it!
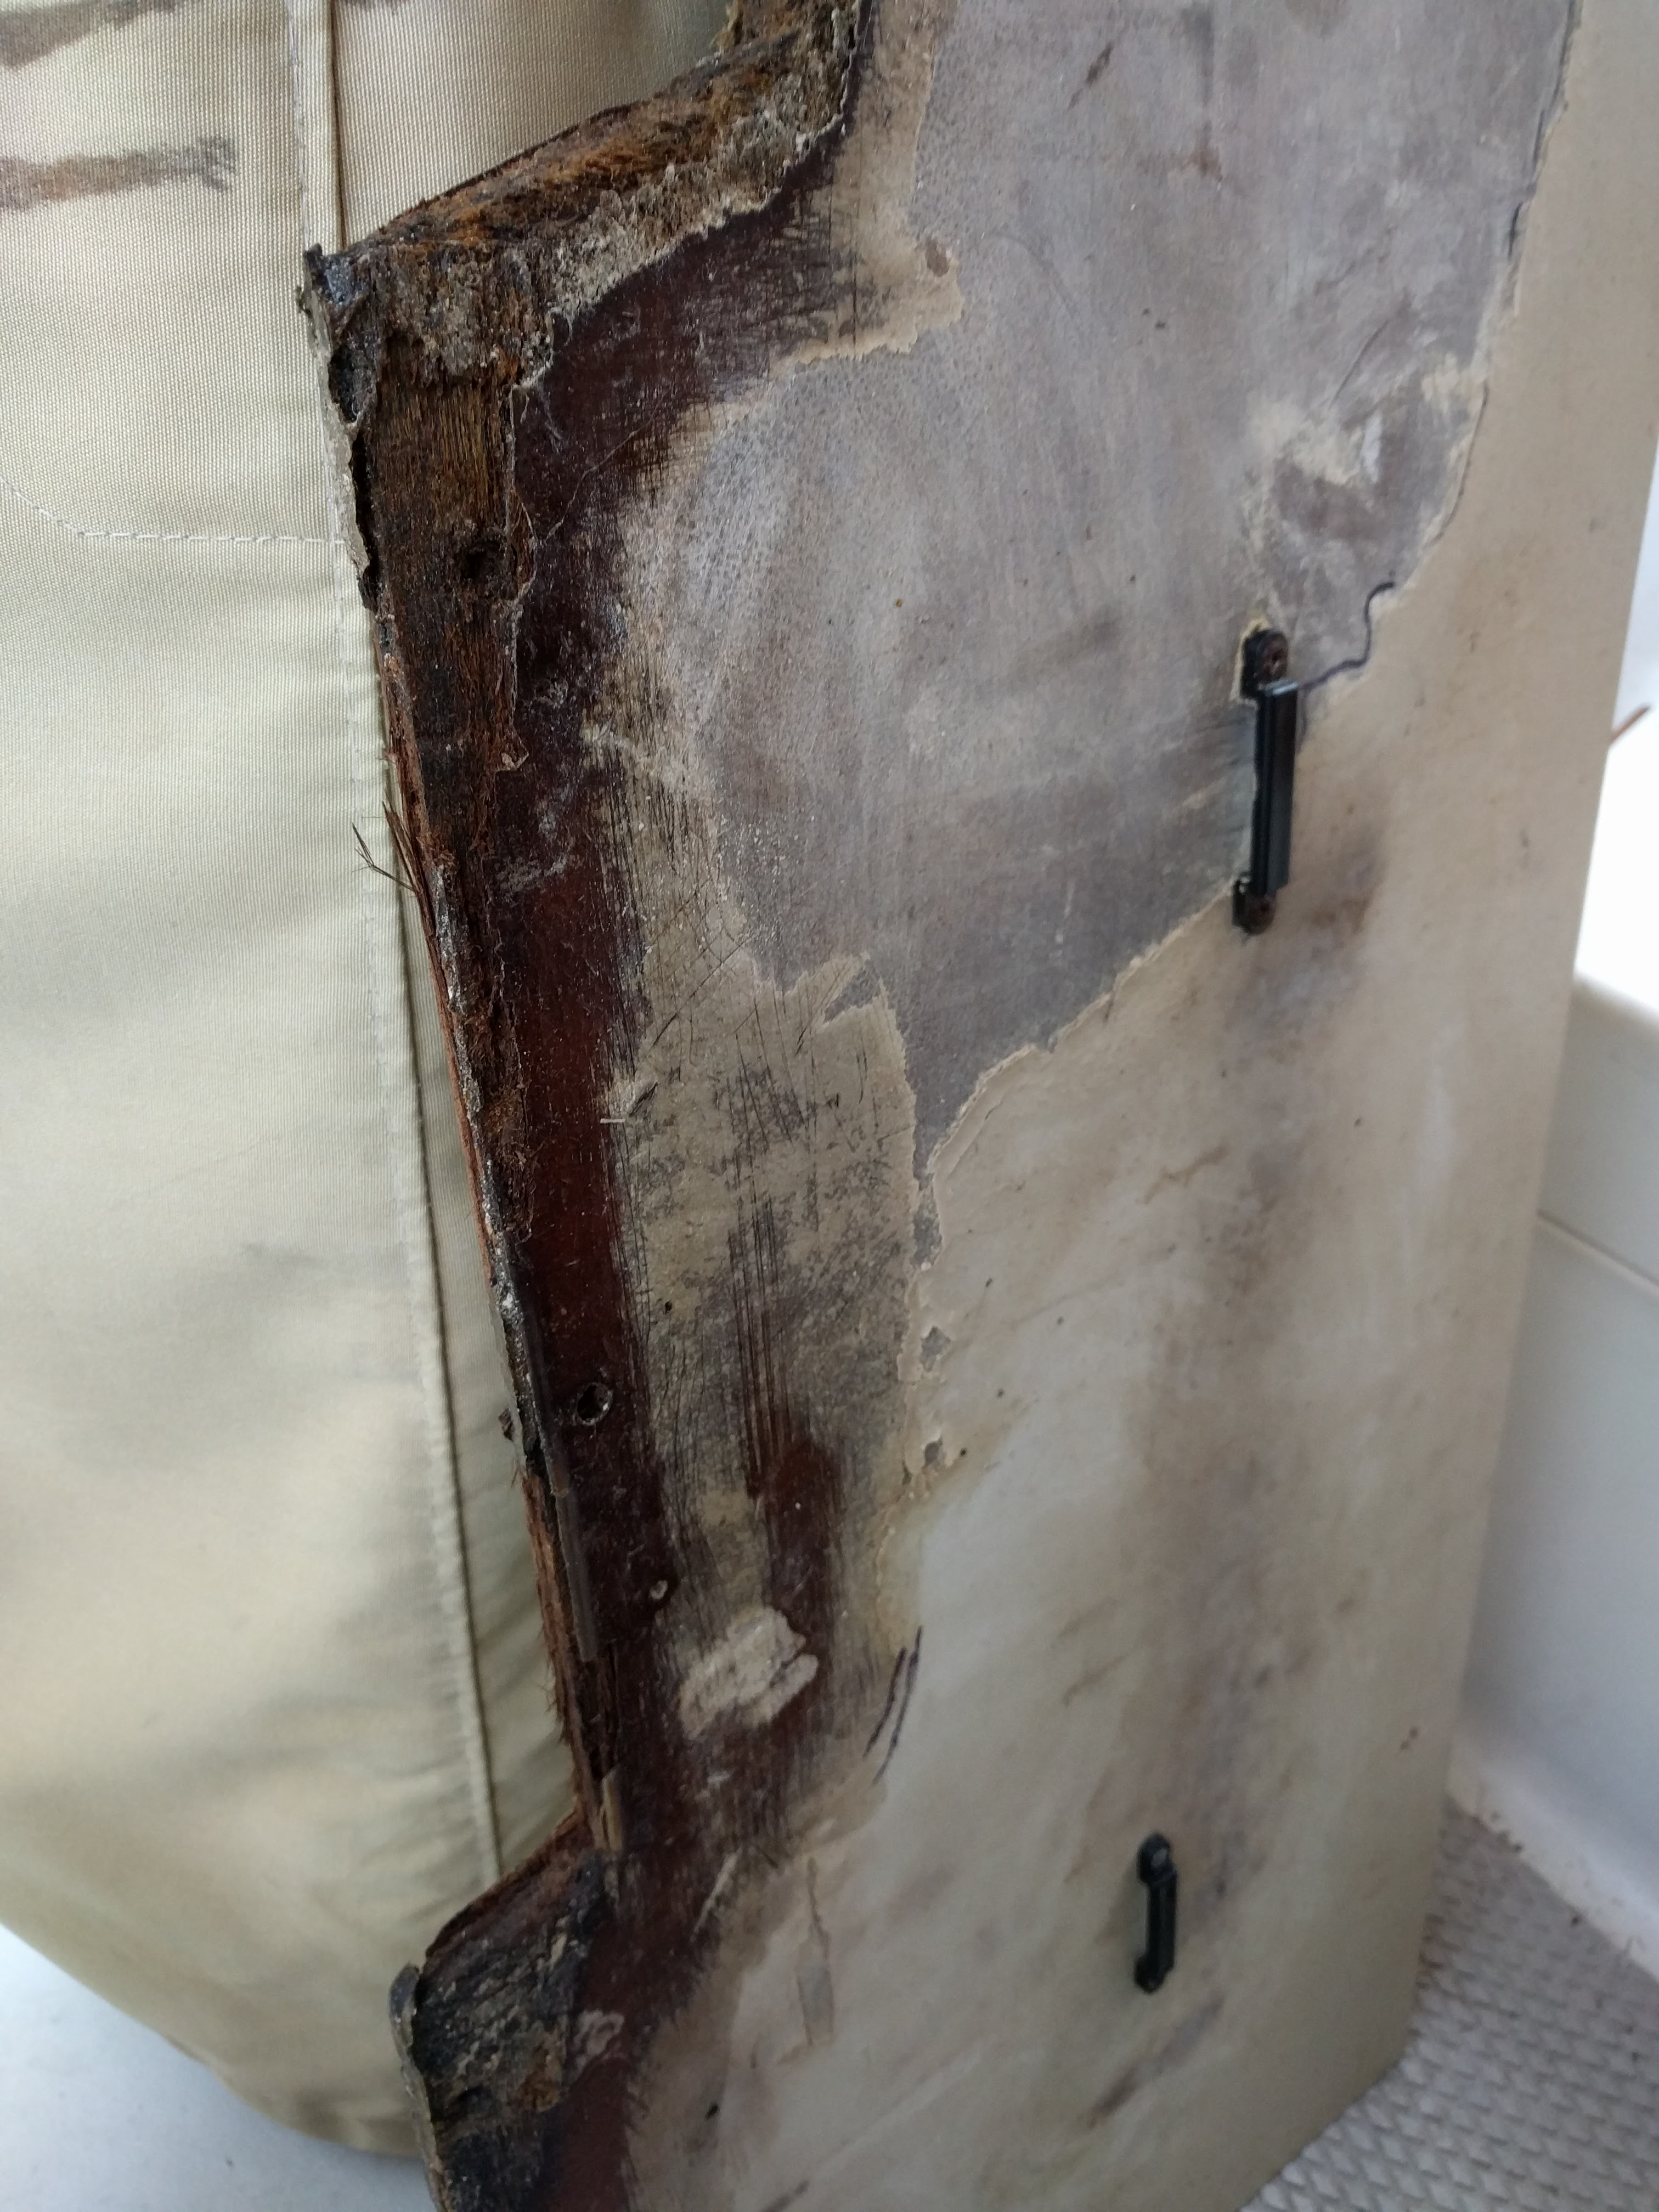
These were not bulkheads so the good news was there was nothing structural about them. But the wall behind the batteries did have the battery tie down straps screwed into mostly rotted wood, so that added some urgency to the project. If we were ever knocked down on a port tack or just hit a big wave the right way, the straps could pull out and the batteries could perhaps fall / spill.
Wood rot is an evil thing. You can ignore it for quite a while, but it will never go away, and might get worse. This deterioration had probably taken years of moisture or standing water from a leak. A prior owner had tried to patch the problem by epoxying over the rotted area. That didn’t work.
This project probably had me go a little loopy, because I started saying things like
I love gelcoat, and fiberglass is god’s gift to mankind.
Gelcoat is as hard as a rock and never rots. Fiberglass is stronger than the strongest wood you could ever find. The nostalgic attachment some boaters have for interior woodwork, or even exterior wood, makes no sense to me – modern production boats have gotten one thing right, and that is getting rid of most wood. The one good thing about wood is it’s easy to work with, and for mainly this reason I replaced the bad wood with – you guessed it – new wood!
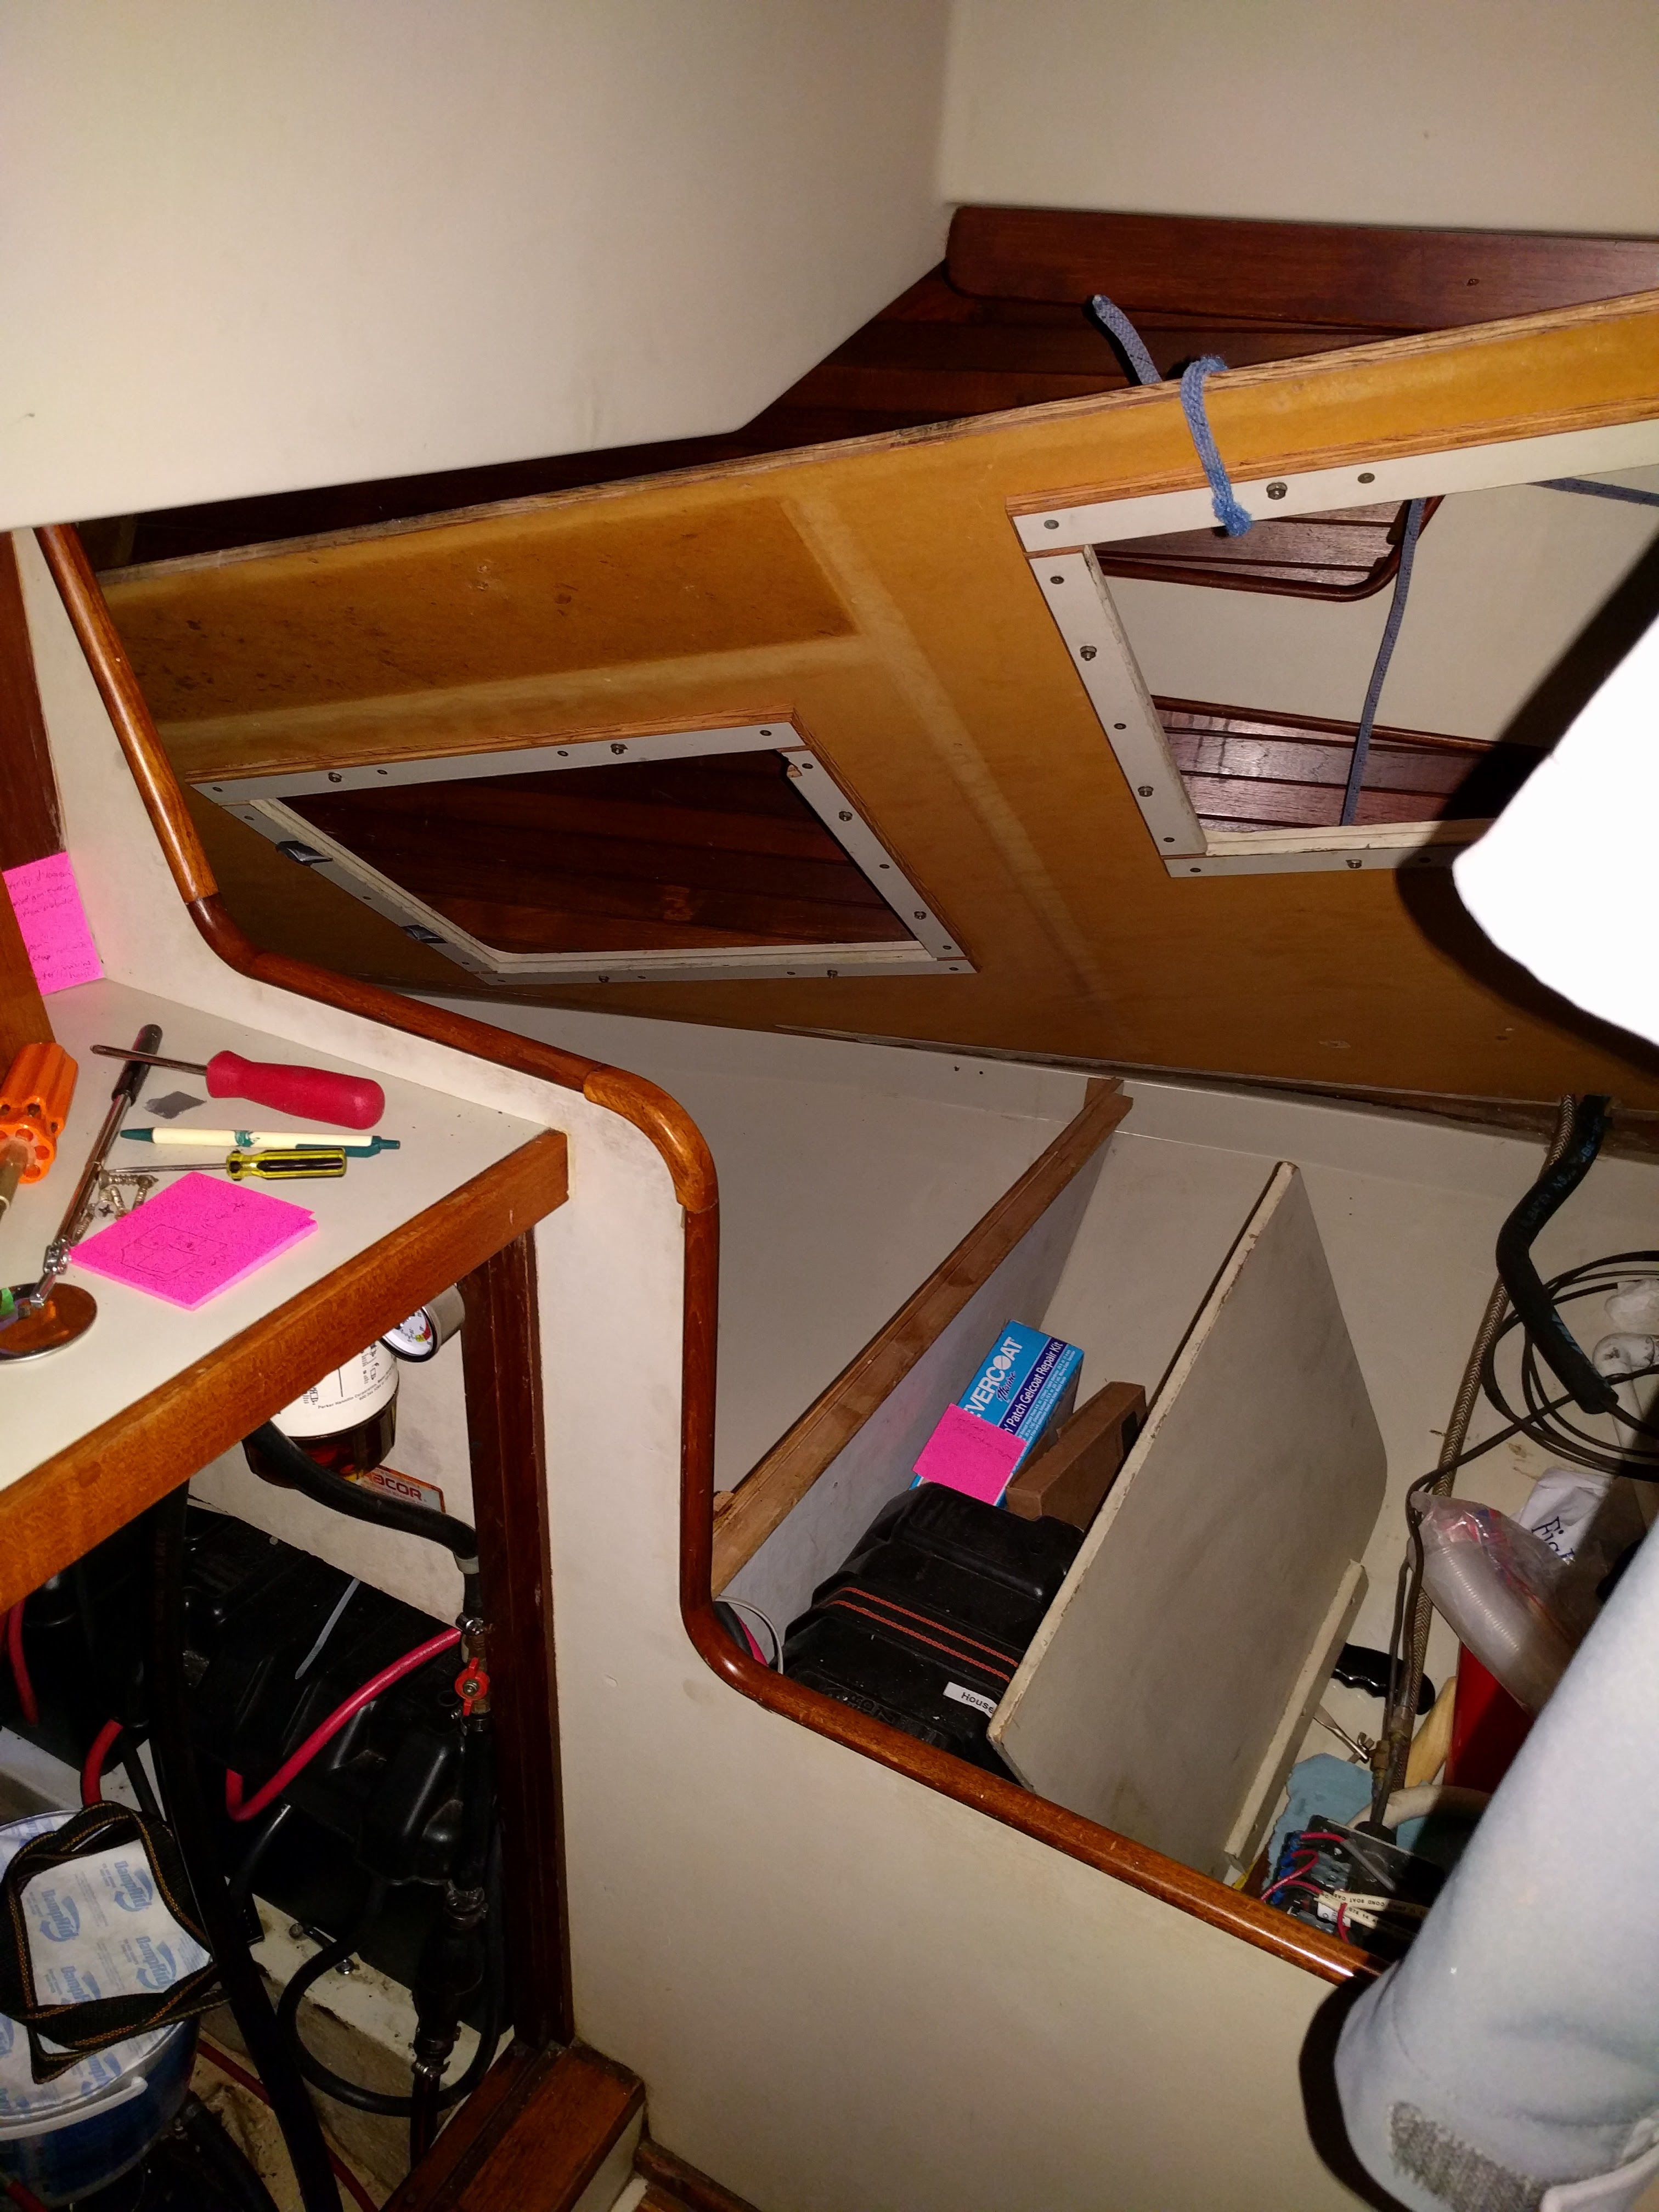
This was an intimidating project because I knew going in it was a 40+ hour project and had several points where things could go wrong. There were 2 partially rotted walls to remove and a very rotted wood platform supporting the Vernalift lift muffler (part of the engine exhaust system). Cutting and painting wood sounds simple, until you realize all the steps it involves on a boat:
- Unscrew berth floorboard and 2 teak trim pieces.
- Figure out how to raise the floorboard and realize you’re not going to be able to get it out. Tie it suspended above your workspace instead and squeeze in under it.
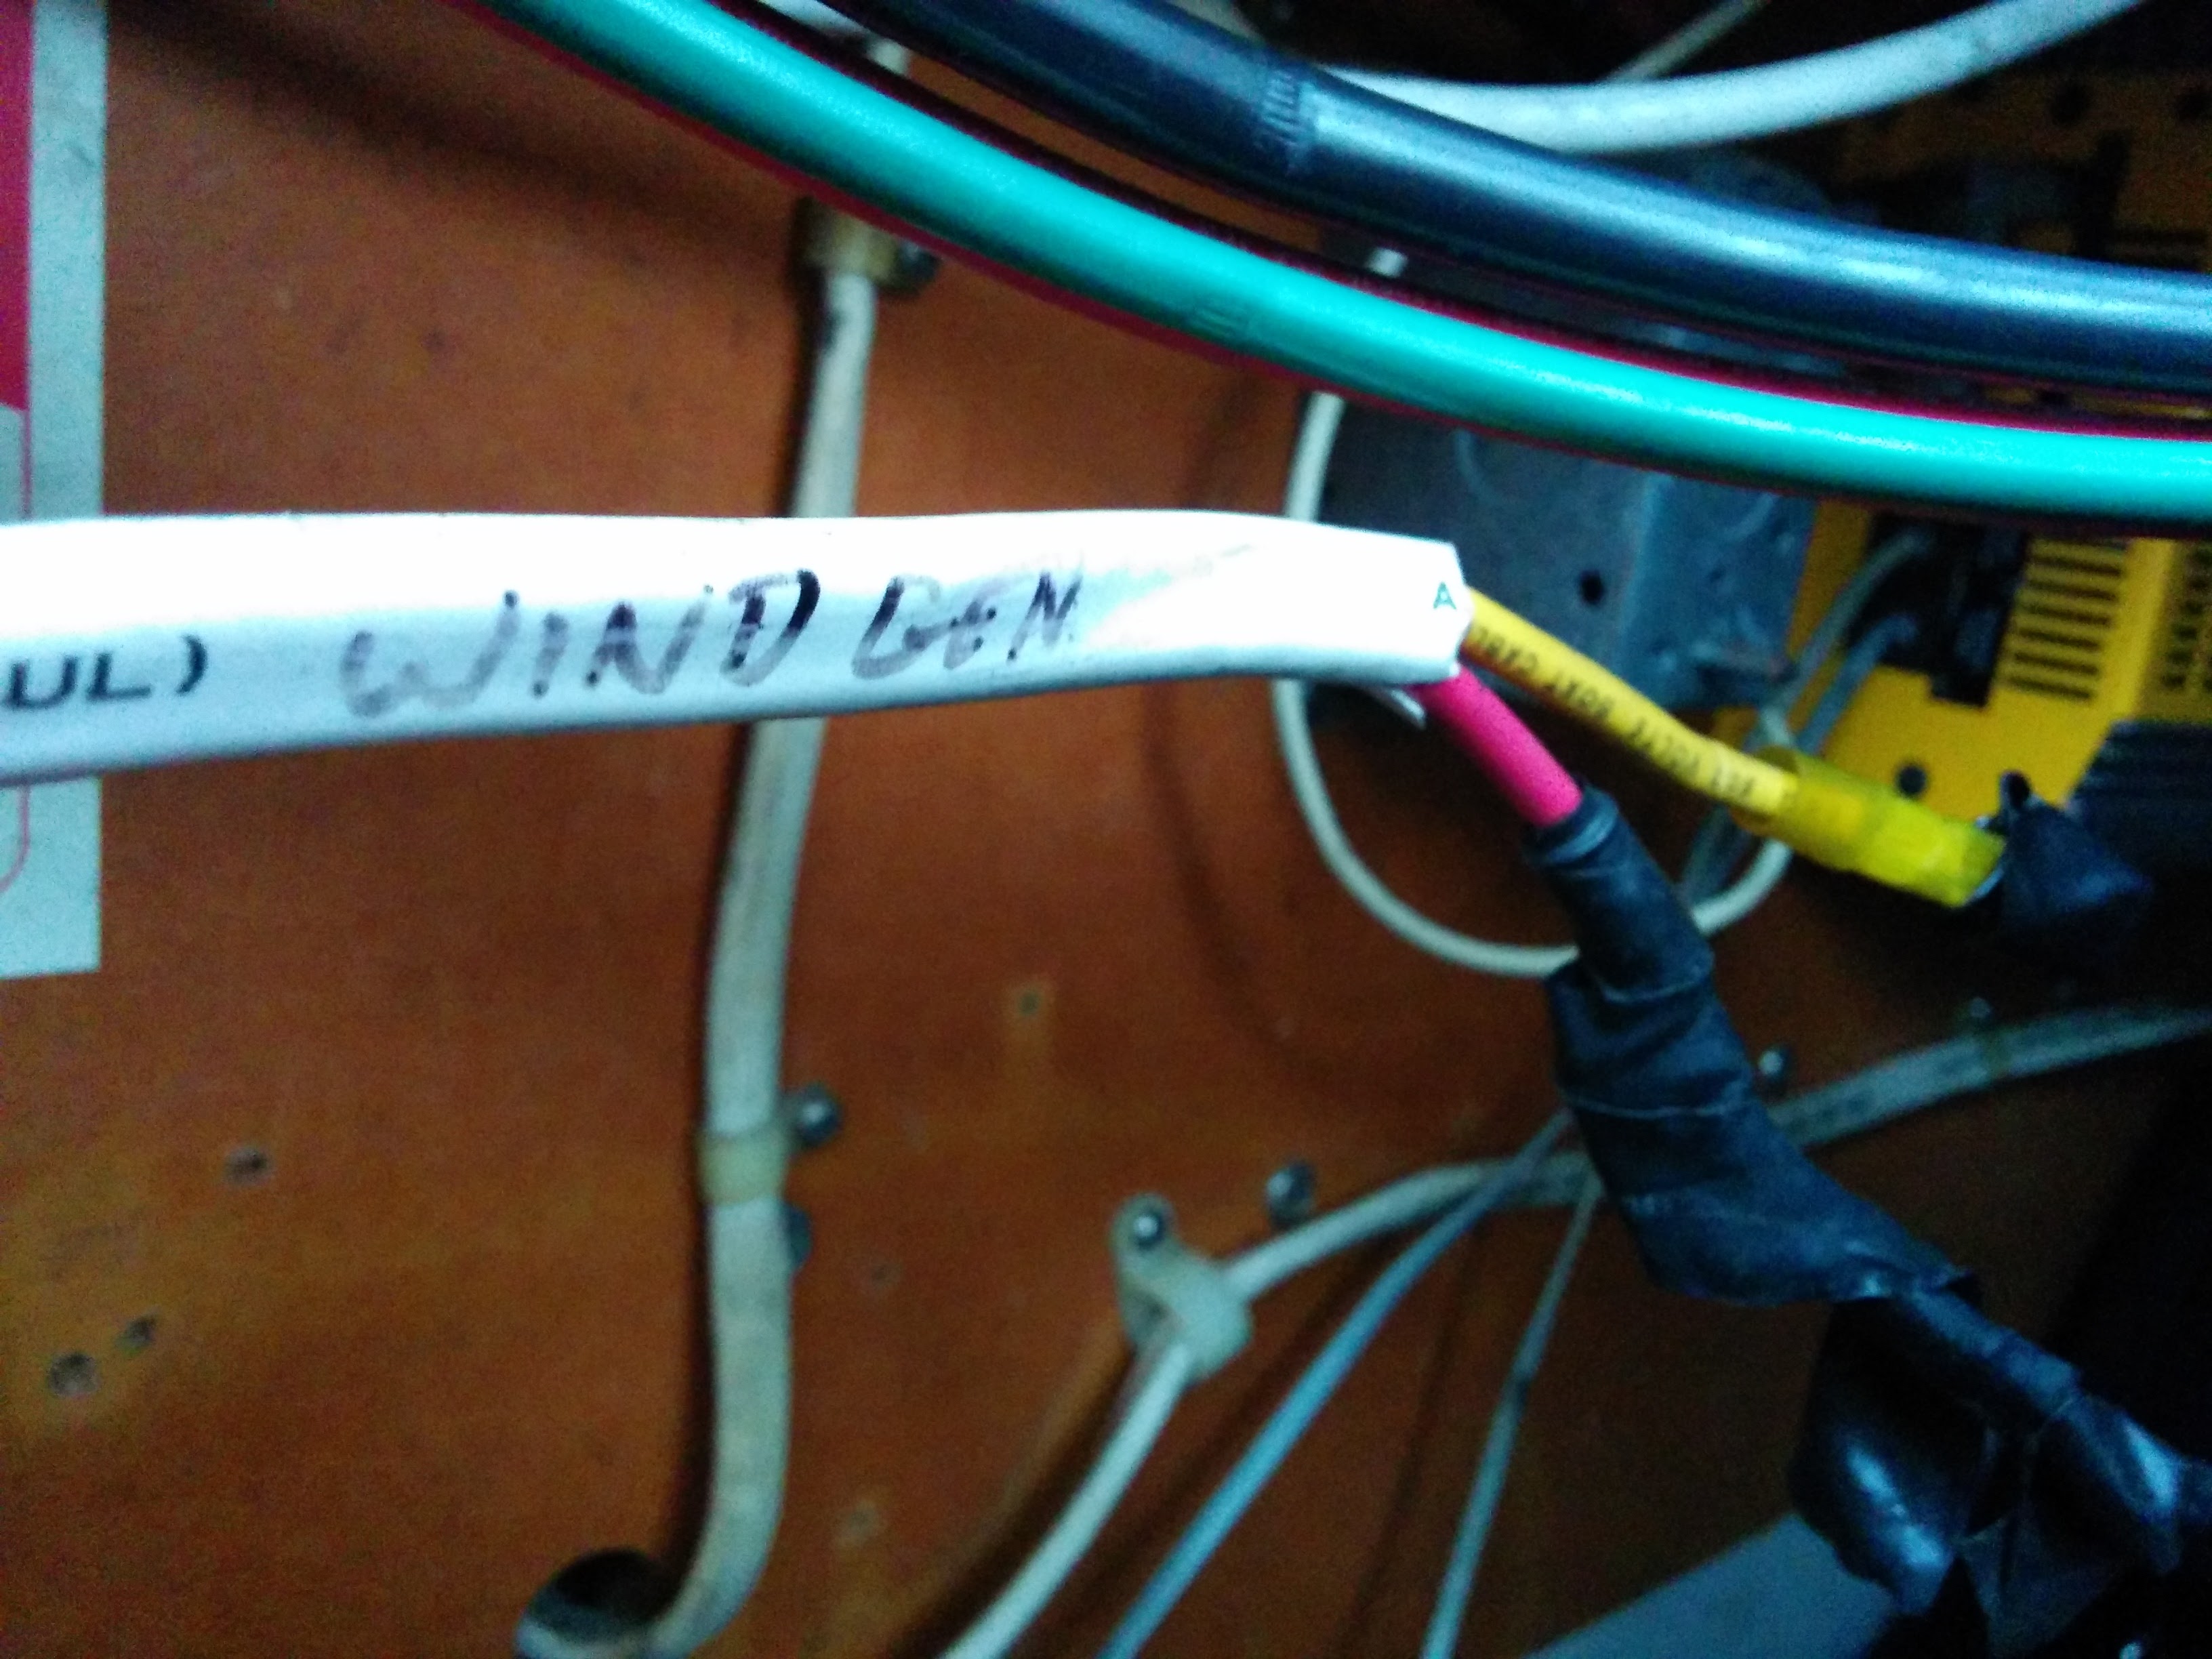
- Remove or move various wiring runs that go through the wall being removed.
- Remove the battery platform which is blocking access to some screws securing the 2nd wall.
- Unscrew the tabs securing the 2 walls, and unscrew the rotted wood below the Vernalift muffler.
- Remove the walls and clean up the rotted wood dust / strips that got left behind.
- Buy a 4’x6’ sheet of marine plywood and get cut to approximate sizes.
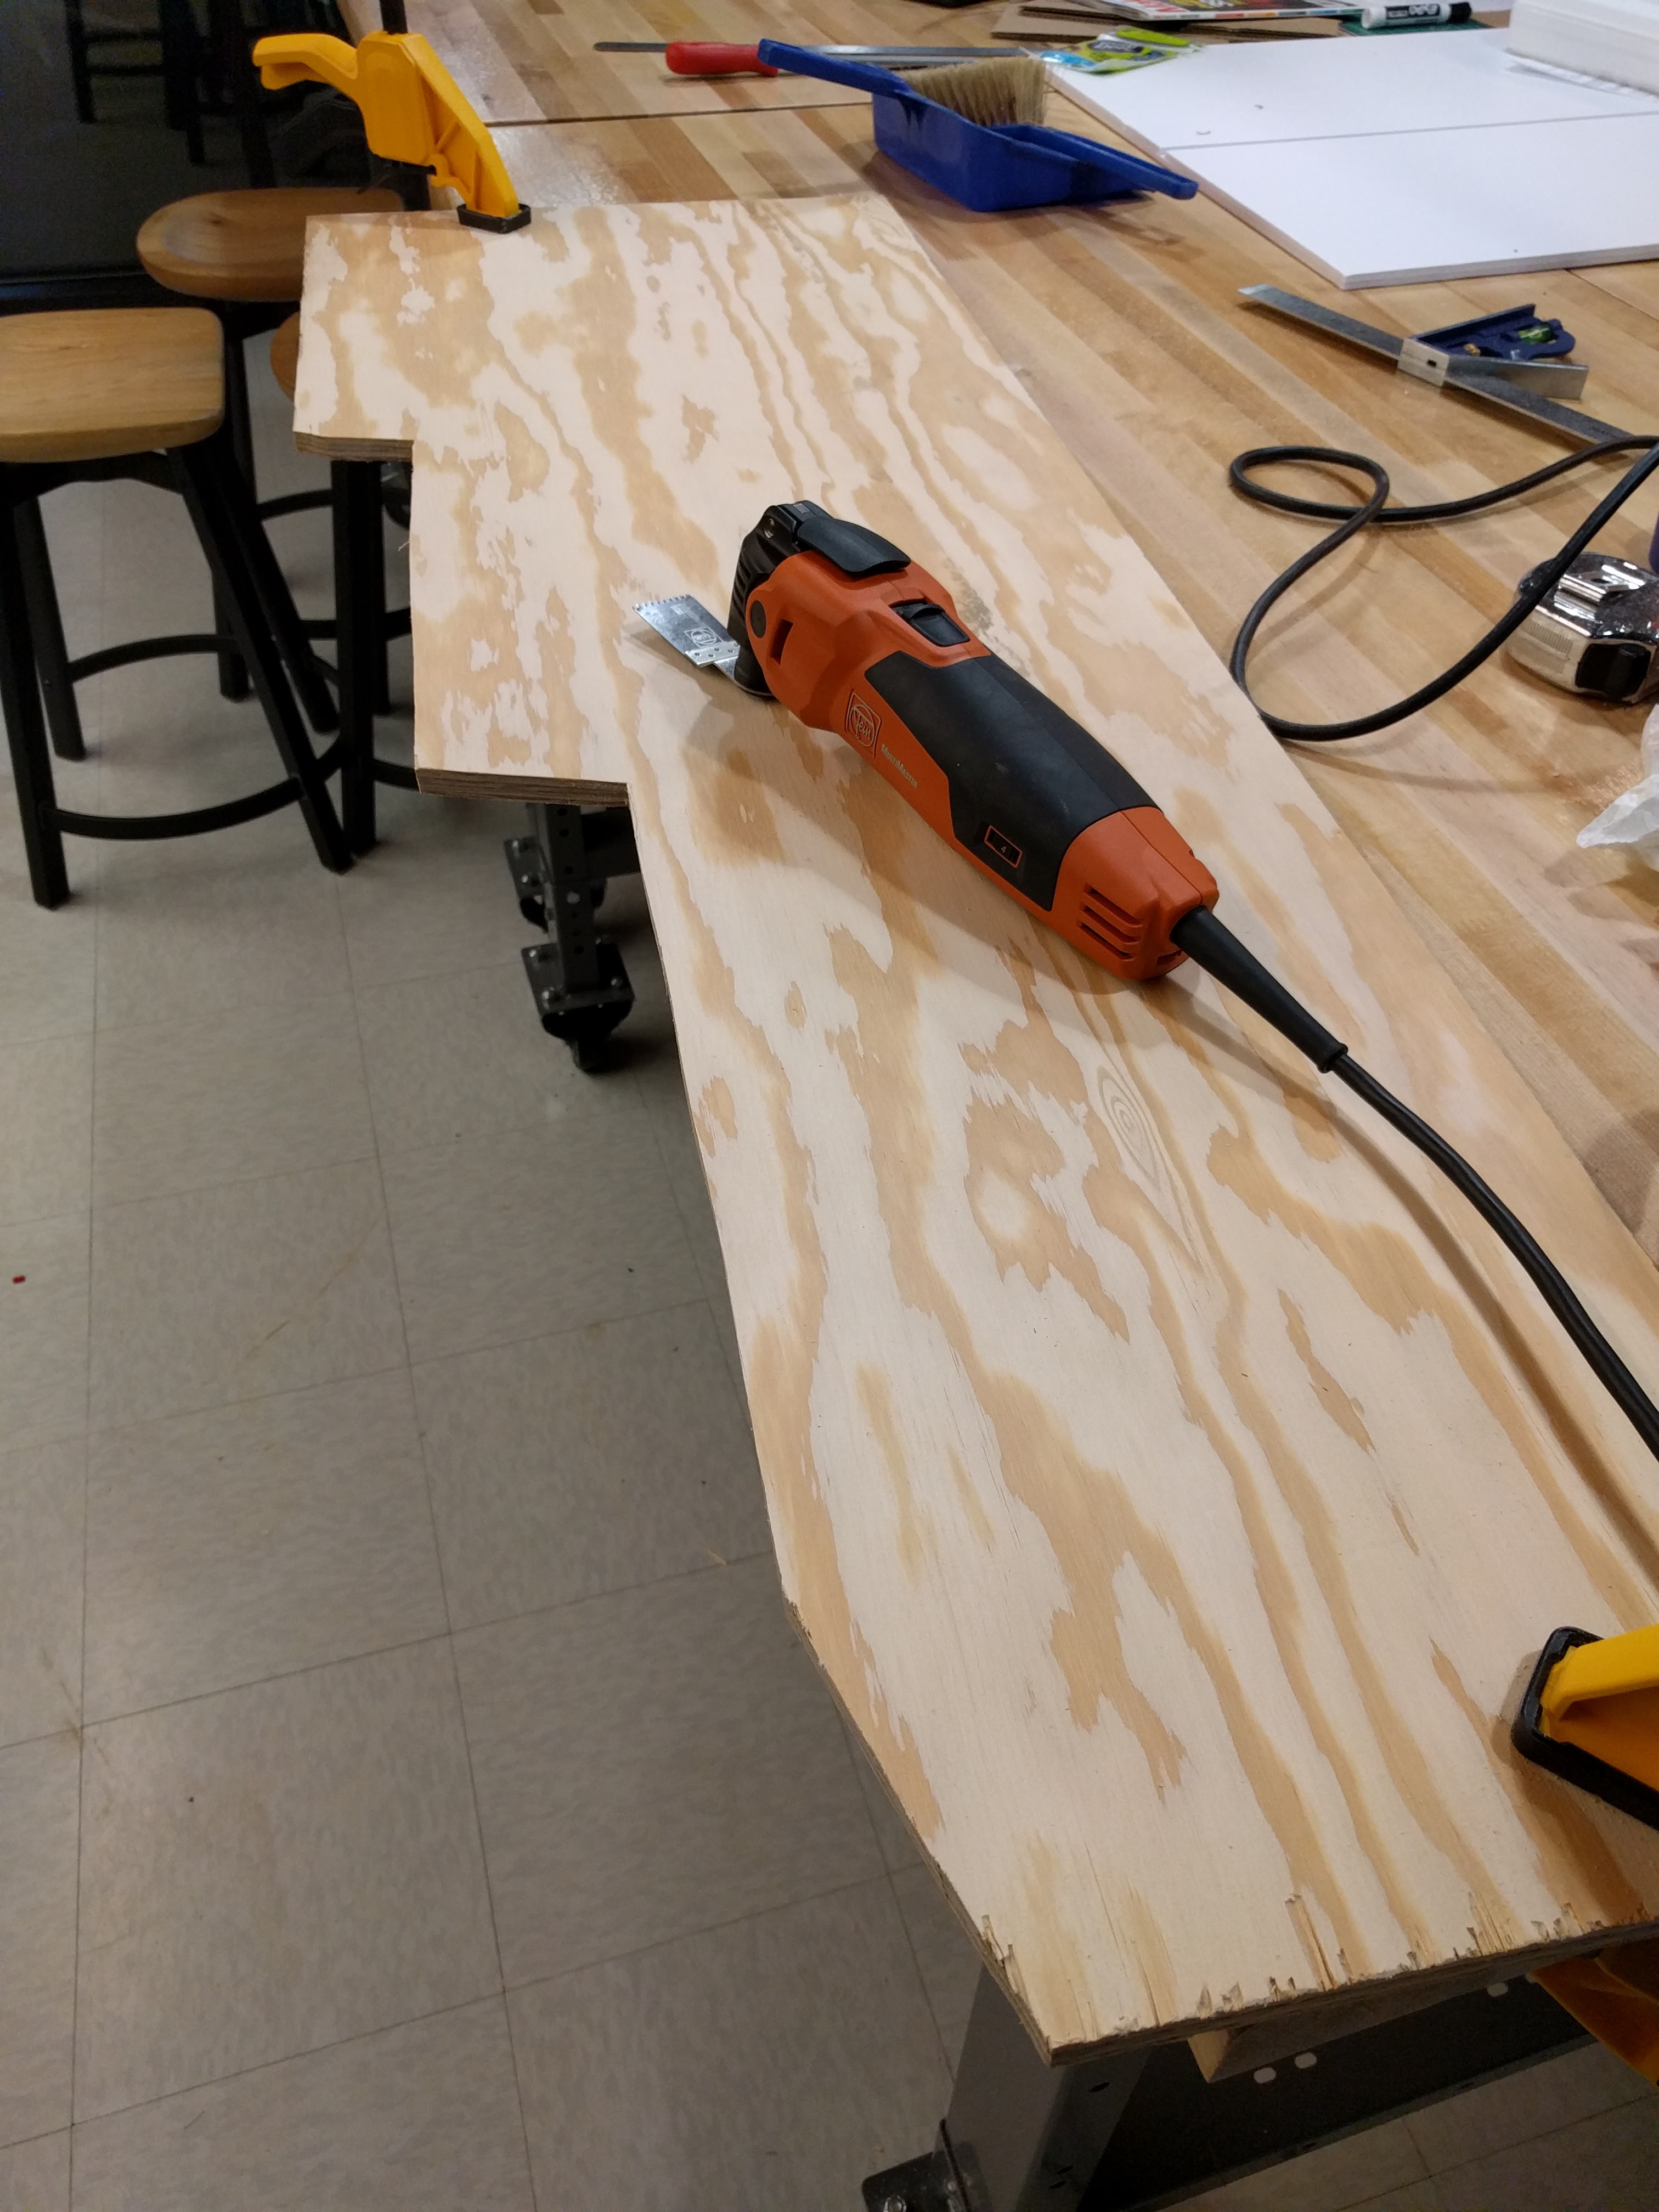
- Cut 3 wood pieces using the old wood as templates with a Fein MultiMaster.
- Test fit the pieces and trim some more.
- Drill 2 holes for wiring runs.
- Drill and mount the edge trim that runs along the top of each wall for securing to the berth floor.
Sealing/painting the new wood: - Paint with Interlux 1026 wood sealer. (1 coat)
- Paint with Interlux Pre-Kote primer. (1 coat)
- Paint with Interlux Brightsides 1-part polyurethane. (2 coats)
Reinstall: - Do 2 more small cuts with the Fein for fit issues I messed up.
- Drill 4 holes for Vernalift platform mounting + 4 holes for the lift muffler itself, and install screws.
- Drill holes (8) for trim tabs on wall #1 and install.
- Drill holes (9) for trim tabs on wall #2 and install.
- Disconnect house power + battery charger and reinstall batteries. Accidentally short the starter battery when the positive cable gets bumped into the engine (which is the ground), creating sparks. Oops! 🙁
- Drill and attach battery tie down clasps.
- Reinstall the berth floor and teak trim pieces.
Decisions, Decisions
When I first discovered this rot I was really bummed out. I knew the project would displace 5 to 10 other smaller projects, and might interfere with sailing time (because the batteries wouldn’t be secured). But ignoring it wouldn’t make it go away.
The first thing to decide was how to fix it. There were a few options, a couple of which were shortcuts:
- Inject GitRot into the wood and epoxy or fiberglass over the rotted parts.
I decided against this because the area of rot was too large and too far gone – GitRot wouldn’t fix wood this bad, and fiberglass patching would just be a bandaid – and might not stop the rot from eventually spreading. - Cut out the rotted sections and scarf in new wood. (“scarf” is a woodworkers term for glueing in a patch basically). This would be pretty difficult because I’d be working in very tight quarters. Doing the woodwork in the boat would be quite messy, and the finished job might not be as strong as a solid piece of new wood.
- Replace the entire panel with new wood. C&C installed all their interior walls in a neat way, with screwed in edging strips, which would actually make it fairly easy to just remove each wall unit entirely.
- Replace the panels with Starboard or some other plastic composite. I decided against this because large sheets of Starboard (½” by 4’x8’) are expensive – and it’d be more difficult to work with than wood.
Painting
The wood prep and painting part of this job was probably the hardest part. I wanted to select the right wood and treat it in a way that it would never rot, or at least not for a very long time, in the way that the original wood had.

The painting was in some ways more challenging than expected. We live in an apartment, not a house, so we don’t have a garage or workshop. And this couldn’t be done outdoors at the marina because it’s raining every day, and wind would blow dust and stuff onto the paint. The painting would take up to a week because of how many coats are required, with drying time in between. Doing it inside the boat would’ve been very difficult and would mean making a trip to the marina nearly every night of the week. So we set up a painting station inside our apartment.
One other challenge was the 1-part polyurethane paint. It’s not the same as your average household paint. Don’t shake the can to mix it because that introduces bubbles. We had awful bubbles all over the painted surface when using a roller, but found either going very very slowly with the roller, or using a brush, worked.
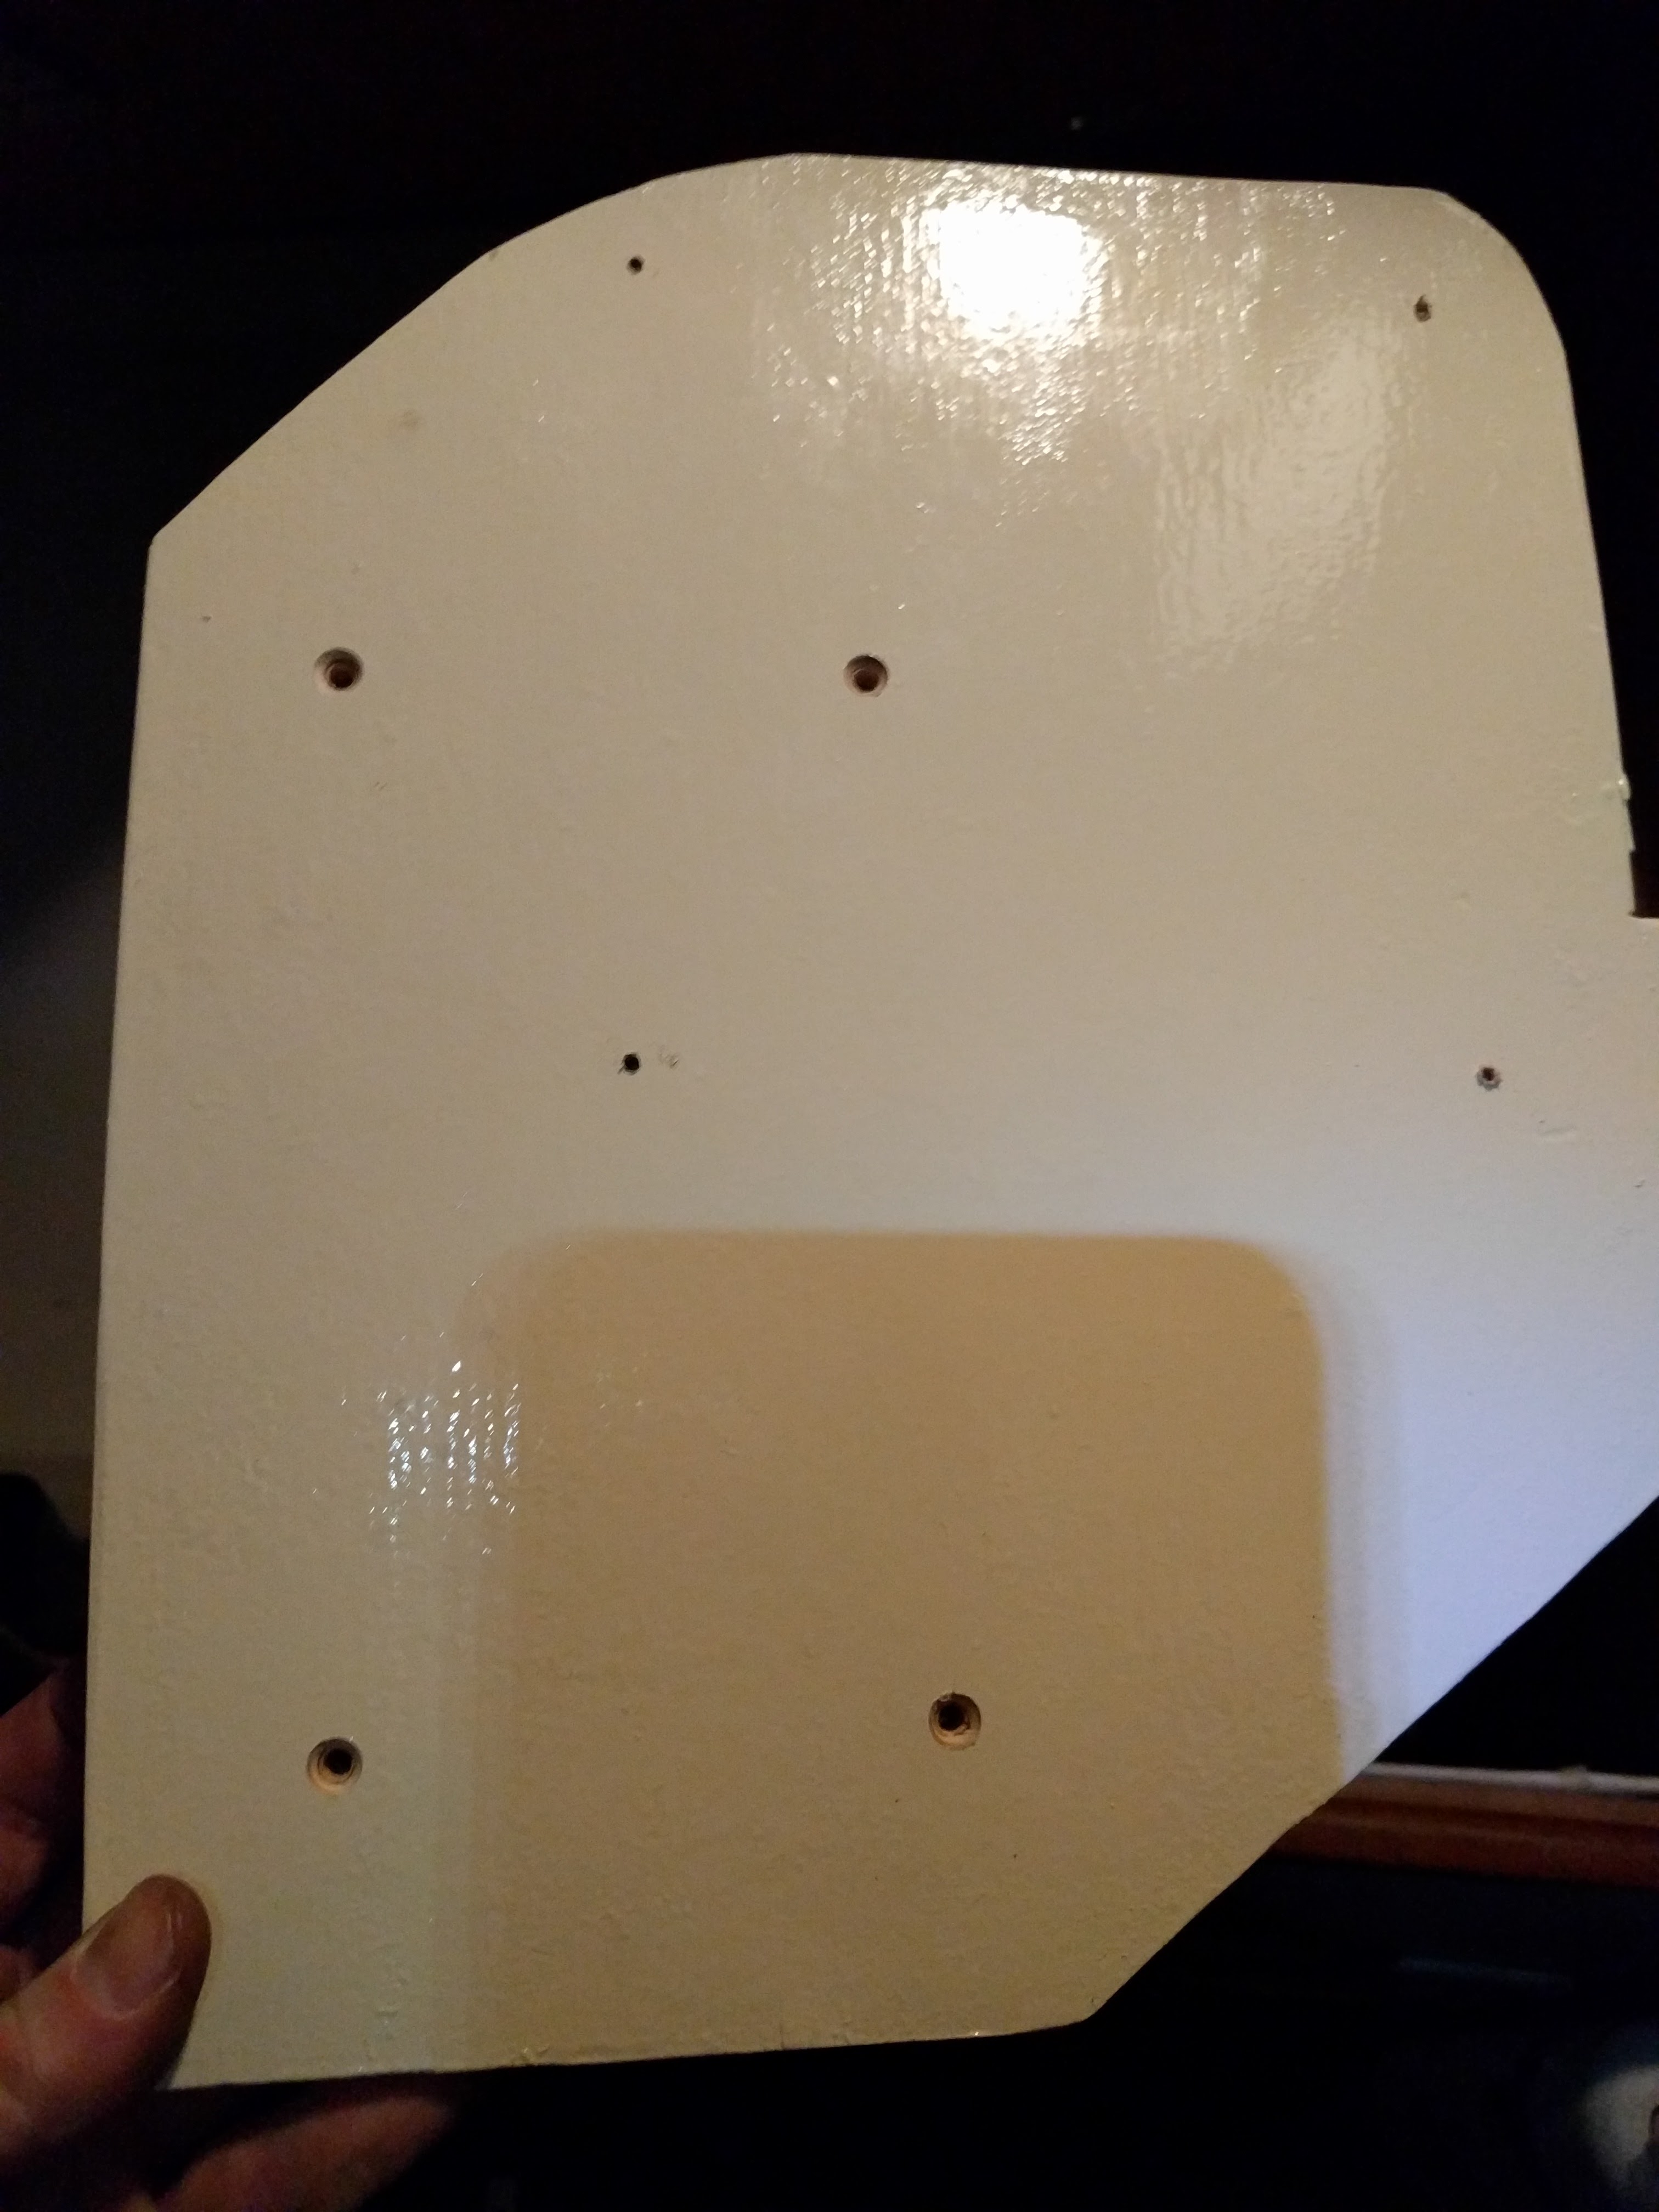
The *new* exhaust lift muffler platform
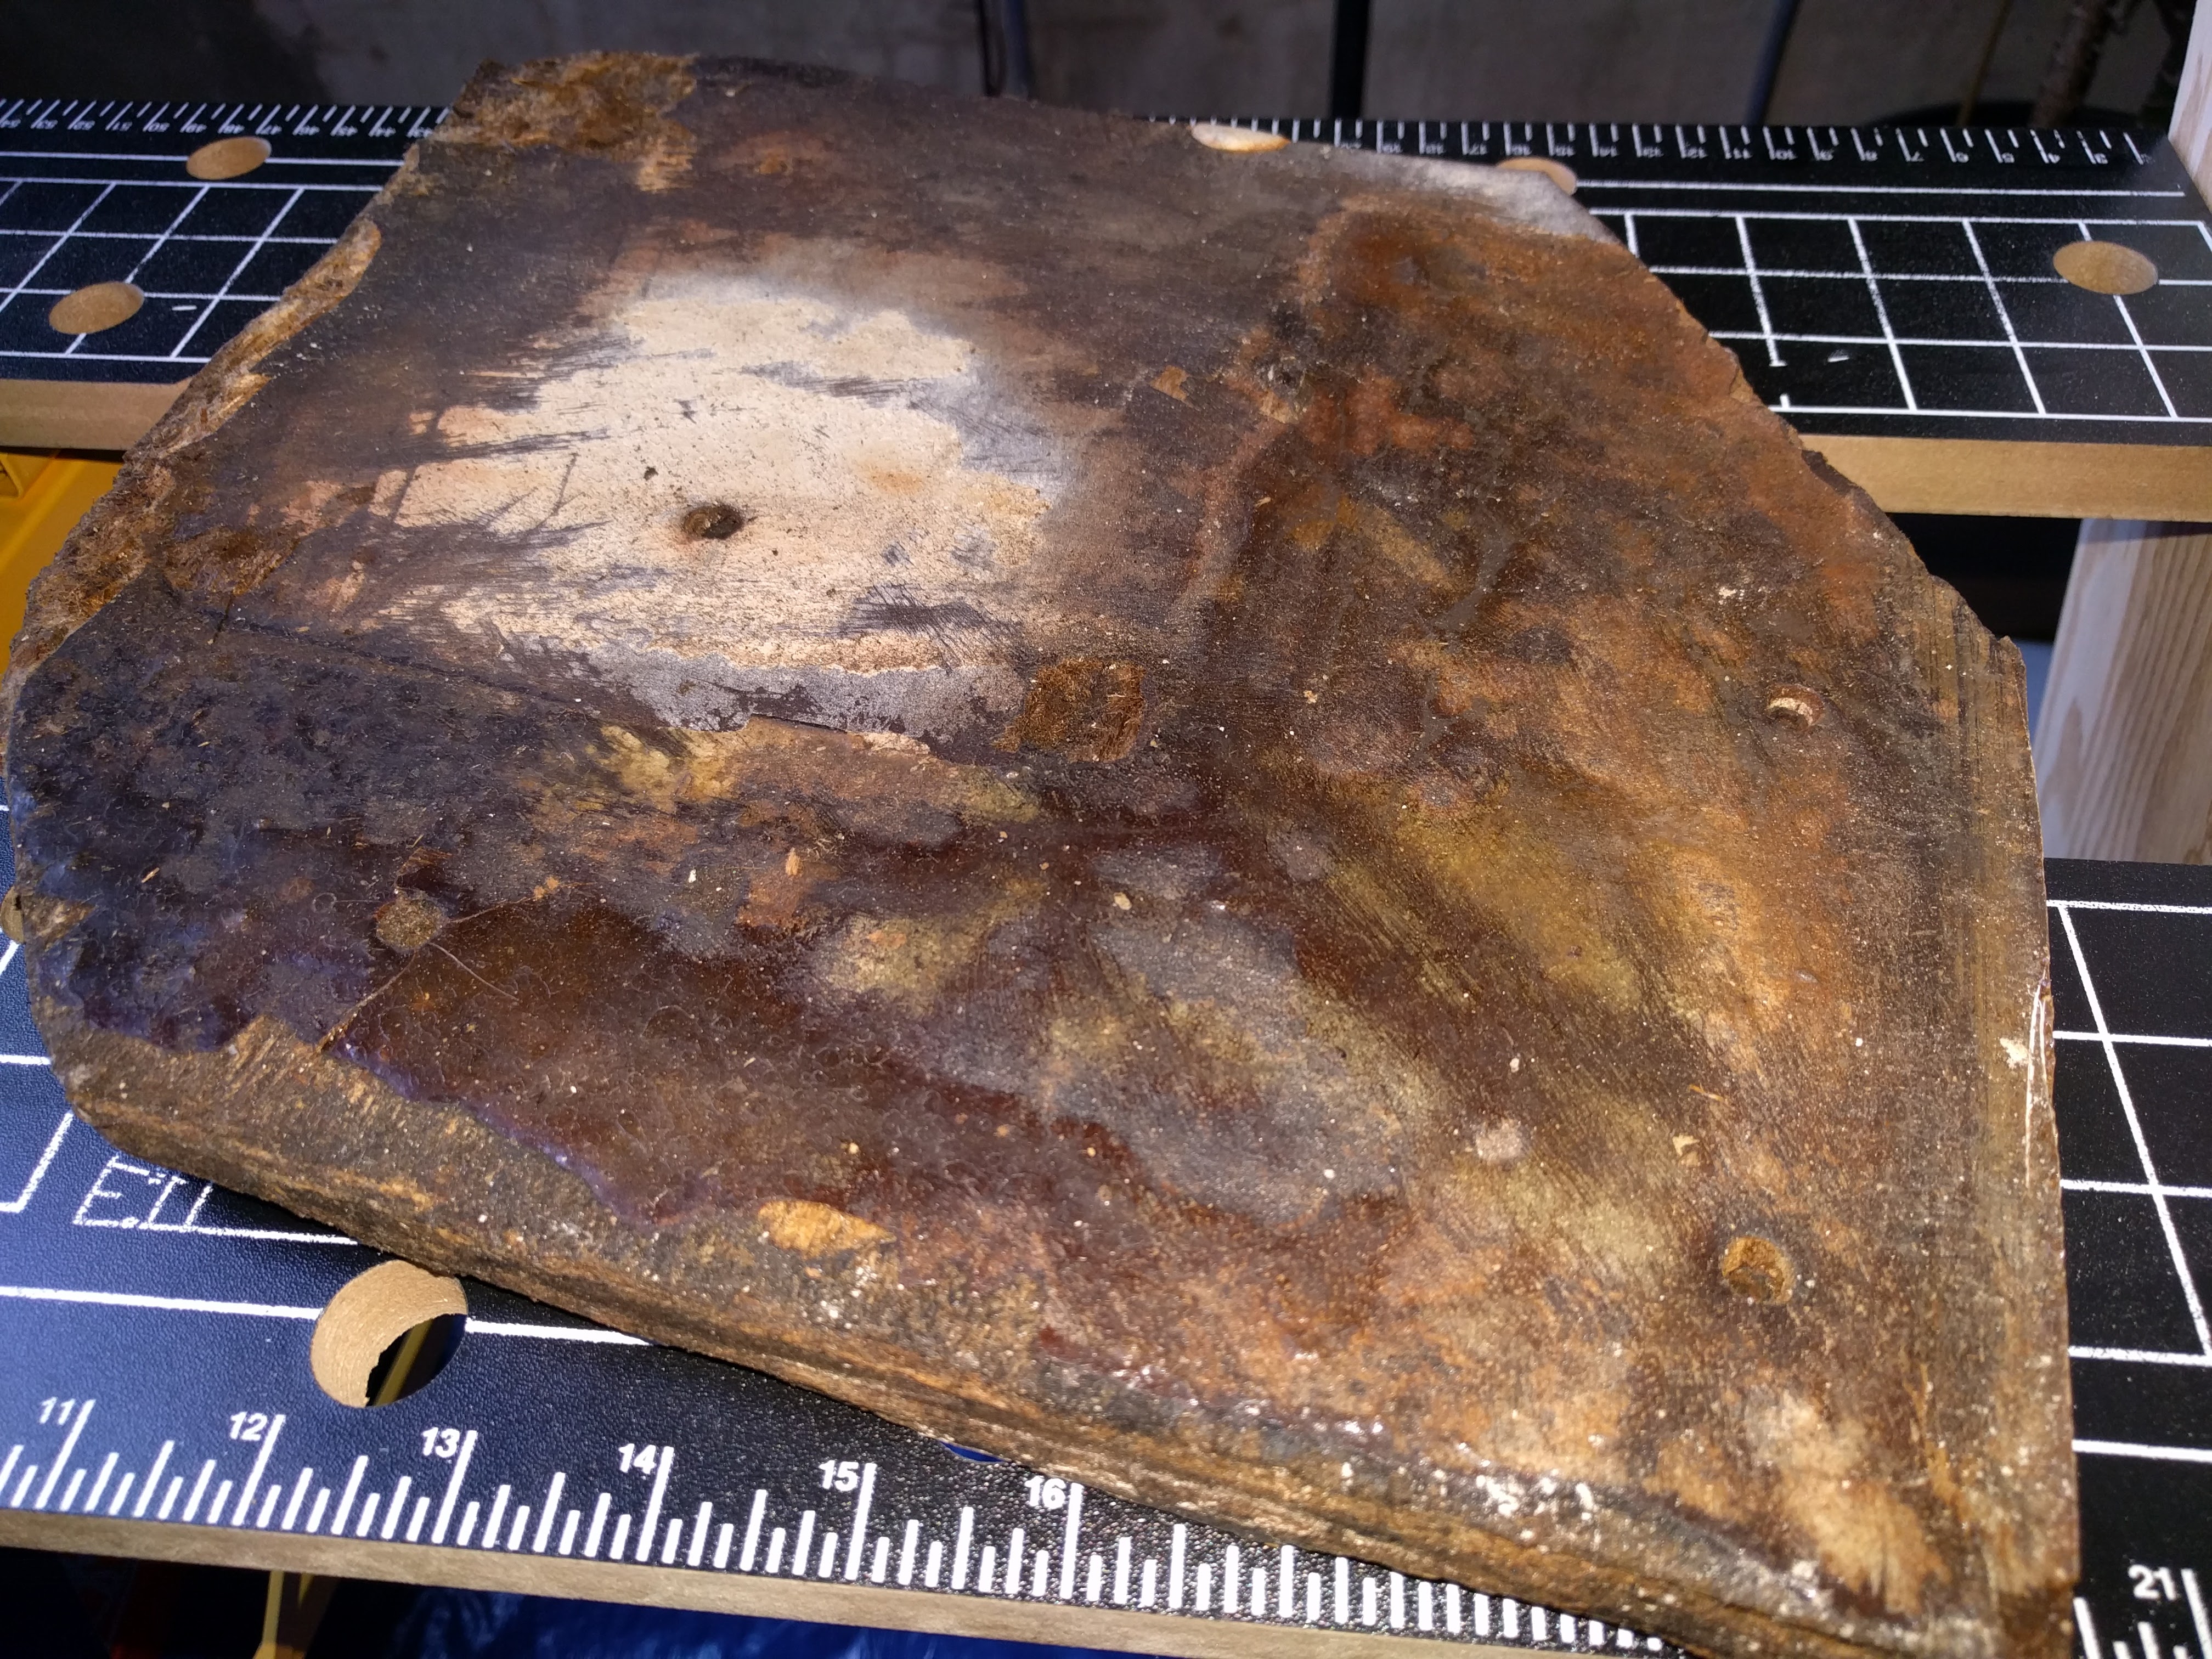
The *old* exhaust lift muffler platform
The Fein MultiMaster was a wonderful tool for cutting plywood quickly and with good precision. This was my first time using it for a big project, and I had bought it on recommendations from other cruising blogs and books. I could’ve used other tools like a jigsaw but the Fein is a more versatile tool that I can use for other things as well.
In the end, this project sucked up a lot of time – potentially displacing other projects or actual sailing time. Lately I’ve been worried I’ve been worried our project time to sailing time ratio has gone out of whack. But, it was rainy and stormy for much of January and February while I was working on this. And I’m glad to have nice clean wood in there now and know there isn’t rot slowly eating it away.