Monthly Archives: June 2015

A Review of Fishermen’s Terminal Marina

With our departure for Vancouver Island coming up in 2 weeks, we likely won’t be returning to Fishermen’s Terminal marina, our boat’s home for the last 4 months. When we get back in August it’ll be to Elliott Bay marina, and eventually Shilshole. Shilshole has a 10 month wait list, so we’ll be waiting till the winter for that.

But Fishermen’s Terminal has treated us well, and we will miss it.

IMG_20150629_211047-EFFECTS

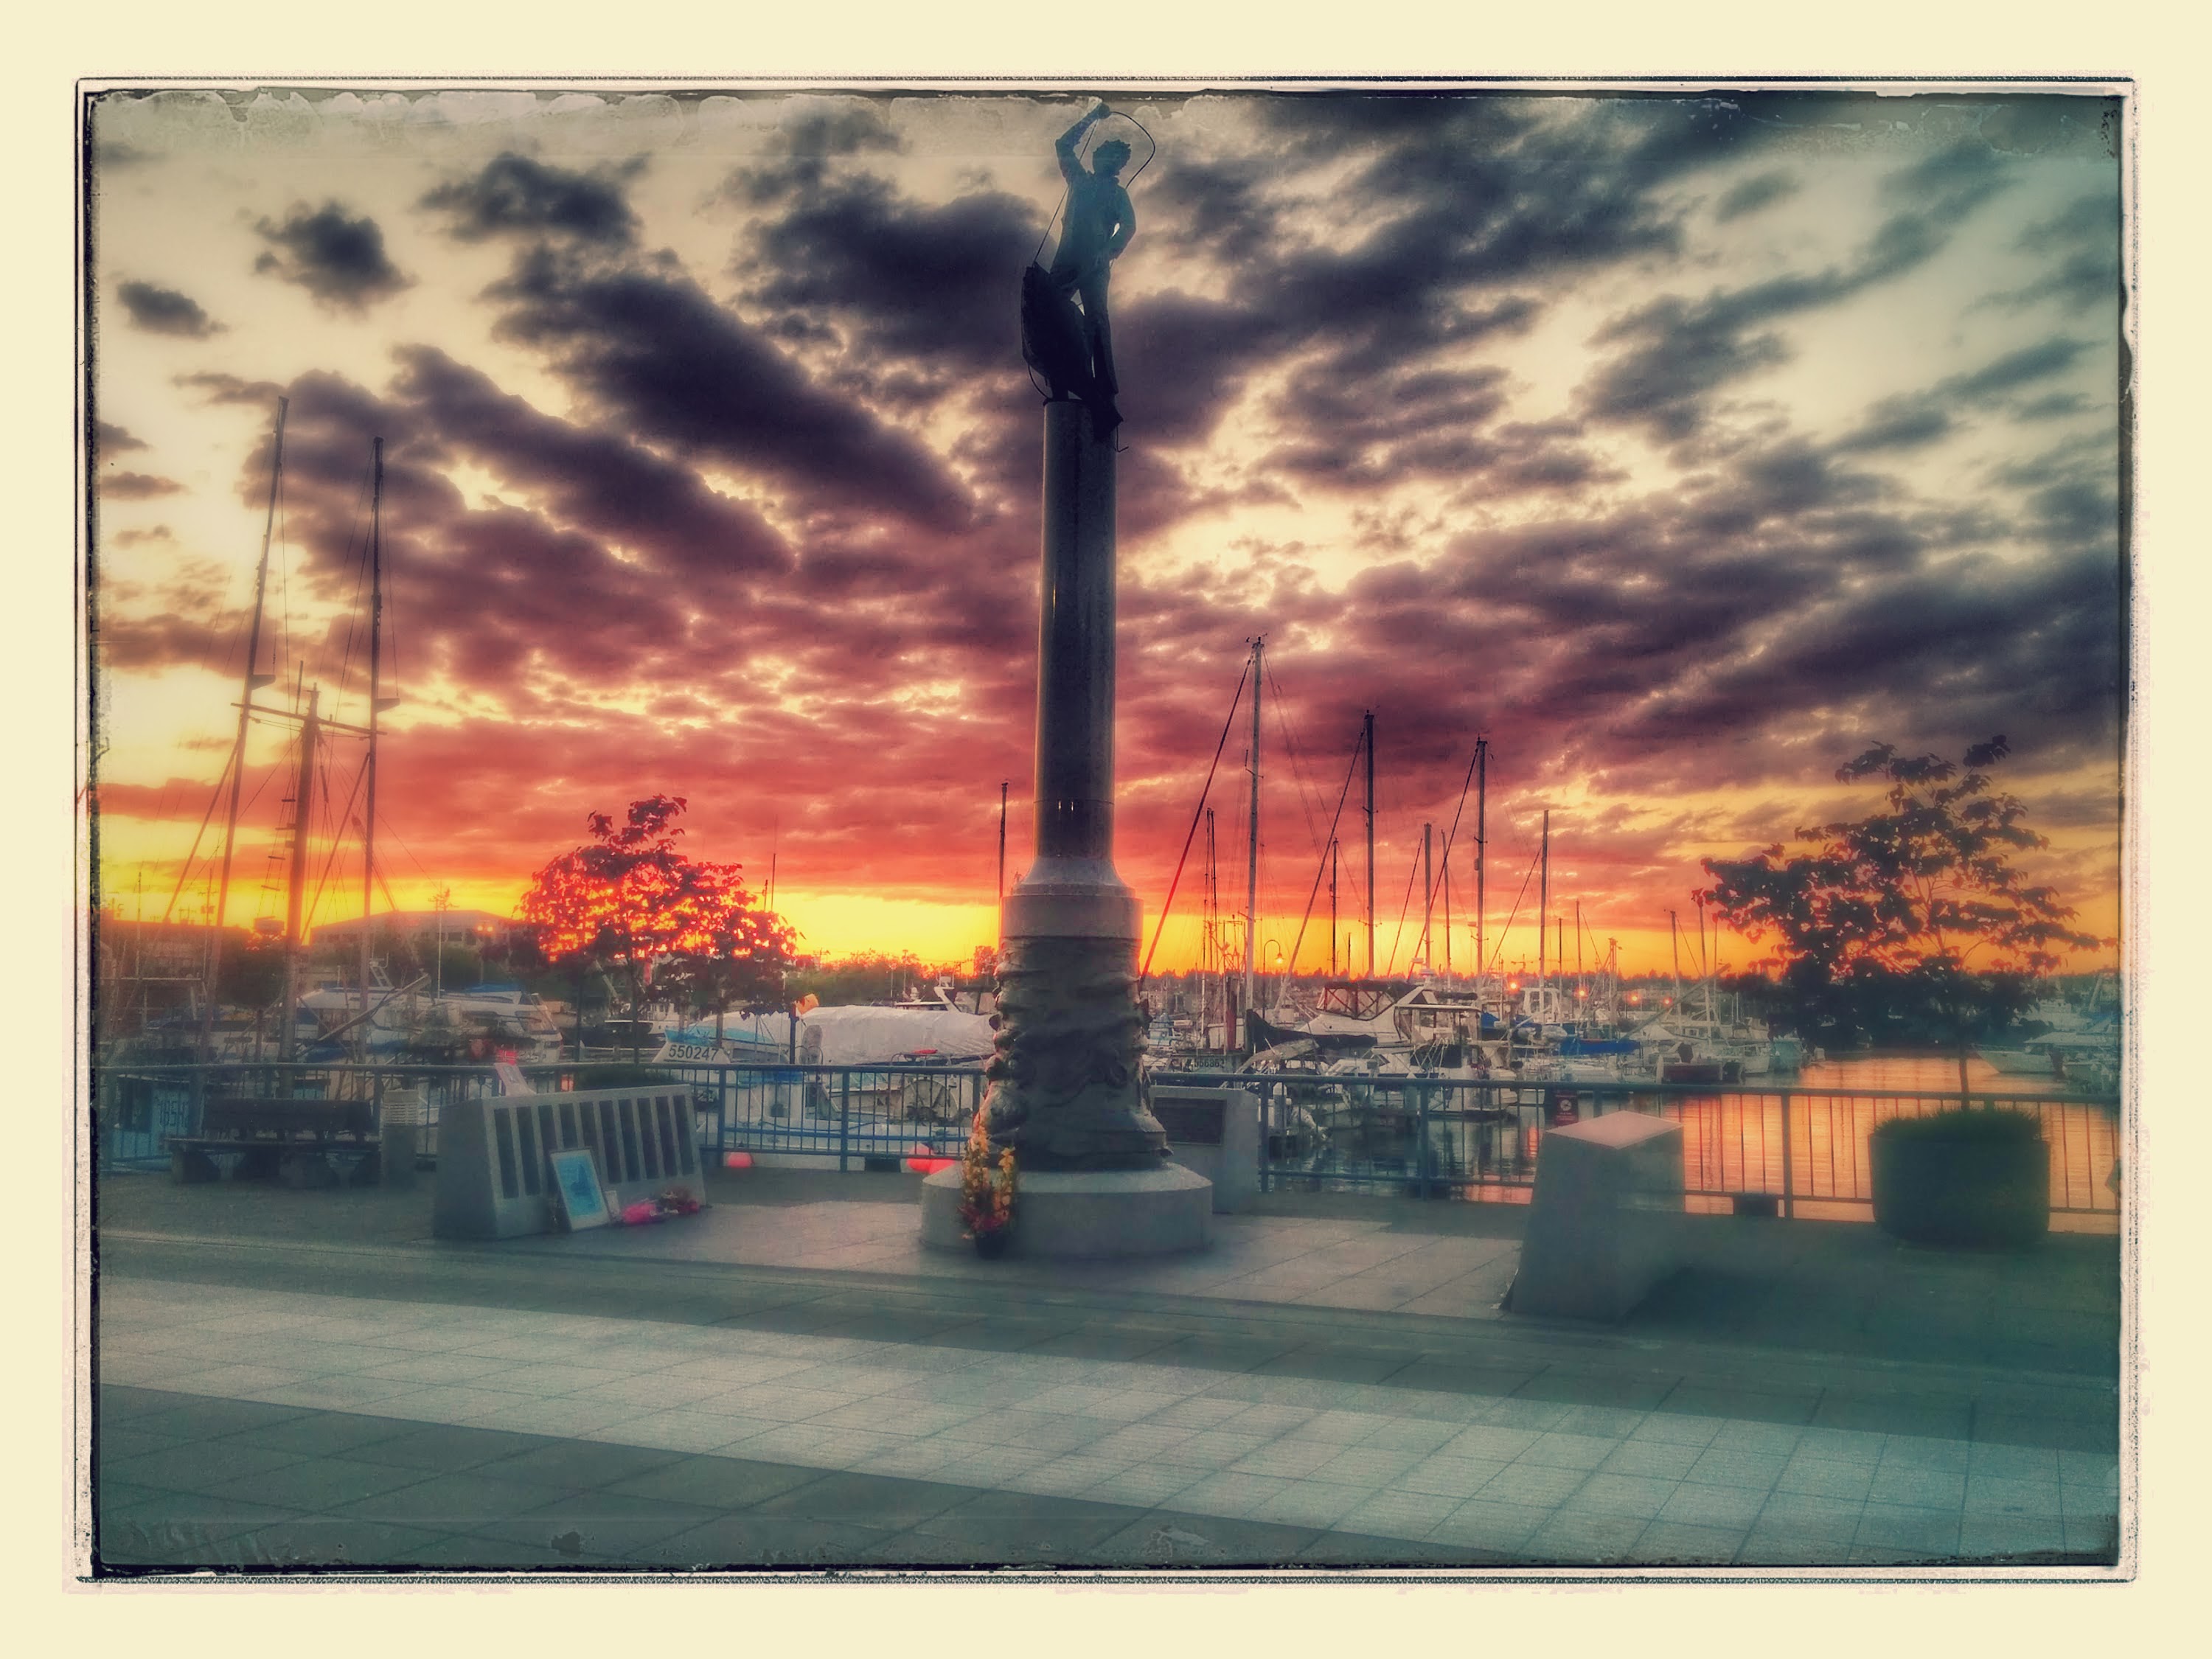
Here’s what we liked about Fishermen’s Terminal:

  • Great location in Ballard that is a quicker commute from work+home than Elliott Bay marina or Shilshole. Easily bikeable.
  • A great pub – the Highliner – at the marina. Shilshole doesn’t have anything like that – the nearest is Ray’s a half mile away. Highliner has at least 10 good beers on tap all the time and some really good food (try the black cod, fish tacos, mussels, clams, nachos, pulled pork mac+cheese). We enjoyed many happy hours and dinners there after a sail or a project day.
Highliner-SalmonPestoPasta

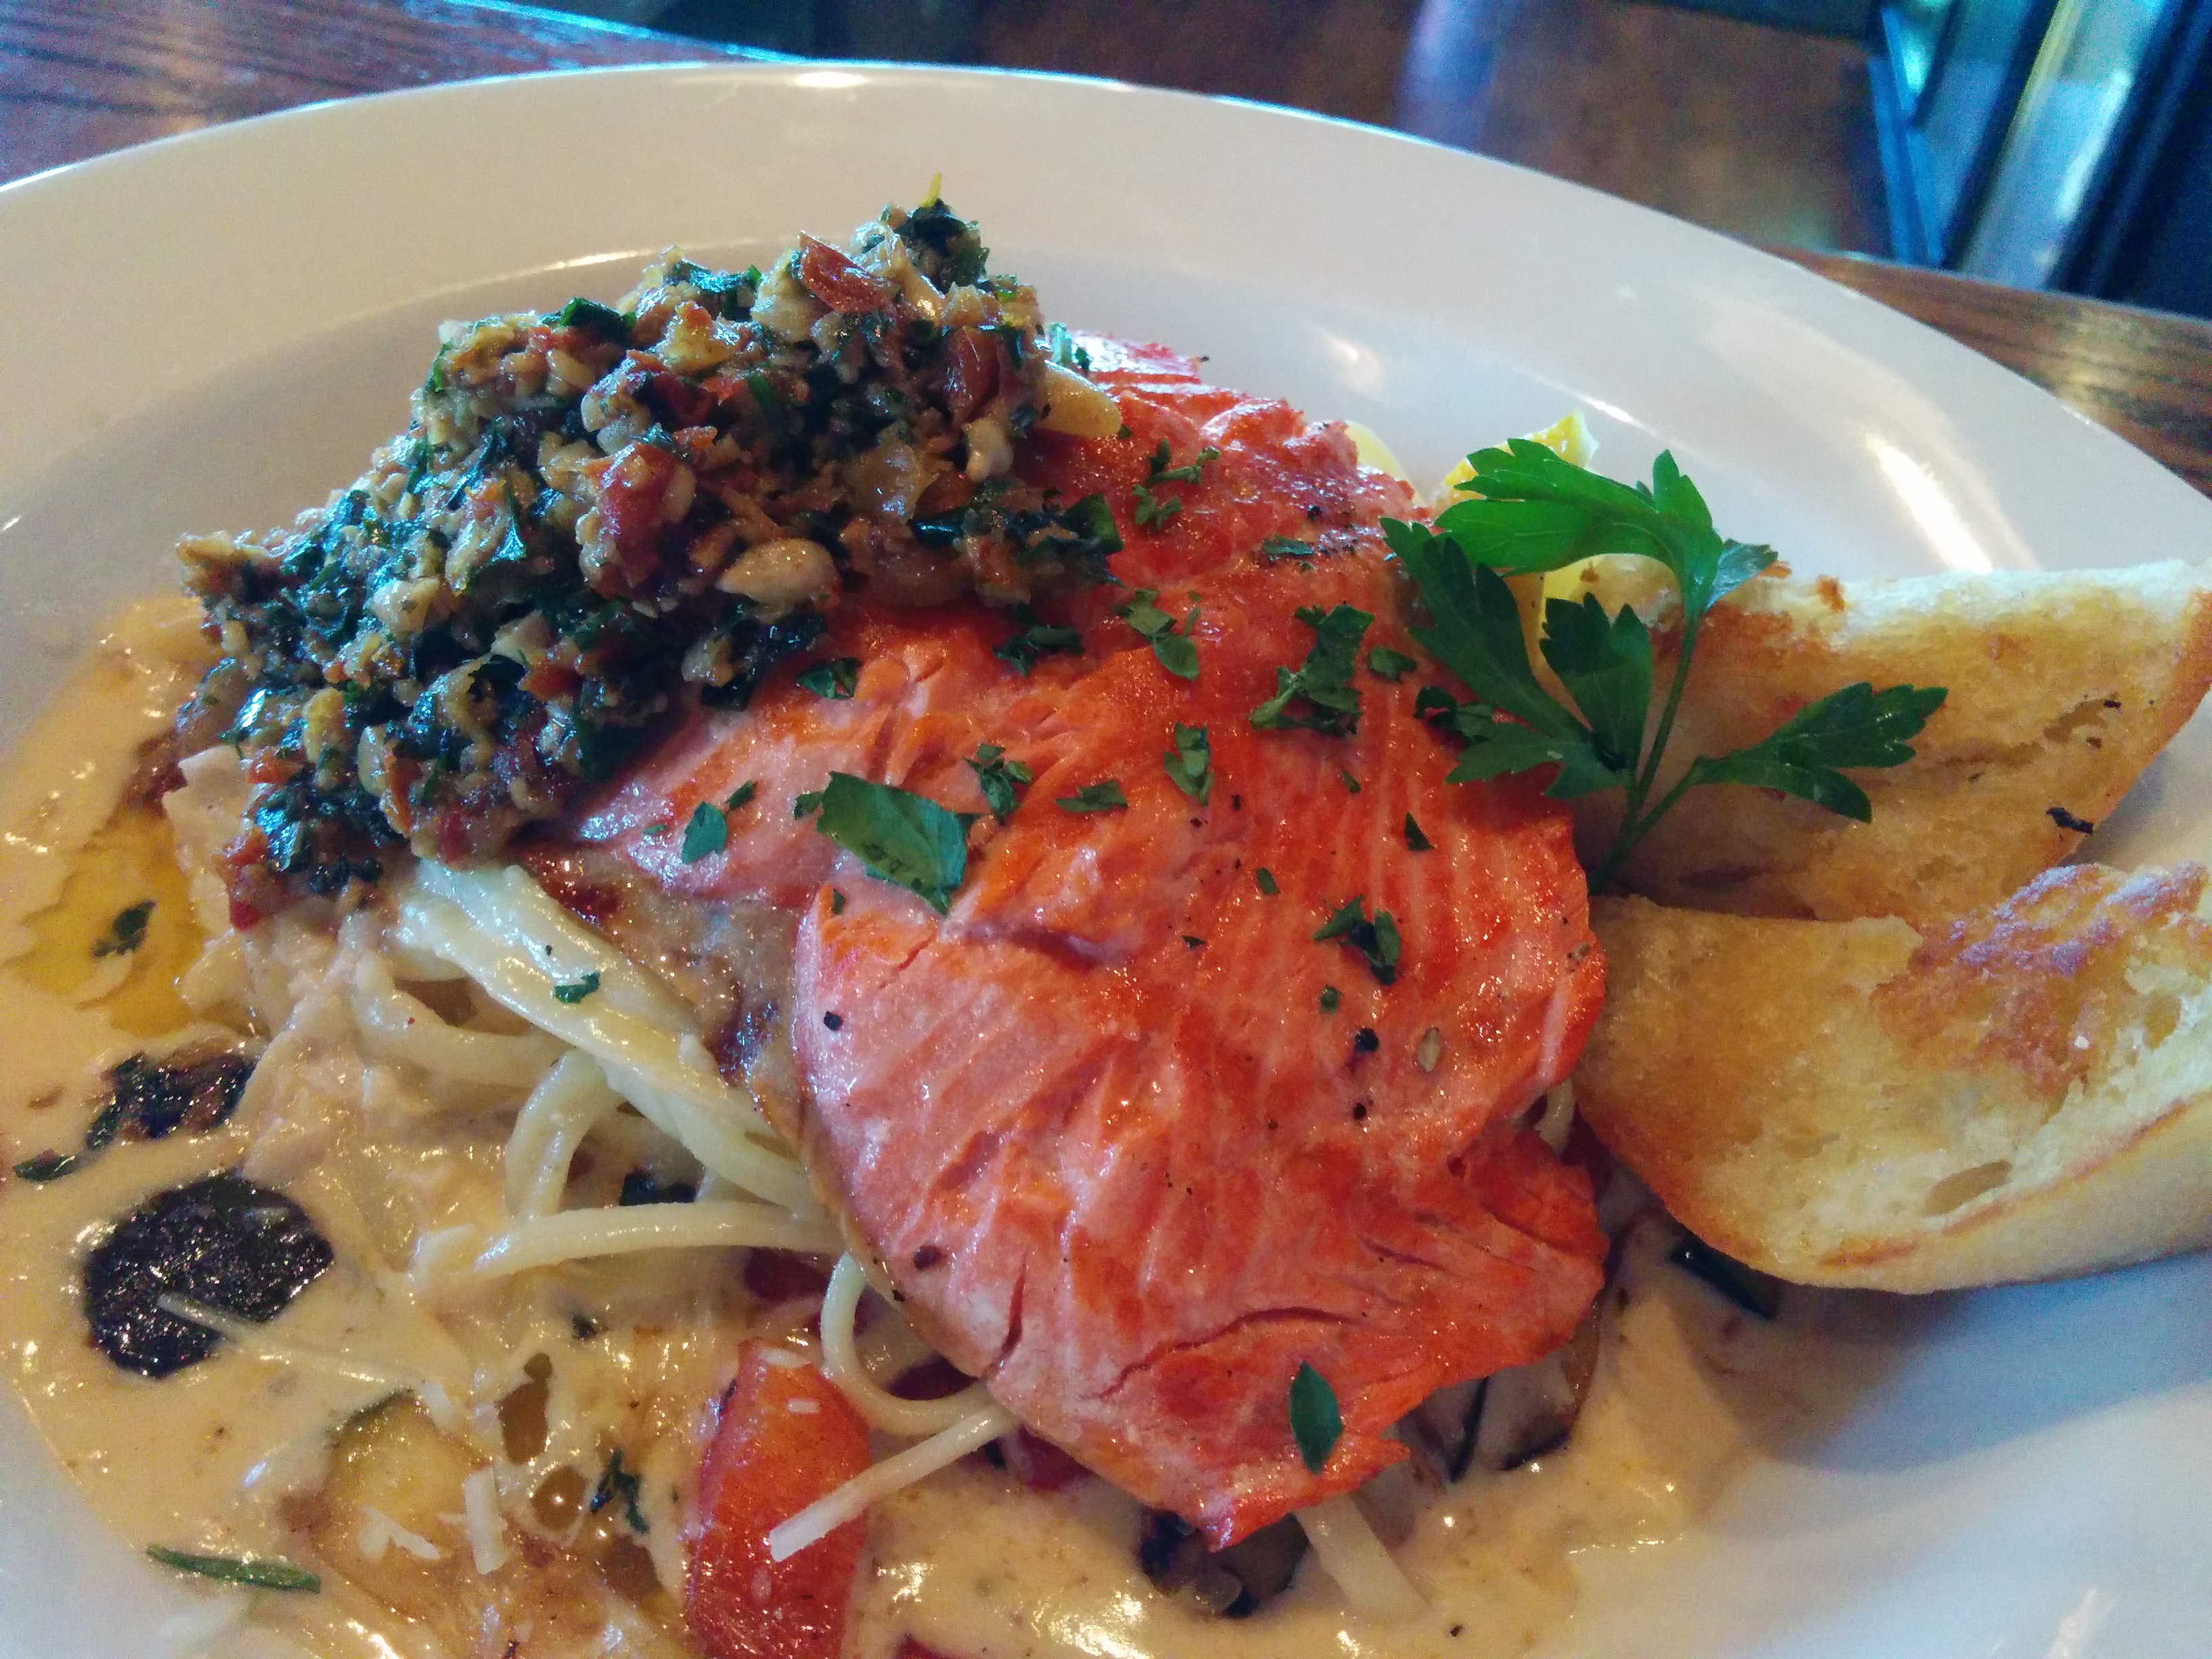
The special this week at the Highliner – salmon cooked to a perfect medium rare, with a pesto sauce and pasta in a cream sauce.

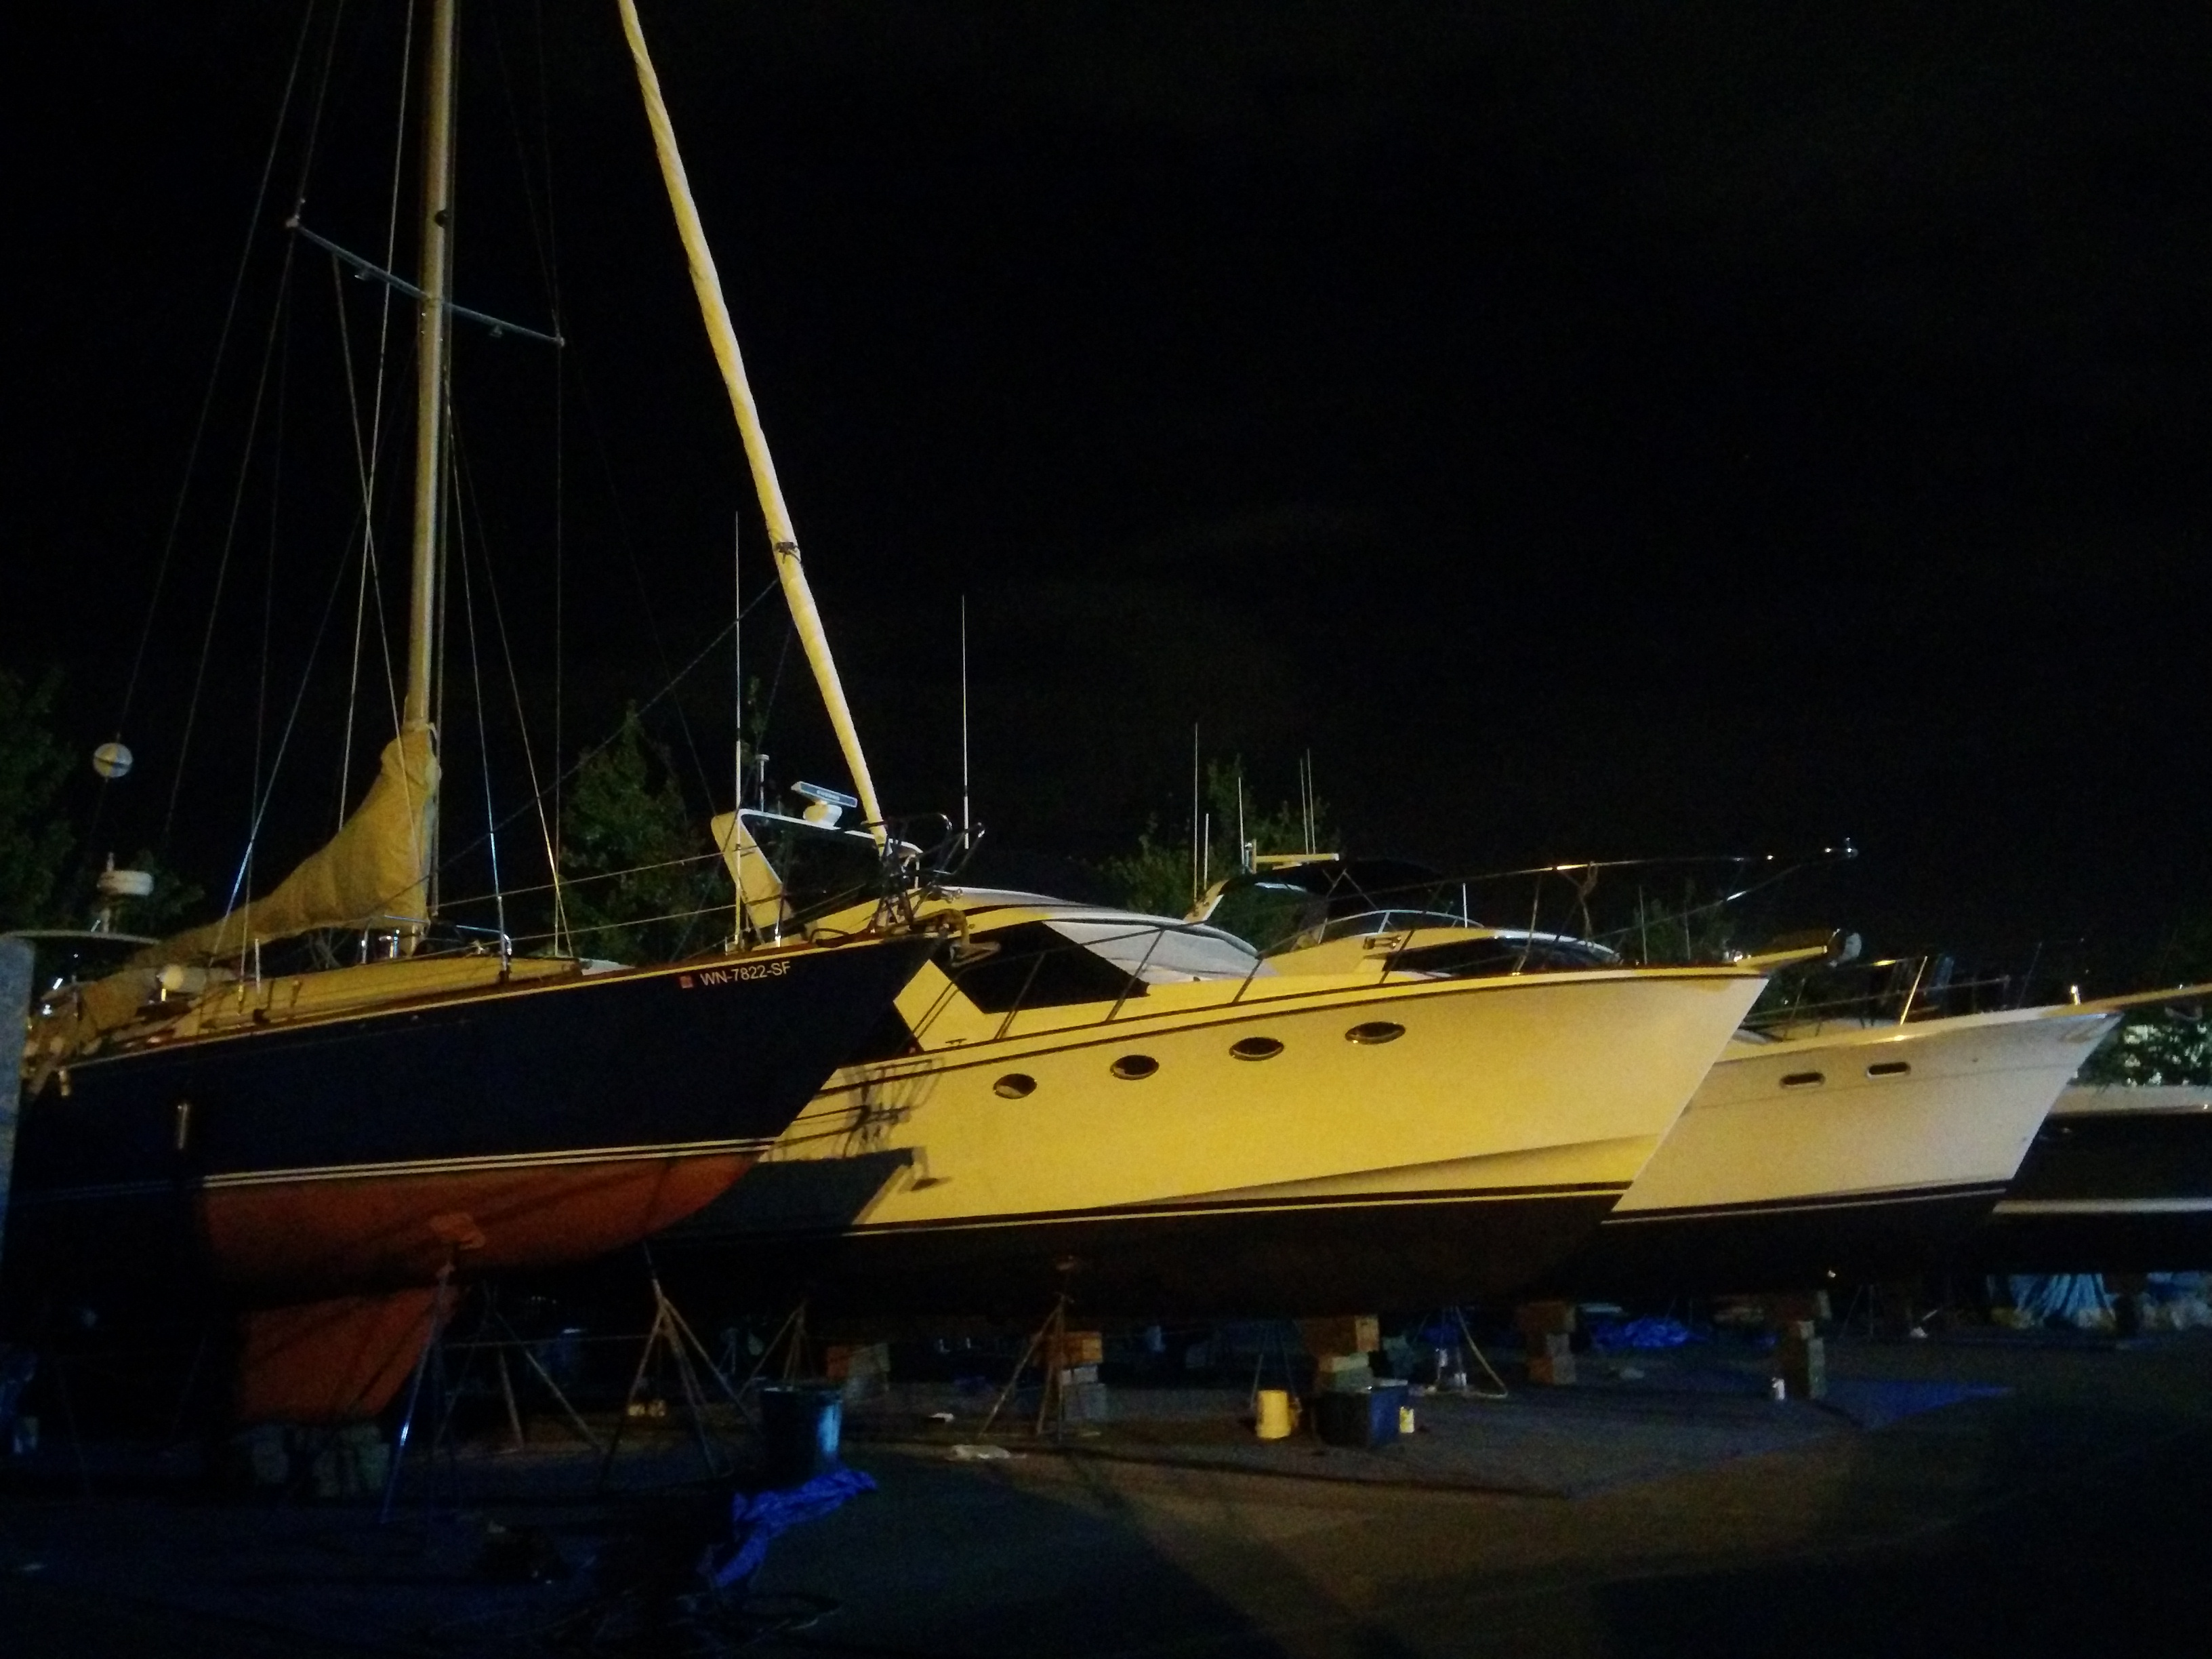
  • Big wide slips with nice concrete docks, and very sheltered from wind and waves.
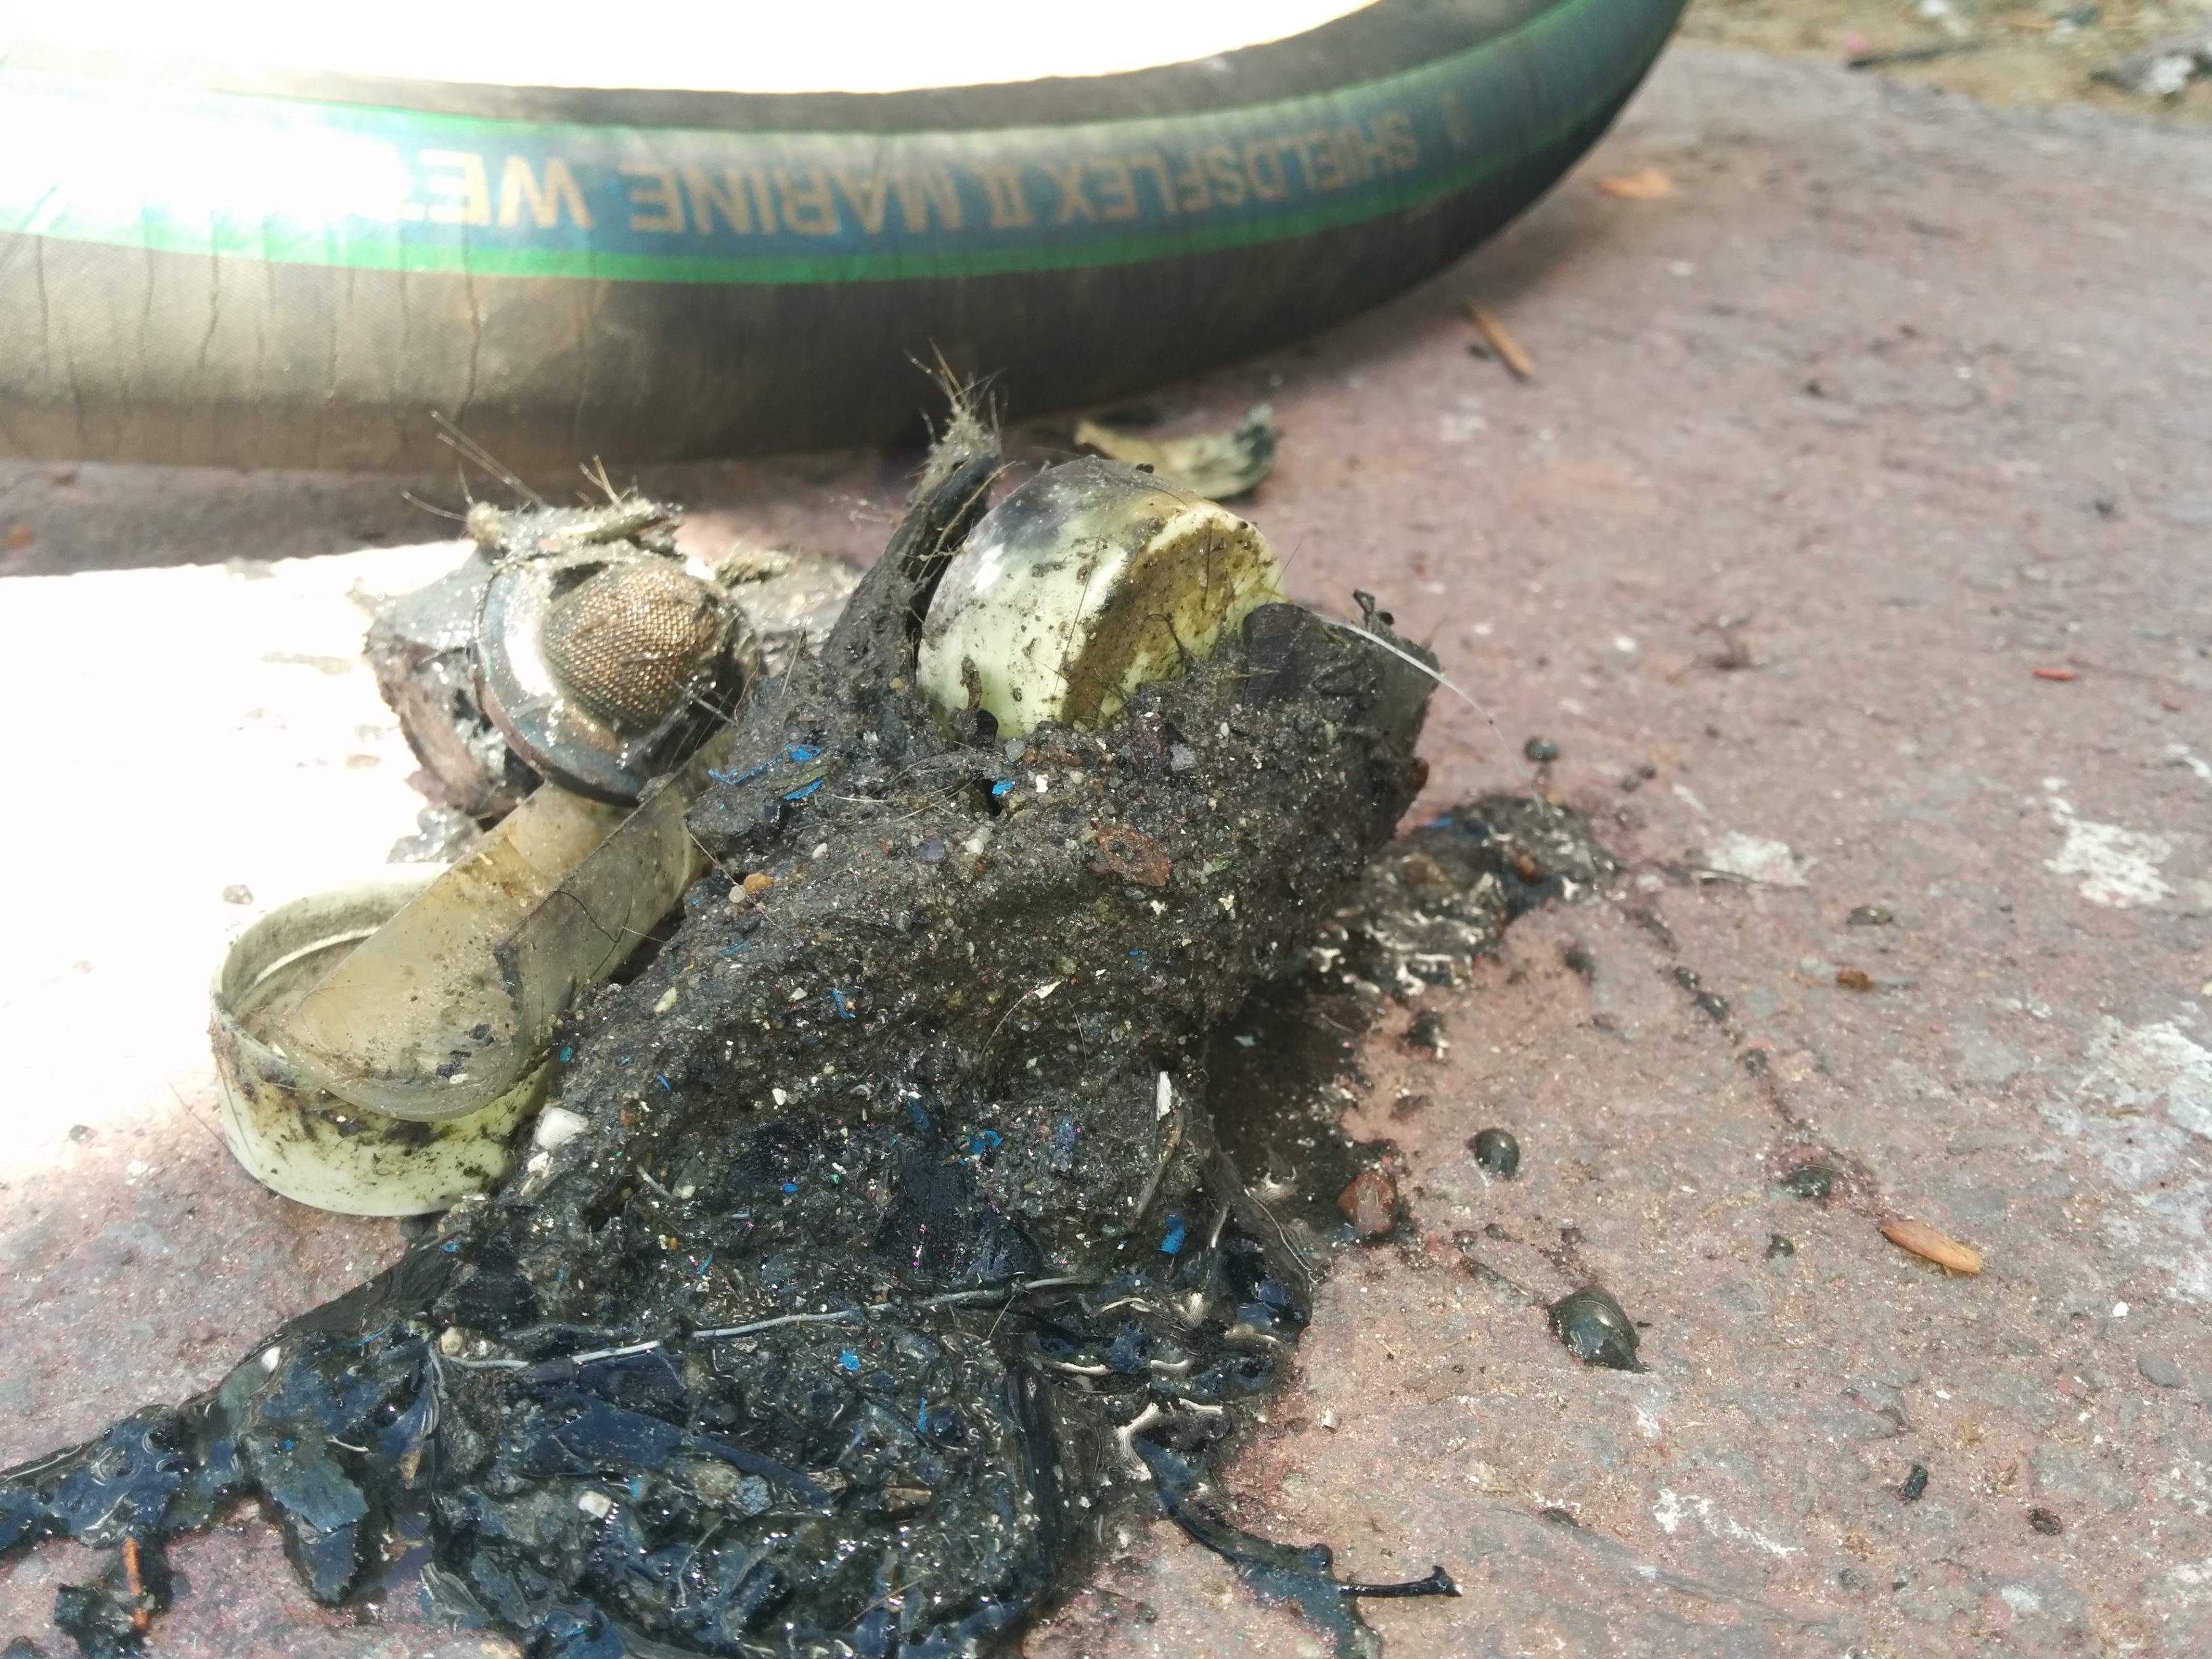
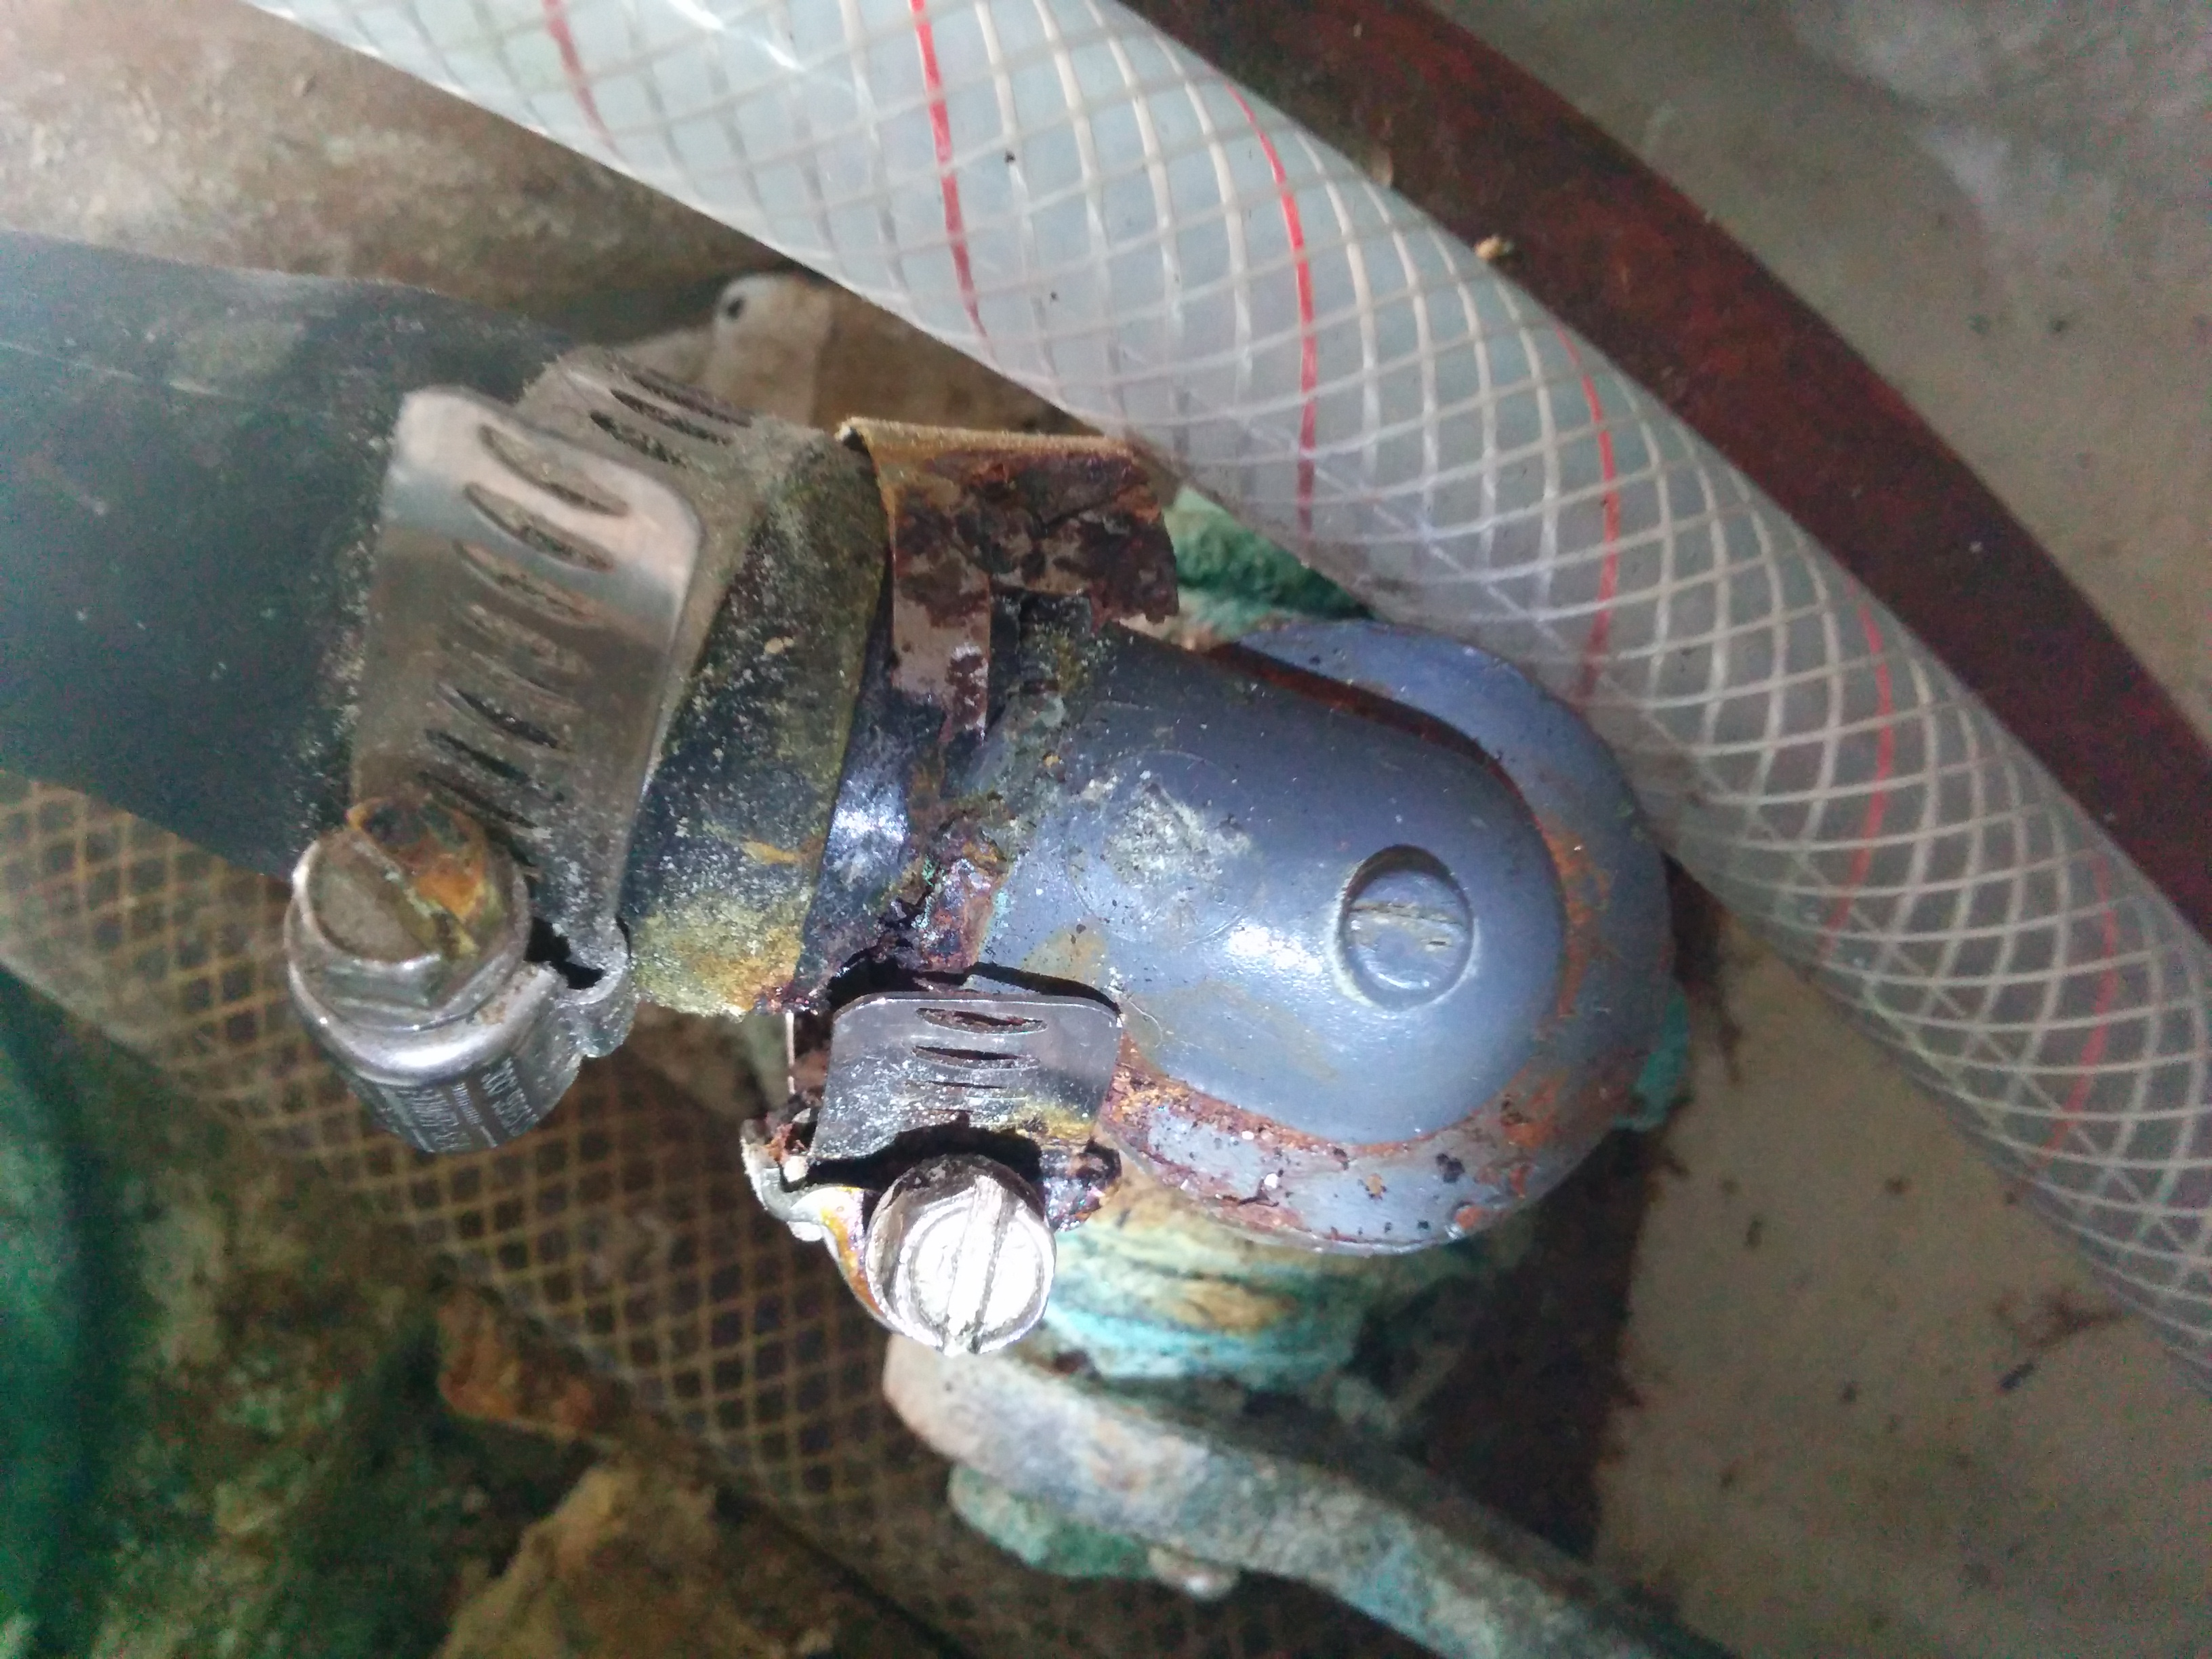
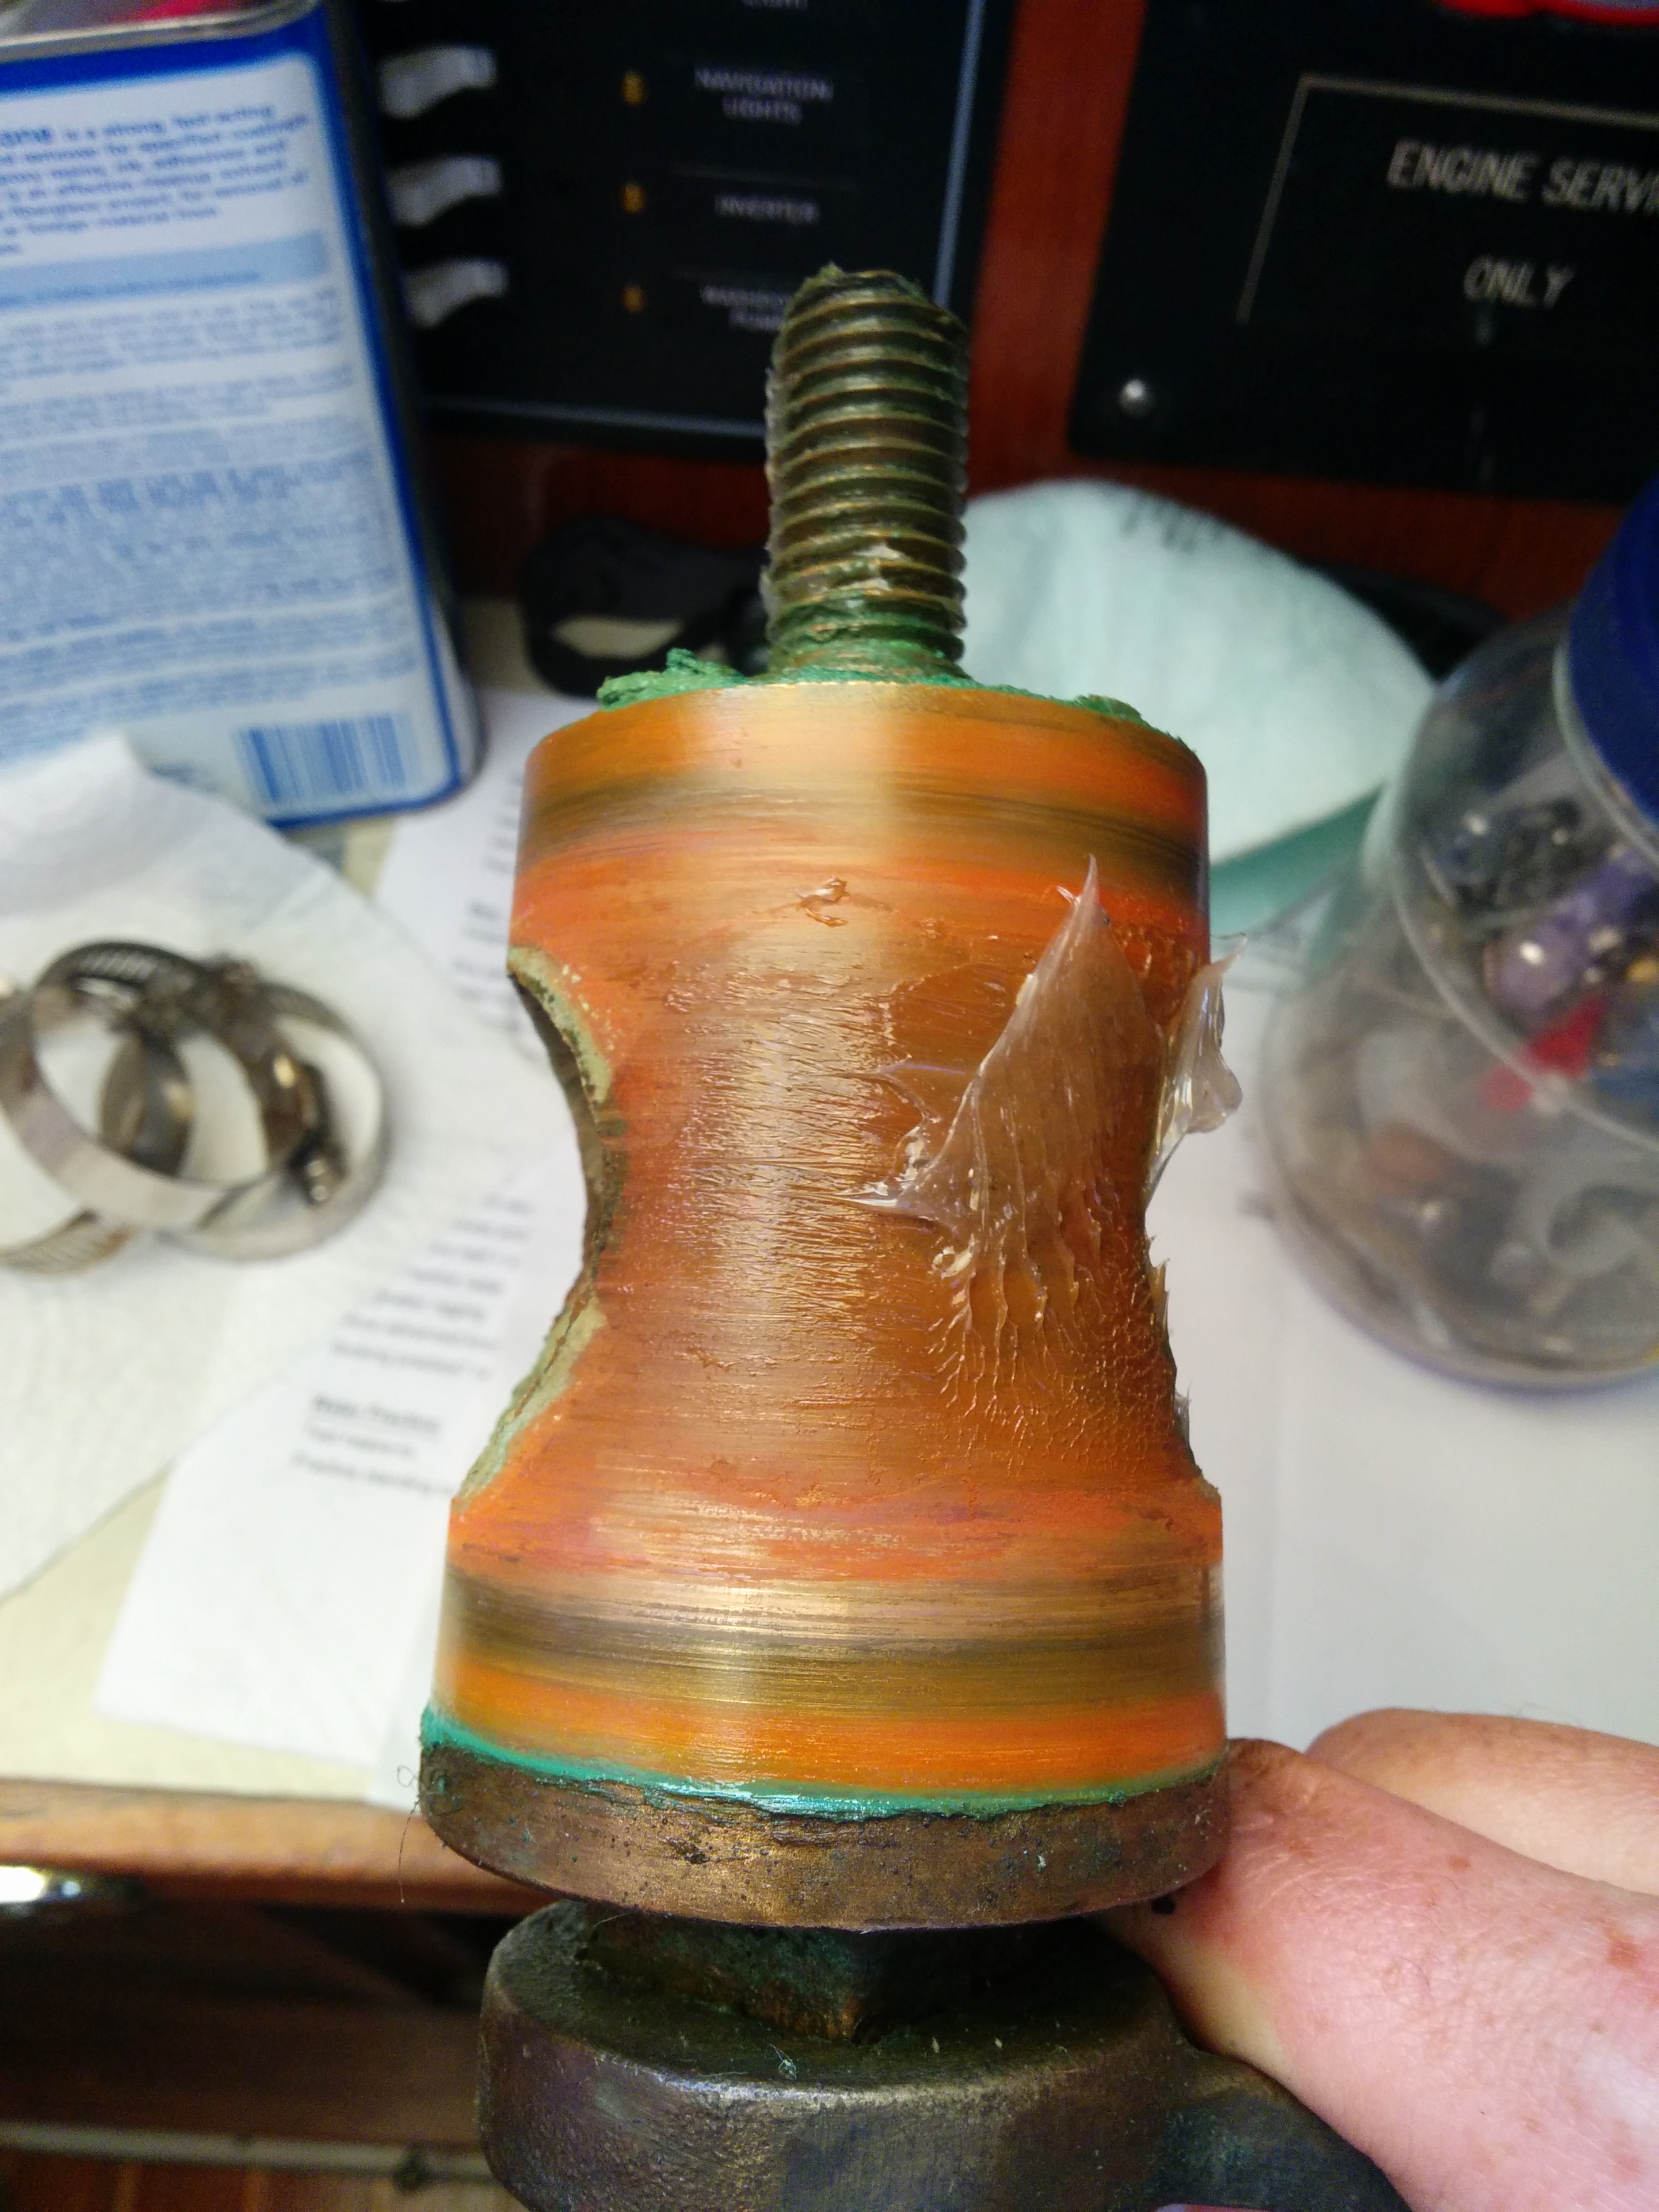
  • Fresh water, so your hull bottom stays super clean! When we hauled out in June, the bottom was cleaner than it was in January in Vancouver.
  • Cheaper moorage than Shilshole or Elliott Bay.

What we didn’t like:

  • Going through the Locks to get out to the Sound. This took longer and was more stressful than expected, enough so that it deterred us from sailing in the Sound more frequently and going to Lake Union instead.
  • Being disconnected from the sailing community. There are only about a dozen sailboats at Fishermen’s Terminal, and about 40 recreational powerboats. Compared to the probably 1000+ sailboats at Shilshole, this isn’t much. The few sailboats that are at Fishermen’s Terminal are mostly inactive – their owners are just storing them there, or working on them. In the 4 months we were there, I never once saw a sailboat enter or leave the marina. There was one trimaran I saw go out. Because there’s not much sailing activity, we missed out on some of the impromptu dock chats and learning that can happen with other sailors.
  • Not many marina amenities. No storage bins, no WiFi, the bathrooms get locked at 9pm, and we never did figure out how we would get into the showers + laundry, given the marina office changes the code daily (but we didn’t end up needing them).

What we worried about but wasn’t an issue:

  • No gates for the docks, so not as secure as other marinas.

Overall Fishermen’s Terminal is a great marina and we might return someday – it would be ideal for a few months in the winter when we won’t be sailing as much.

fishermansterminal

A Flurry of Projects During Haul-Out

With boatyards you pay for “lay days”, which are the days your boat is laying on the hard (on dry land instead of water). About $40/day for our size boat. So this meant haul-out time is work as fast as you can to get as much work done as possible. In July we’re planning a 1-month cruise up the west coast of Vancouver Island, so there were a number of projects that had to get done.

hauloutLift

For 1 week I got into a routine of going to Canal boatyard every day. On weekdays I woke up at 7am, went to work from 8am-4:15pm, and then started my second shift of the day at the boatyard from 5pm to 10 or 11pm.

Counting my day job I basically worked a 90 hour week. I don’t think that’s something to brag about, rather it’s a consequence of my relative amateur skills at boat repair, and poor job at estimating task size.

It was exhausting but I learned a ton in a week and got an amazing amount done.

Projects Completed:

  • Removed old broken speed transducer and installed new one.
  • Serviced all 9 seacocks – disassembling the bronze ones and lubing.
  • Did some draining of a weeping rudder and then epoxy + 4200 patched, painted.
  • Installed new cockpit scuppers and hose.
  • Installed new hose for toilet raw water intake.
  • Touched up bottom paint for the transducer, keel and rudder.
  • Cleaned prop shaft and installed new aluminum anode (replacing a zinc, to supplement existing 2 zincs which were still 80% intact. Aluminum because we’re in fresh water currently).
Getting the old speed transducer out of the hull was one of the toughest jobs

Getting the old speed transducer out of the hull was one of the toughest jobs

Yeah, this is why the scupper hoses needed replacing - a whole bunch of junk had clogged them up!

Yeah, this is why the scupper hoses needed replacing – a whole bunch of junk had clogged them up!

Corroded hose clamp that snapped as soon as I tried to unscrew it!

Corroded hose clamp that snapped as soon as I tried to unscrew it!

Things that didn’t go well:

  • I was unsuccessful at unseizing the head sink seacock. I tried about 10 different things but nothing worked, and I wasn’t willing to move on to destructive methods (because that would require replacing the seacock, backing plate, and possibly thru-hull – which I didn’t have time for).
  • Mixing bottom paint by hand with a paint stirrer is trickier than I thought, and messy.
  • I did a bit of a messy job with the transducer thruhull, since I cut through the gelcoat a bit when trying to remove the old one. I covered it with a coat of epoxy though for good measure, and the hull is solid fiberglass in this area.
Mixing a quart of bottom paint

Mixing a quart of bottom paint ($80 for this liquid gold!)

It’s hard to say which job was the hardest, because all of them were hard in some ways.

Lubing up the seacocks. It's a dirty job but somebody's gotta do it!

Lubing up the seacocks. It’s a dirty job but somebody’s gotta do it!

I think I should start measuring project sizes in the number of paper towel rolls they require. This 1-week haul-out was a 3 paper towel roll job. Cleaning one seacock uses about 3 sheets (and there were 9 of them) and epoxying and painting also uses up a fair number.

A Weeping Rudder

The water in the rudder was the unpleasant surprise of the haul-out. We hadn’t found that during the survey in February, but that had just been a short haul-out. I emailed the surveyor and he assured me water in rudders is a very common issue, and I should be okay putting off a true fix until a fall haul-out. That will require dropping the rudder, dremeling out about a ¼ inch around the rudder shaft, and filling that with epoxy or 5200.

To investigate the issue and temporarily dry it out I drilled a few 1/4″ holes and let it drip for 4 days, then sealed up with thickened epoxy and 4200.

rudderWeeprudderCore

A Moment of Panic

When we relaunched a week later on Friday I had an “oh sh*t” moment as I checked the seacocks for leaks. The 3 engine area seacocks all were dripping. Slow drips, but I was a little panicked as I couldn’t tell yet how serious the leaks were and whether I’d need to rehaul, ruining our weekend plans and adding another big expense.

Both cockpit scuppers were leaking at the elbow joint fitting to the seacock, so I just closed those valves. The engine intake seacock was more worrying because it was dripping from the seacock tapered barrel itself. I had cleaned and lubed this seacock, so I don’t know why the fitting wasn’t tight enough – it may need lapping (polishing to improve the metal-to-metal fit). I tightened it up a bit and the leak slowed to about what it was before haul-out – I had slow leaks on at least 2 of these before anyway. I’m going to work on them some more, but fortunately the leaks slowed down to almost non-existent.

After a long day's work in a sea of powerboats.

After a long day’s work in a sea of powerboats.

Rebuilding Marine Head Plumbing

Project Summary:
  • Time: About 8 hours + research time
  • Cost: $100
  • Knowing your toilet won’t clog: Priceless

On our Memorial Day cruise the head (marine toilet) got clogged. Really totally blocked up – the pump wouldn’t move without a lot of pressure, and forcing it too much caused air / liquid to hiss out of a hose clamp.

So once back in Seattle we disassembled it. Needless to say, this is a messy job – quite literally a shitty job. Pulling hoses off hose barbs is actually really hard. It required a lot of muscle power in tiny tight spaces under the sink, all while knowing as soon as the hose popped off I might have a river of sludge flowing onto my hands and into the cabinet where it would be hard to clean up. We used garbage bags and large Ziplock bags as catch sheets wherever possible.

The holding tank under the nav seat, with the inlet fitting opened and a new hose lying on top.

The holding tank under the nav seat, with the inlet fitting opened and a new Trident 102 hose lying on top.

Inside the 90 degree PVC elbow that connects to the holding tank, we found petrified poop completely blocking the pipe. It had dried into a solid rock plug. It’s actually amazing liquids were still making it past. This had probably been developing for years, from the prior owner’s time, mainly caused by using the toilet without flushing enough water through the system to get the material all the way into the holding tank.

We decided to replace the old hose since it’d be easier to replace with new hose than trying to salvage, and we really don’t want to have to do this again soon. So starting fresh ensures we have new hose with no buildup or scale on the walls.

The Y valve below the vented loop

The Y valve below the vented loop

It turns out there are several types of sanitation hose vastly superior to the rigid white vinyl stuff we had in the boat. For some reason most boats have that unflexible white hose, and it’s the only kind of hose stocked onsite at the local West Marine and some other marine stores. This hose may be the cheapest, but it’s just stupid that so many people still use it – is it worth saving $50 on a head rebuild by using cheap hose?  I don’t think so, since we really don’t want to have to do this again anytime soon.

Standard PVC hose

Standard PVC hose

Raritan Sani/Flex hose

Raritan Sani/Flex hose


This unflexible hose is a giant pain to install or remove from tight spaces. Since it doesn’t bend much if you need to go around a corner you need to splice in a PVC or Marelon elbow joint. We wanted to minimize elbow joints since they can increase the chances of a clog – you don’t want flat spots or upslopes in the system where sludge can sit and dry.

Premium hose like Trident 102 (which we ended up buying from Fisheries Supply) is better because it’s easy to bend, yet still very strong and odor proof. Raritan Sani/Flex hose is also supposed to be very good, although it’s one of the most expensive ($17/ft list, $14/ft at Defender). Also Maine Sail (a well known boat maintenance writer whose opinion I trust) recommends Trident 102, and says the old PVC hose should basically die a horrible death.

This job ended up being the toughest we’ve done so far. It’s surprisingly difficult to get hoses off hose barbs in tight spaces. It makes you wonder why so many people would ever worry about double-clamping hoses. The hoses in our head plumbing, after removing the hose clamps, probably wouldn’t have come apart even if a giant sat on them. I’ll still do it for below waterline fittings, but probably not above waterline.

Anyway, we’re very happy to have a clog free head now, and looking forward to not doing that again anytime soon! On the plus side, after disassembling holding tank hoses, all other boat jobs seem pretty pleasant in comparison.

You can read more on hoses here: