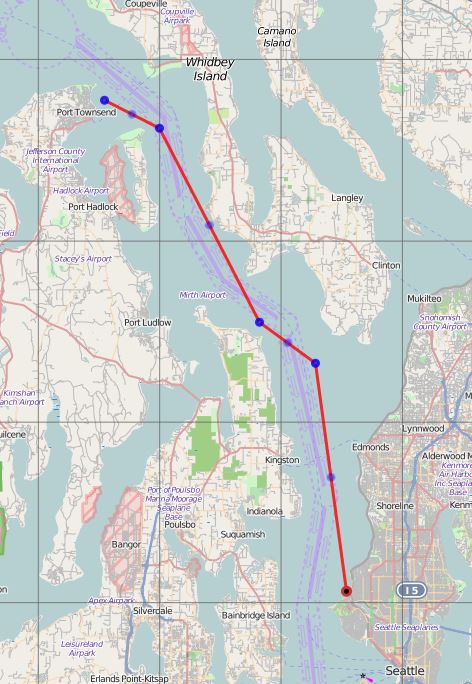
Friday we went up to Point Roberts for the start of Project Liberate our Boat from Canada that I mentioned previously. What follows is the story of how our boat got detained (in “jail”) by U.S. customs for 18 hours.
It was our own real-life version of The Terminal, the movie where Tom Hanks gets trapped by bureaucracy in JFK Airport.
The Drive Up to Point Roberts
Our friends Griffin and Jessie were nice enough to give Natalie, myself, and Jeremy (who came to help crew) a ride up on their way to Whistler. On the drive up the first premonitions of trouble came as the delivery skipper texted me saying he had arrived but customs was saying they needed three forms and wouldn’t come down to the customs dock to meet him (as mentioned, the broker and Anacortes Documentation Services had said the hired delivery to the U.S. was necessary to avoid paying both Canadian and WA sales tax).
The customs officer called me and sounded very irate. She said they couldn’t release the boat without a customs broker completing the forms. She was also incensed that the boat had arrived without 2 days advance notice. It was 3pm on a Friday by then, so the chances of reaching a customs broker on short notice were low, but I called the one they recommended and left a message (they were in a meeting).
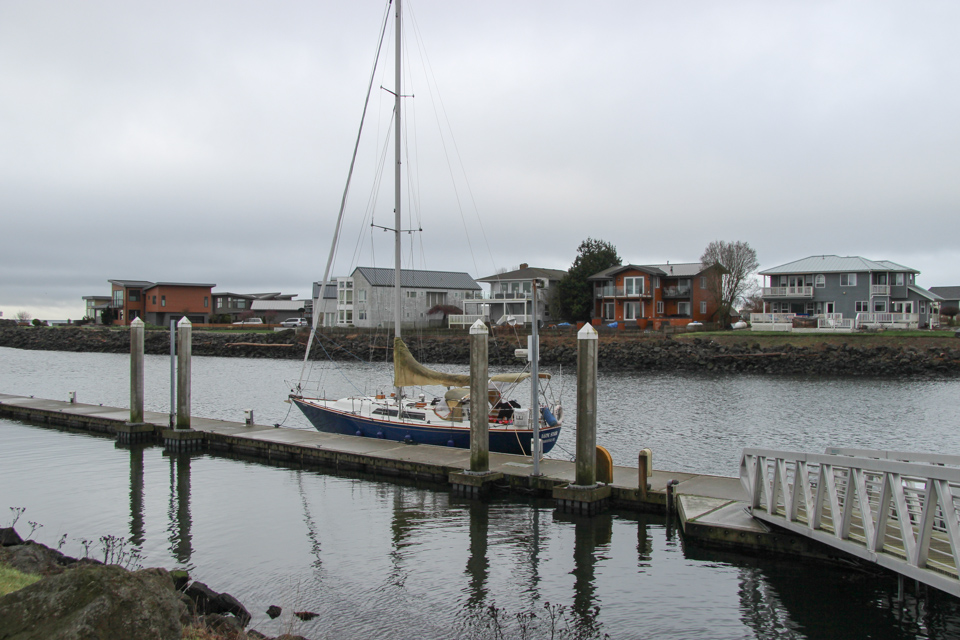
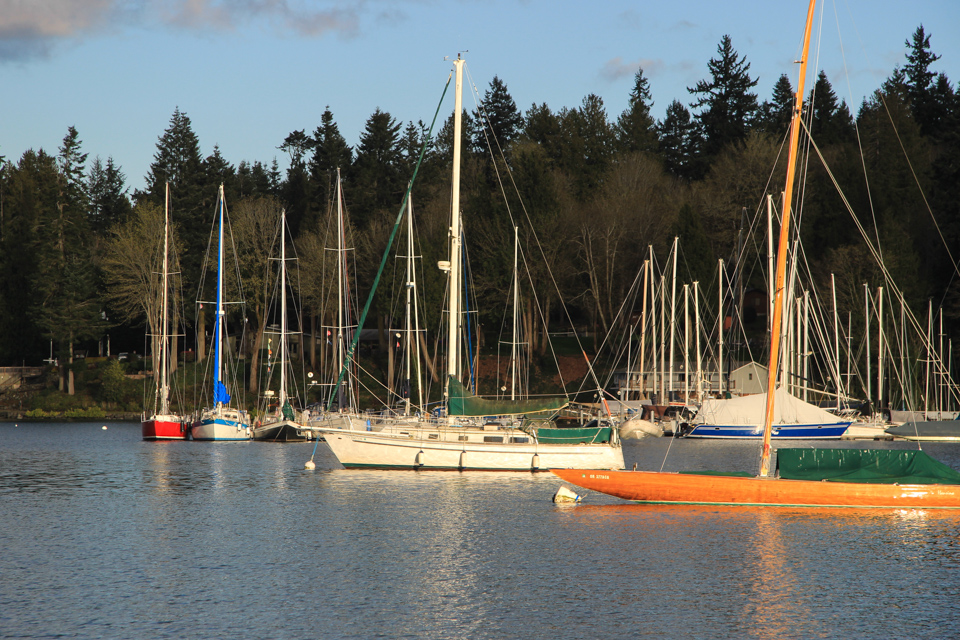
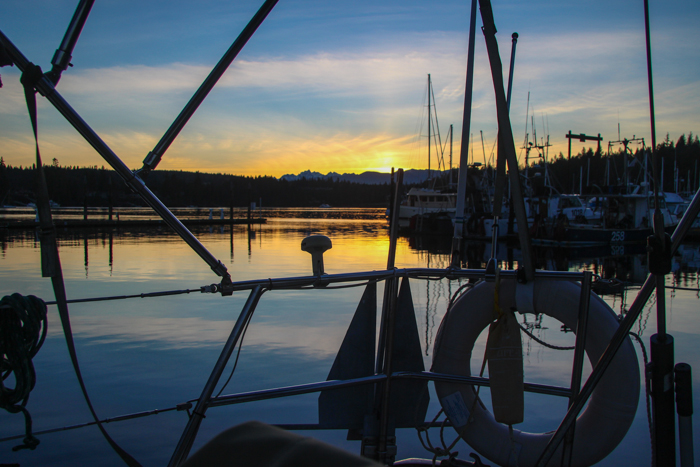
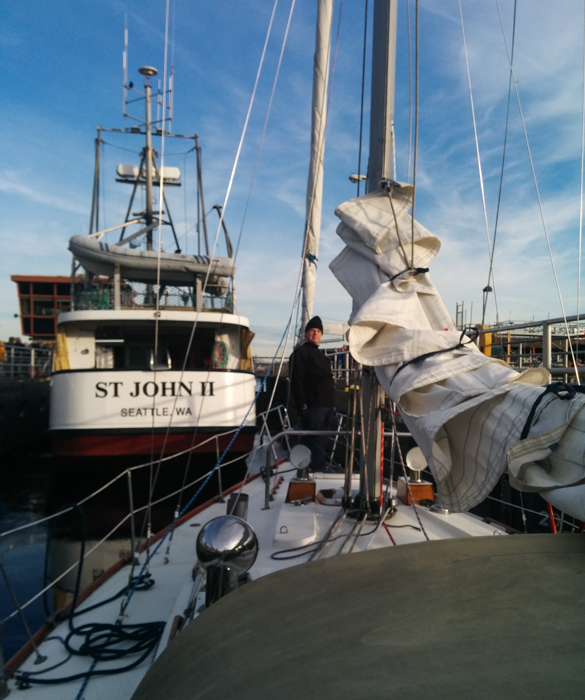
Our position on the customs dock for the night and next morning
Why I Thought We Were Following Proper Procedure
At this point I should explain how many people had given me outright wrong information. Multiple people had told me that we should hire a skipper to bring it out of Canada, to avoid being double-taxed, and then take delivery in Point Roberts and would not need a customs broker to go through Point Roberts.
- Broker at Fraser Yacht Sales: Said purchasing a Canadian boat from the U.S. would be pretty straightforward, and we’d just need to hire a delivery skipper to bring it to the U.S.
- The documentation company: Said you didn’t need a customs broker to go through Point Roberts, but would at any other port. (this was a big reason to use Point Roberts, since customs brokers are expensive).
- U.S. Customs officer at Point Roberts (via phone a week prior, unfortunately I didn’t write down his name): I told him we were having a delivery skipper bring the boat from Canada to Point Roberts and then were bringing it back to Seattle, and asked what we’d need. He said proof of ownership, $19 for the user decal fee, and filling out some forms which they’d have on hand in the customs office.
- Delivery skipper: Didn’t stipulate any customs requirements, but he seemed to think the plan I emailed over would be no problem. He was a very nice guy, but he only does this once a year, and his information was outdated – customs might have waved us on through a few years ago, but has been cracking down with new regulations in the last year.
Ultimately I’m responsible for knowing what to do, but others were also responsible for giving me the wrong facts. People who work in the marine industry should know the rules – it’s their job to know this. Especially the U.S. customs officer who misinformed me – even the Customs office can’t get their story straight!
Trying to Appease Customs
On the drive up we stopped at an Office Max and I printed out the 3 forms Customs was talking about from the Internet. They looked pretty silly (a couple of them wanted a manifest of all your cargo, gross tonnage, and how many tankers you had onboard – these were forms intended for bulk cargo carriers!).
At Point Roberts I rushed to call customs because they closed at 5pm and it was 4:30. We had plans to leave early at 7am tomorrow, so we had to get checked out of customs before they closed. The customs officer, someone named Riggie, said we must get a customs broker before they would release us.
So next we drove the mile to the US-CAN border with the transfer skipper to speak to them in person. Our friends on their way to Whistler were being super patient taking time out from their long drive up. At Customs, Officer Riggie was there, along with her manager (who was nicer, but still taking her side), and she had also called a higher level customs supervisor in Bellingham.
Basically, we were royally screwed. She wasn’t going to let us leave without formal entry by a customs broker, and the chances of getting one on short notice on the weekend, with Monday a U.S. holiday, were low. We wouldn’t be allowed to fill the forms out ourselves, and even though I had proof of ownership, WA registration and no taxes were due on it, she wouldn’t let us operate it. If we took the boat and left for Friday Harbor customs in the morning, technically we would be breaking the law.
I asked could we have the transfer skipper take the boat out back to the Canadian border (couldn’t we “change our minds” about coming to the U.S.?) and then have me sail the boat back to Point Roberts? Since the reason we weren’t being allowed to self-import (without a customs broker) was that a foreign (Canadian) hired skipper brought the boat into the U.S., if I brought it in I would have been allowed to self-import with just a form and some documents. She got rather flustered when I suggested this idea.
I think what she was trying to say is that as soon the foreign skipper brought it into the U.S. without 48 hours advanced notice or properly filed customs paperwork, they decided to hold it. It’s like the boat was in jail, except that customs doesn’t have a jail big enough to fit a boat, so they detain it by their word only.
We were discovering Customs agents have superpowers without normal legal due process. Normally in the U.S. legal system you can self-represent yourself without being required to hire a third-party; at customs, that’s not the case apparently.
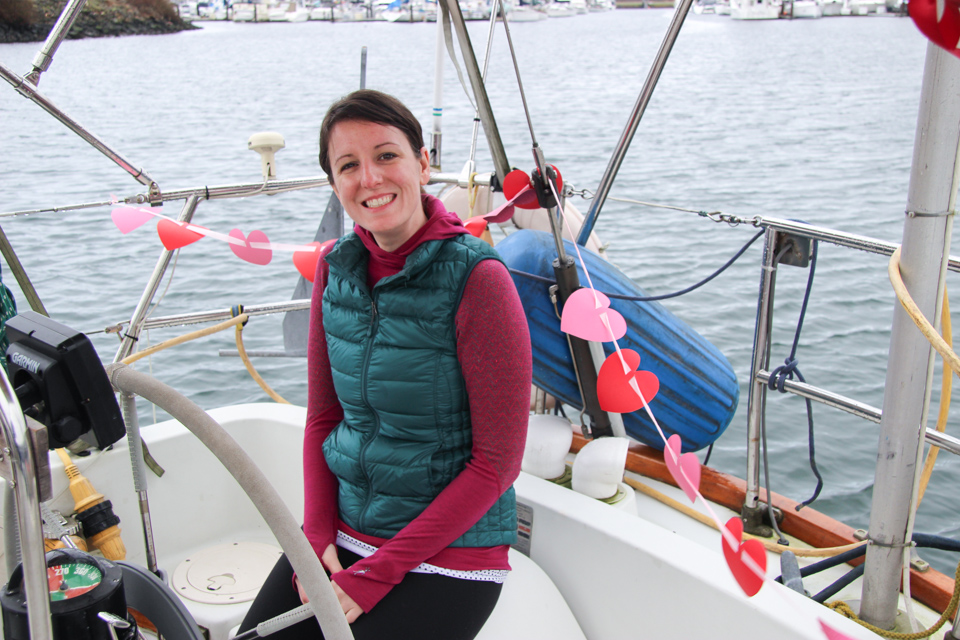
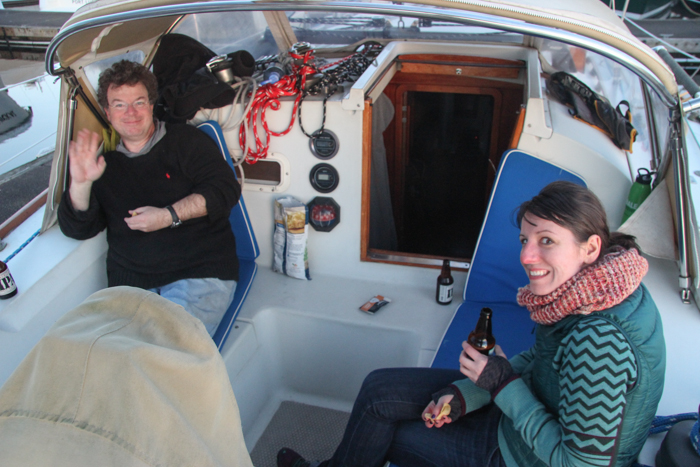
Saturday was Valentine’s Day, so while we were still detained by Customs, I decorated the boat with hearts.
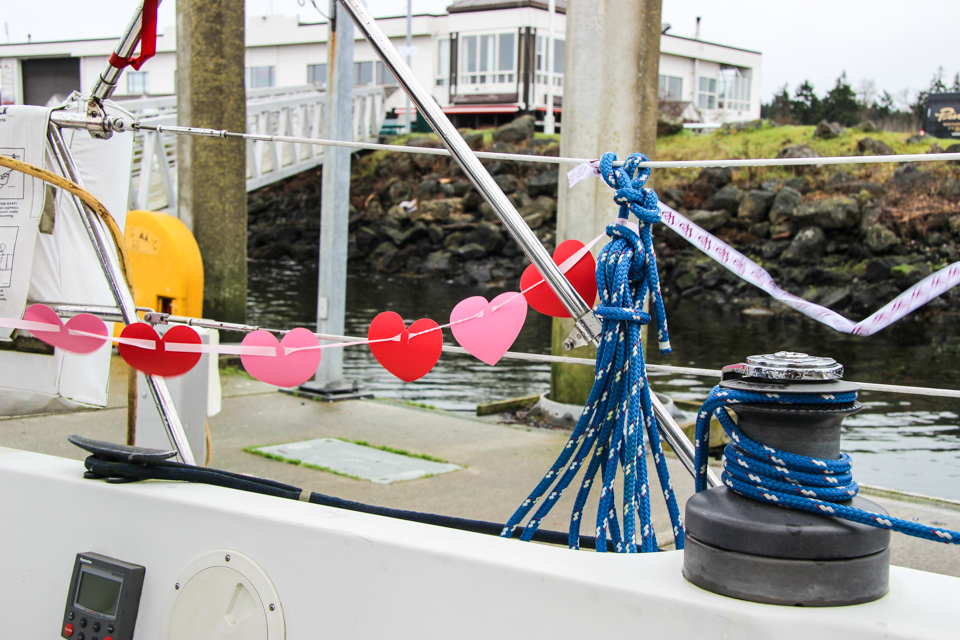
Maybe the hearts would give Customs sympathy to our plight and release us.
Trying to Find a Customs Broker
Cell phones don’t work in Point Roberts, except if you walk to just the right section of the land, and Wifi required me to walk around hunting for a signal. So it was doubly hard to contact customs brokers on a Friday night before a holiday weekend. McClary, Swift & Co ignored us and never returned our messages. I can’t say I’m surprised because most don’t want to do last-minute work for a measly yacht – customs brokers spend most of their time importing multi-million dollar container ships and such. Two others we called we just got voicemail. I emailed two more around 10pm after a friendly marina guy working late told me the name of the hidden WiFi access point.
If we weren’t able to get an emergency customs broker clearance Saturday morning, we would miss our departure window for Saturday and have to stay another night on the customs dock. If we weren’t able to get one Sunday either, we would probably have to abandon the whole trip – move the boat to the marina for a week (at $40/night), find a ride back to the U.S., and then next weekend hope the weather was good and we could find a one-way ride back across two borders again.
Luckily, Jones & Jones customs brokers saved us. Michael Jones was checking email late and replied at 1am from Phoenix with info on what we were being put through (formal entry). We would need to pay for a surety bond for the vessel, plus his normal customs broker fee, an extra surcharge for weekend/after-hours work, and a 5% handling fee. Given Customs was holding us indefinitely I seemed to have no choice.
Michael had a doctor’s appointment at 10am, so we rushed to get all the paperwork done Saturday morning and faxed over to the marina office. Then I had to sign and return it, they’d enter us into the Customs electronic records, and fax over six forms to them, and Customs would send an officer down to release us.
Freed at Last!
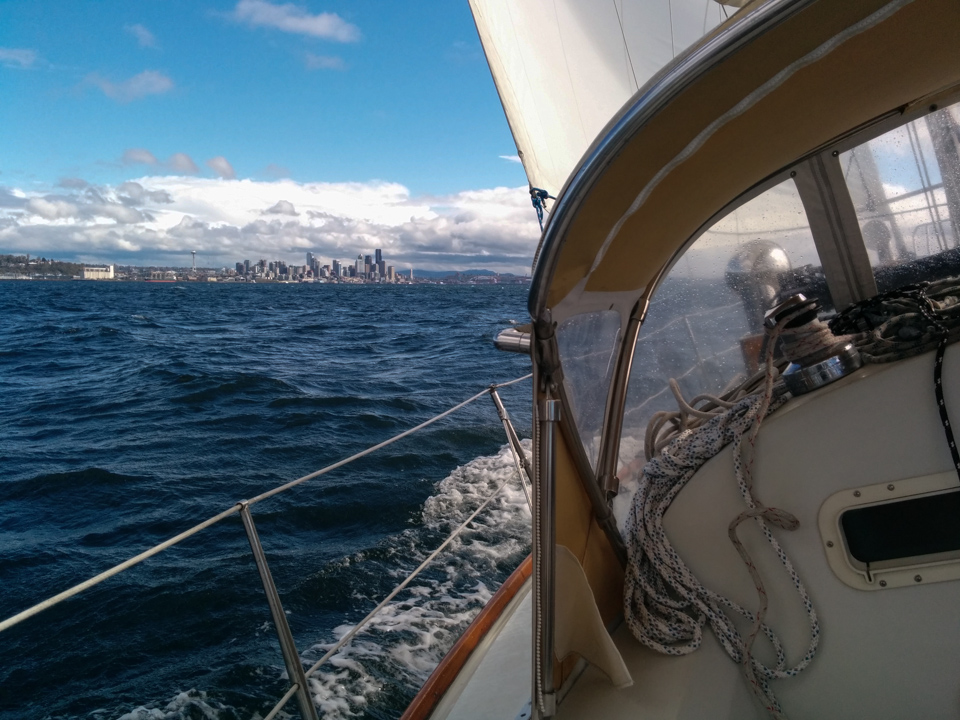
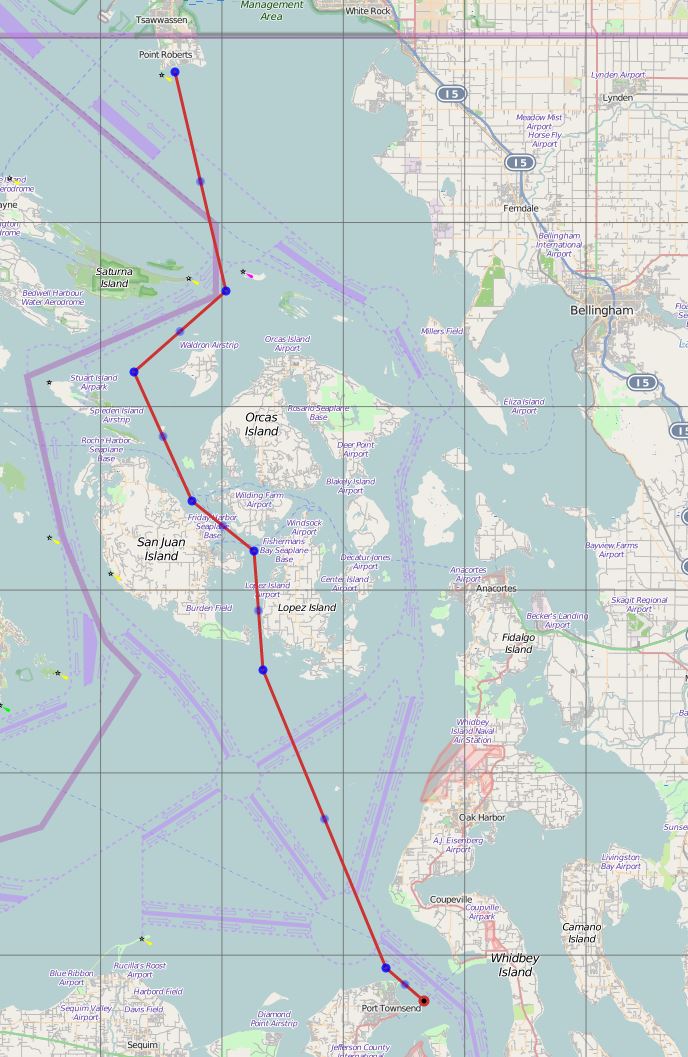
At about 11am it was finally all done, and a nice elderly Customs officer drove down to release us from jail. He said he himself had not known about this policy we were being run through. This makes the second Customs officer who didn’t know their own rules. However he was friendly and got the final paperwork done for us, and we were able to cast off dock and head south to the San Juans. We had just enough time left to get safely to Friday Harbor before dark. More on that in the next post.