Project Summary:
- Time: About 8 hours + research time
- Cost: $100
- Knowing your toilet won’t clog: Priceless
On our Memorial Day cruise the head (marine toilet) got clogged. Really totally blocked up – the pump wouldn’t move without a lot of pressure, and forcing it too much caused air / liquid to hiss out of a hose clamp.
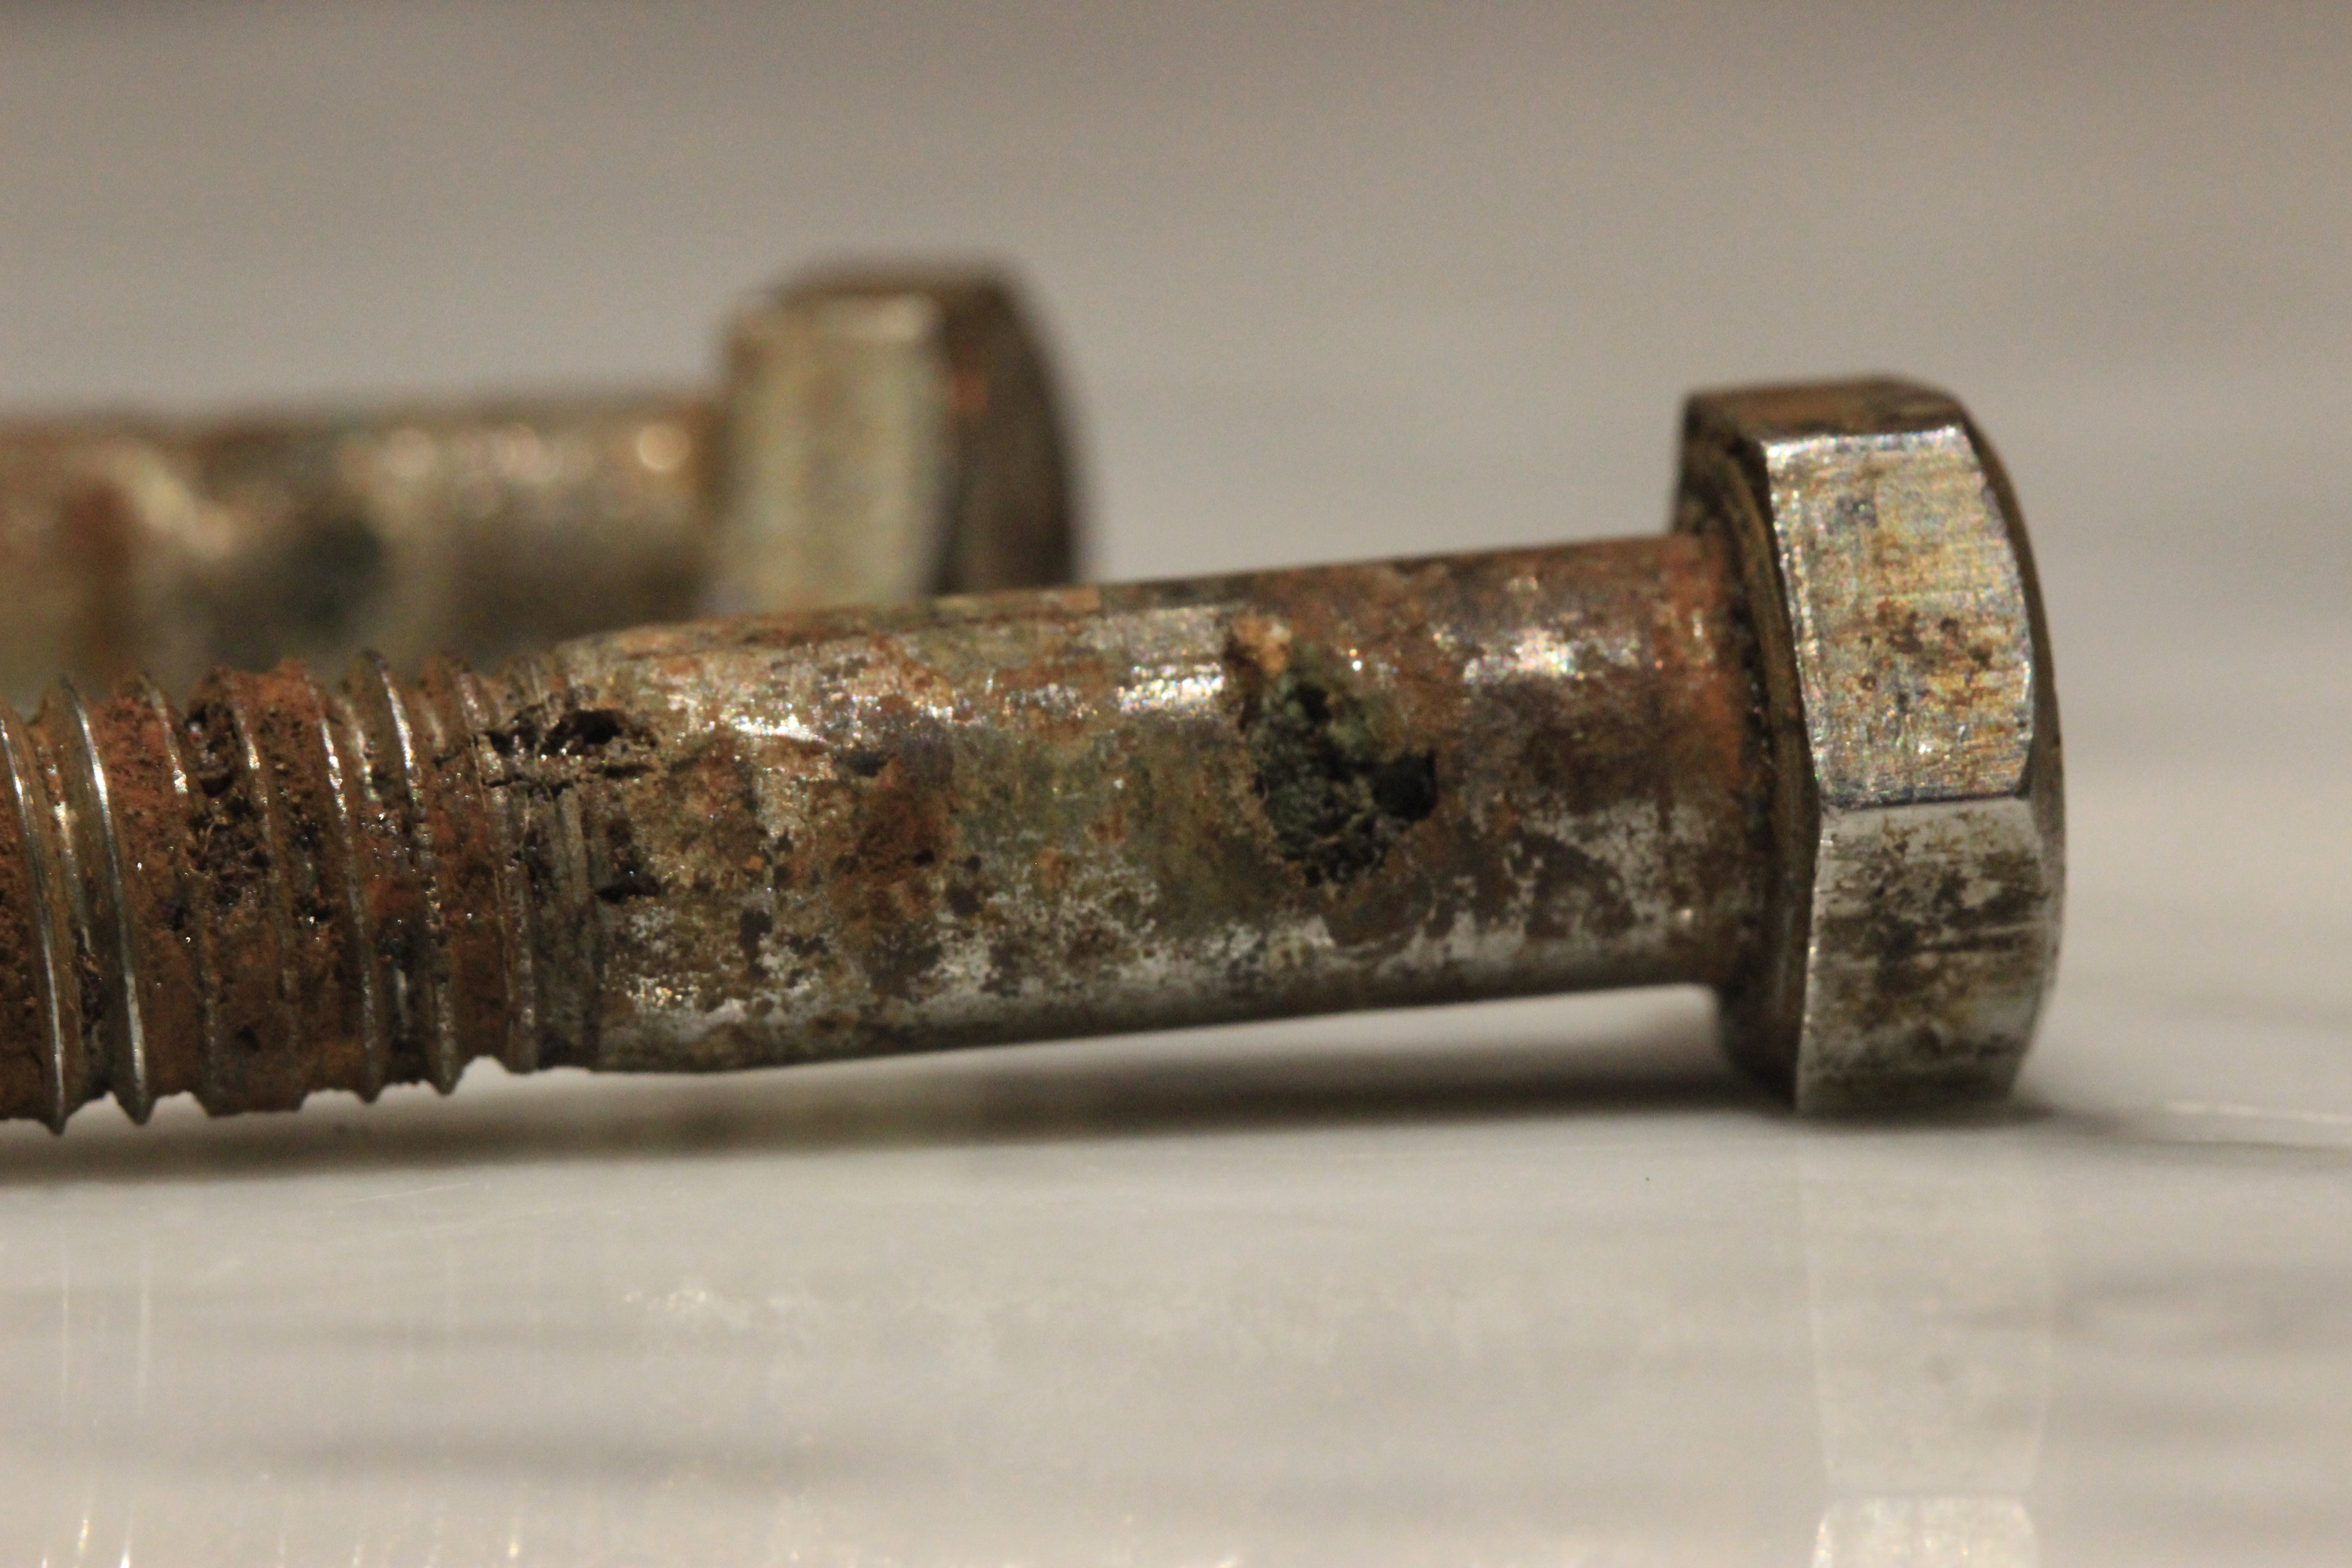
So once back in Seattle we disassembled it. Needless to say, this is a messy job – quite literally a shitty job. Pulling hoses off hose barbs is actually really hard. It required a lot of muscle power in tiny tight spaces under the sink, all while knowing as soon as the hose popped off I might have a river of sludge flowing onto my hands and into the cabinet where it would be hard to clean up. We used garbage bags and large Ziplock bags as catch sheets wherever possible.

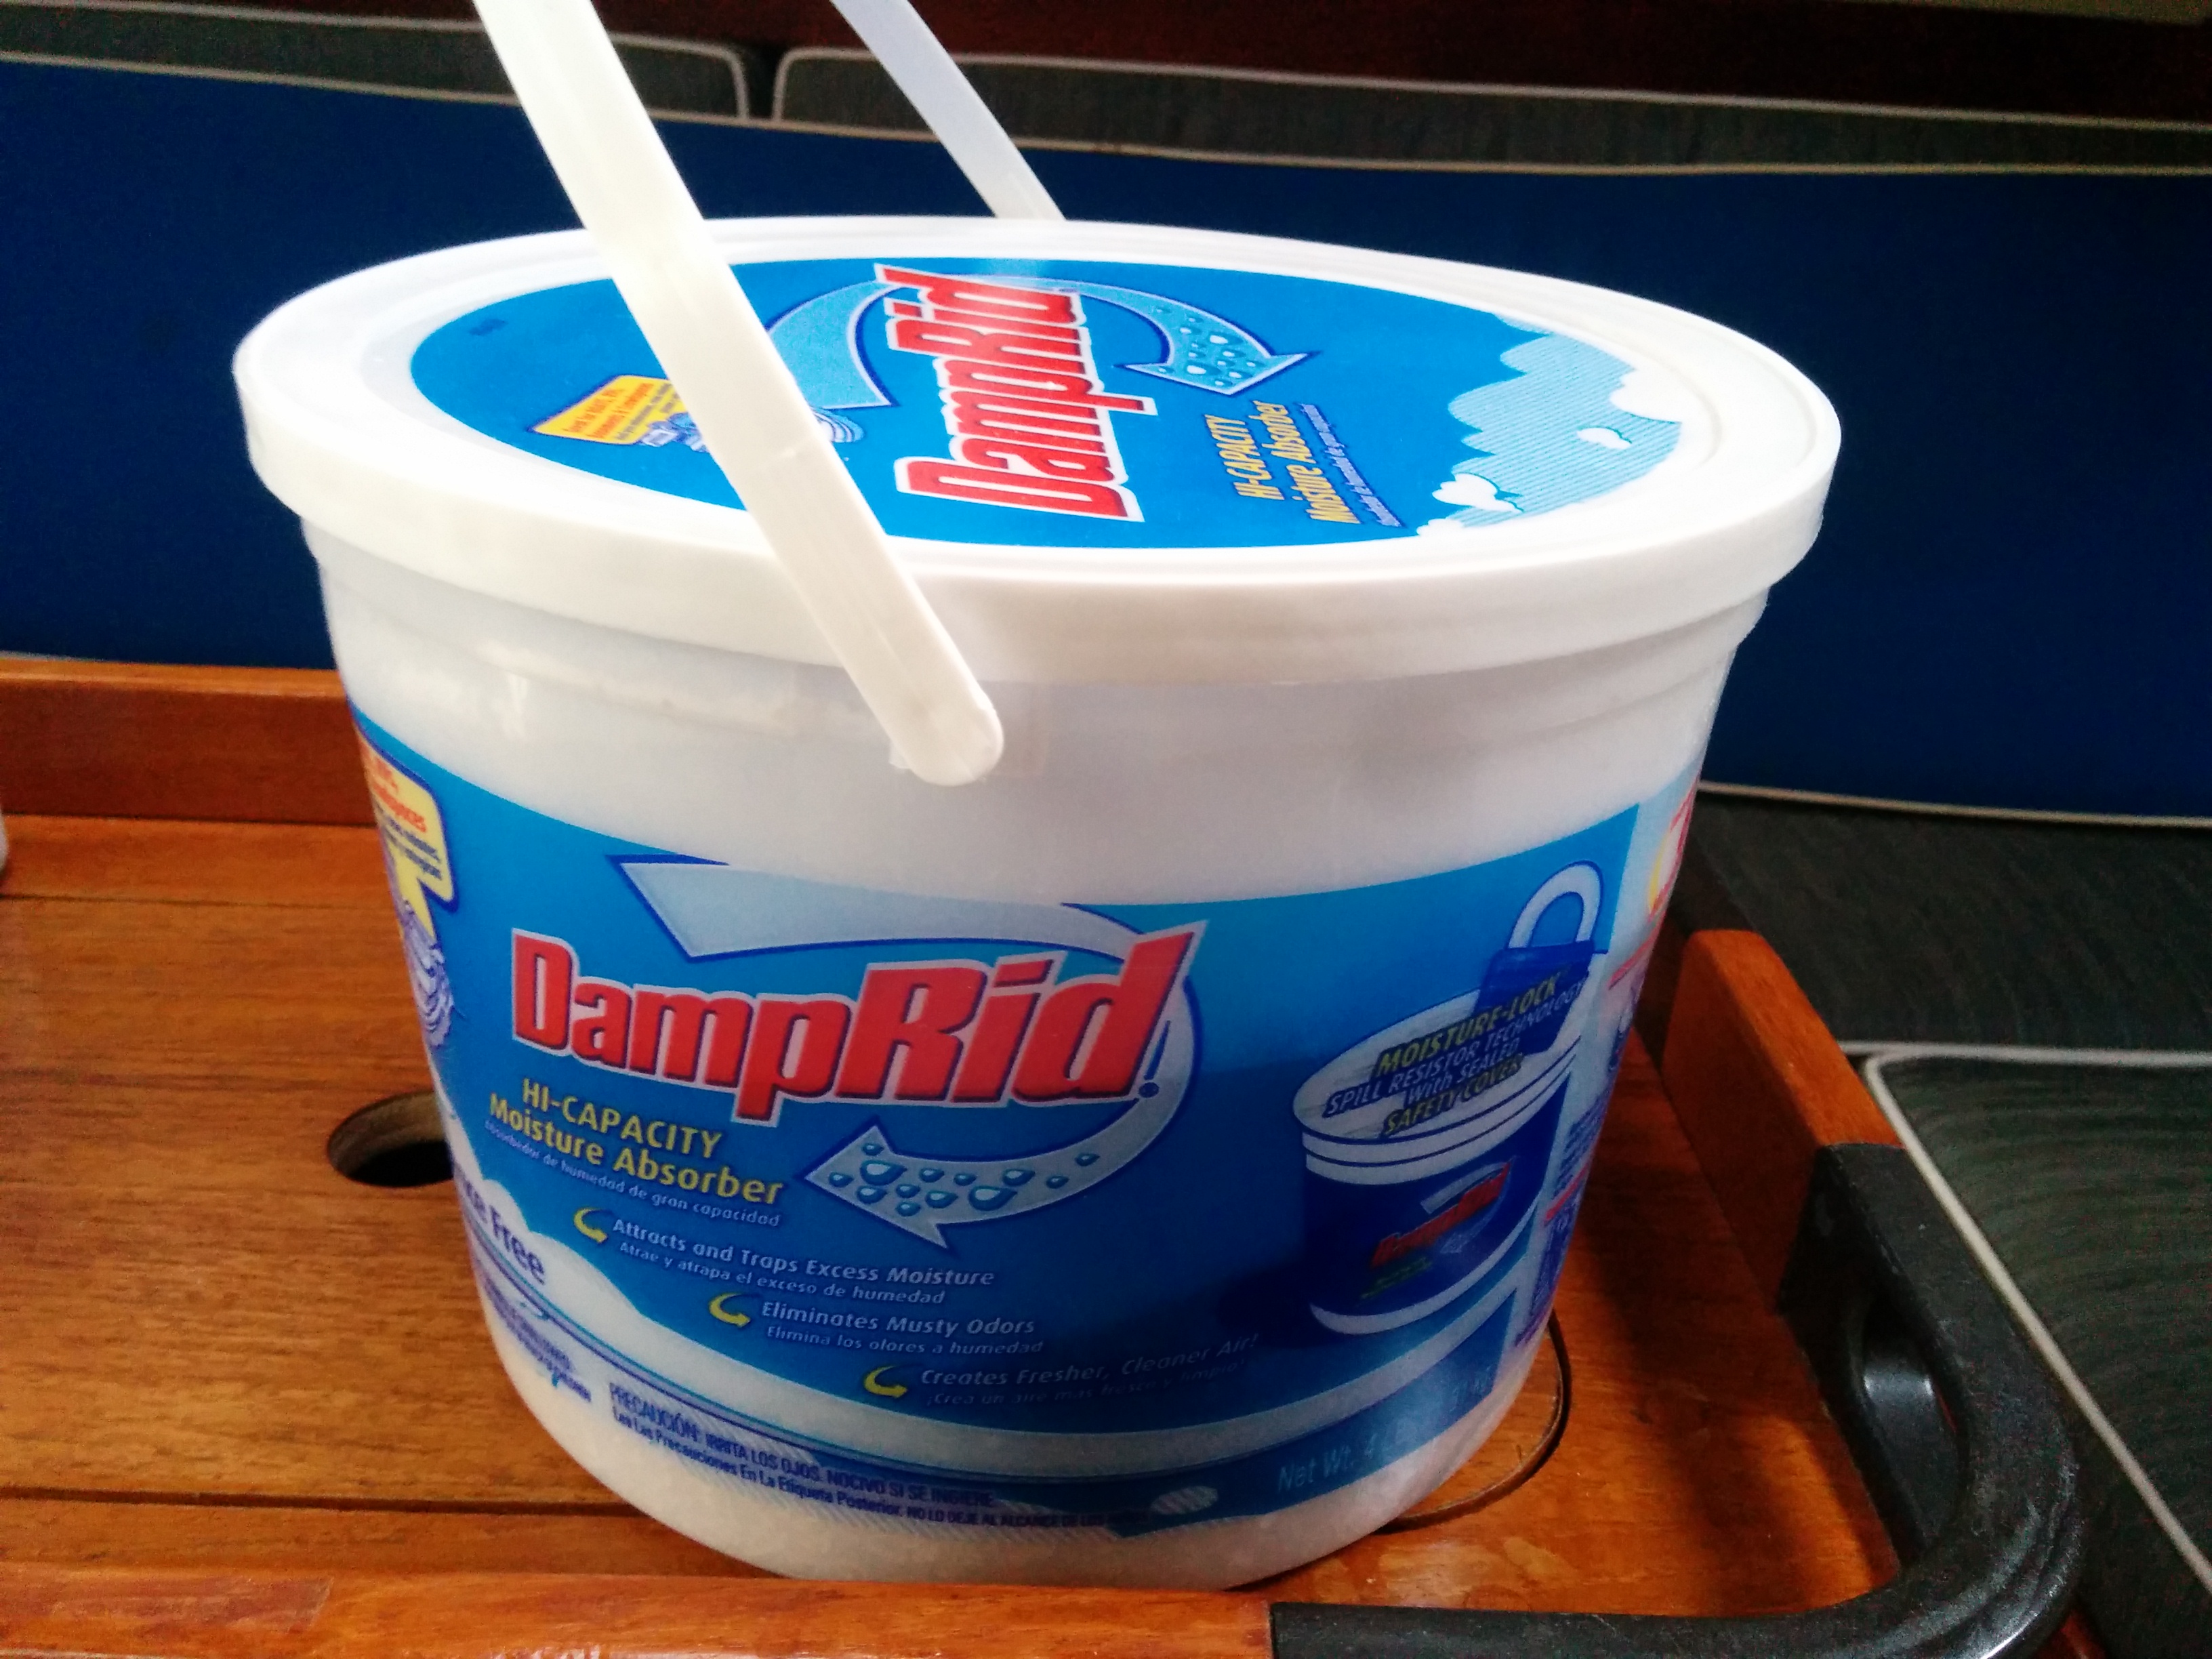
The holding tank under the nav seat, with the inlet fitting opened and a new Trident 102 hose lying on top.
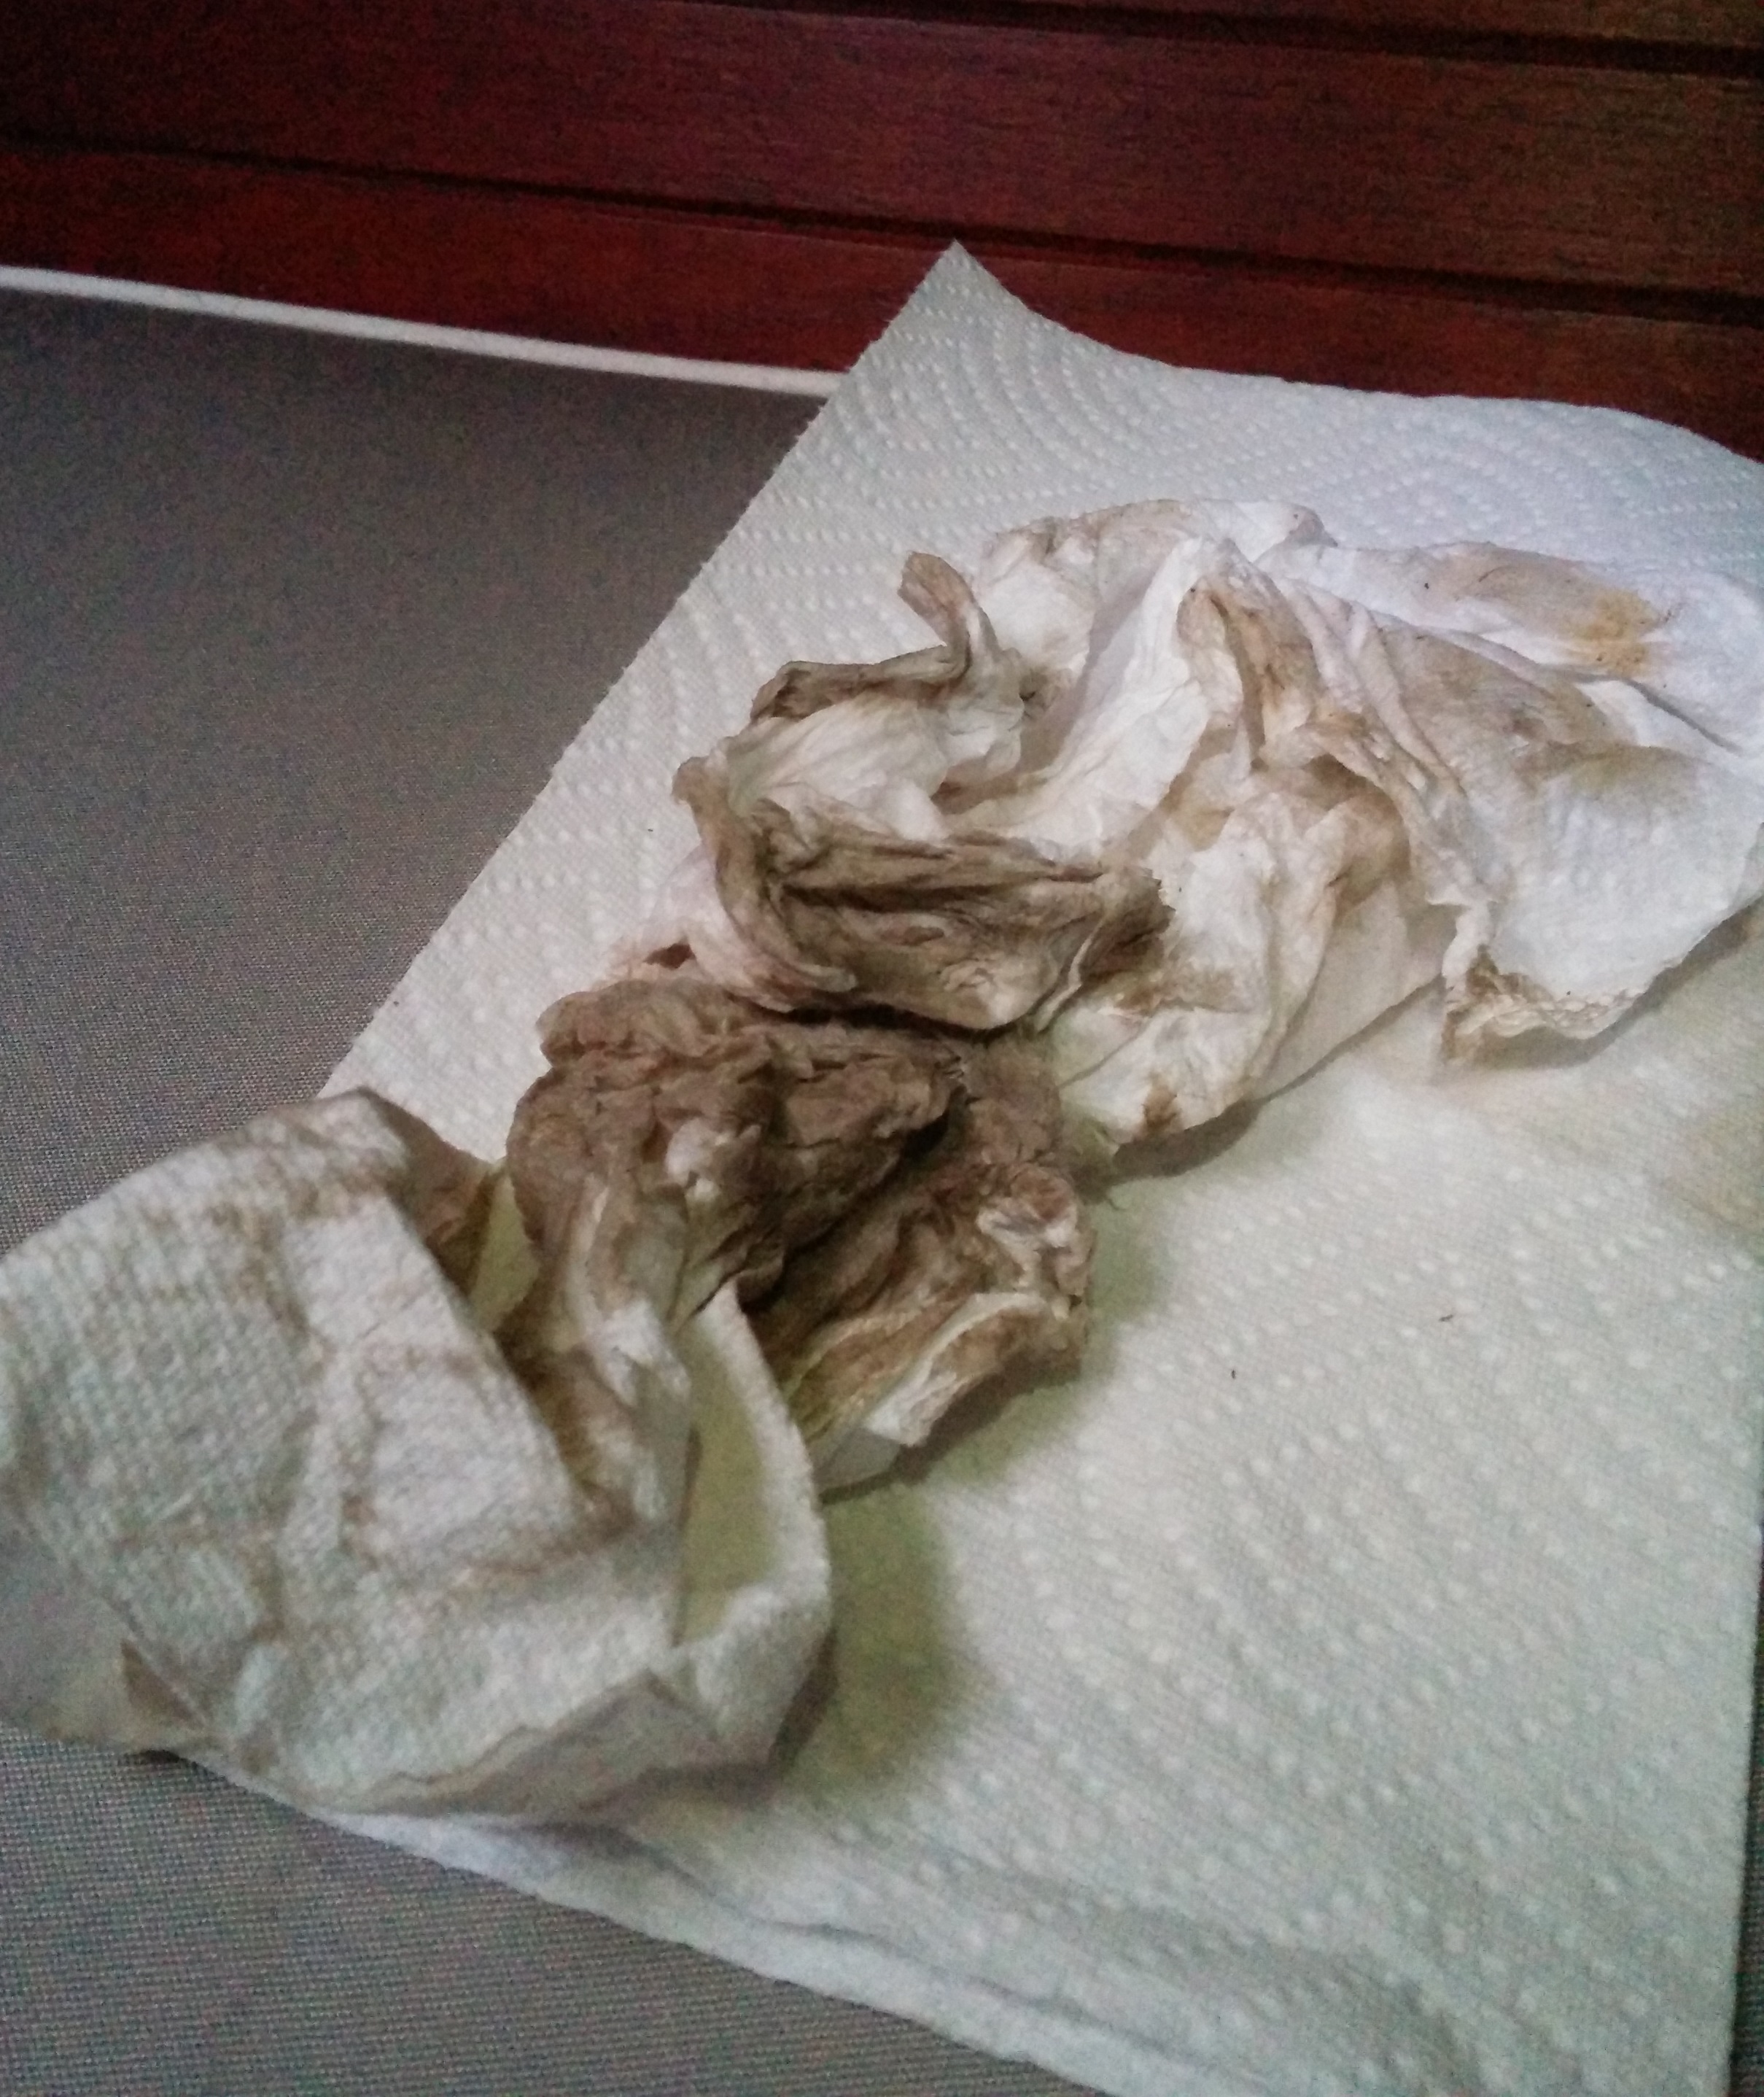
Inside the 90 degree PVC elbow that connects to the holding tank, we found petrified poop completely blocking the pipe. It had dried into a solid rock plug. It’s actually amazing liquids were still making it past. This had probably been developing for years, from the prior owner’s time, mainly caused by using the toilet without flushing enough water through the system to get the material all the way into the holding tank.
We decided to replace the old hose since it’d be easier to replace with new hose than trying to salvage, and we really don’t want to have to do this again soon. So starting fresh ensures we have new hose with no buildup or scale on the walls.

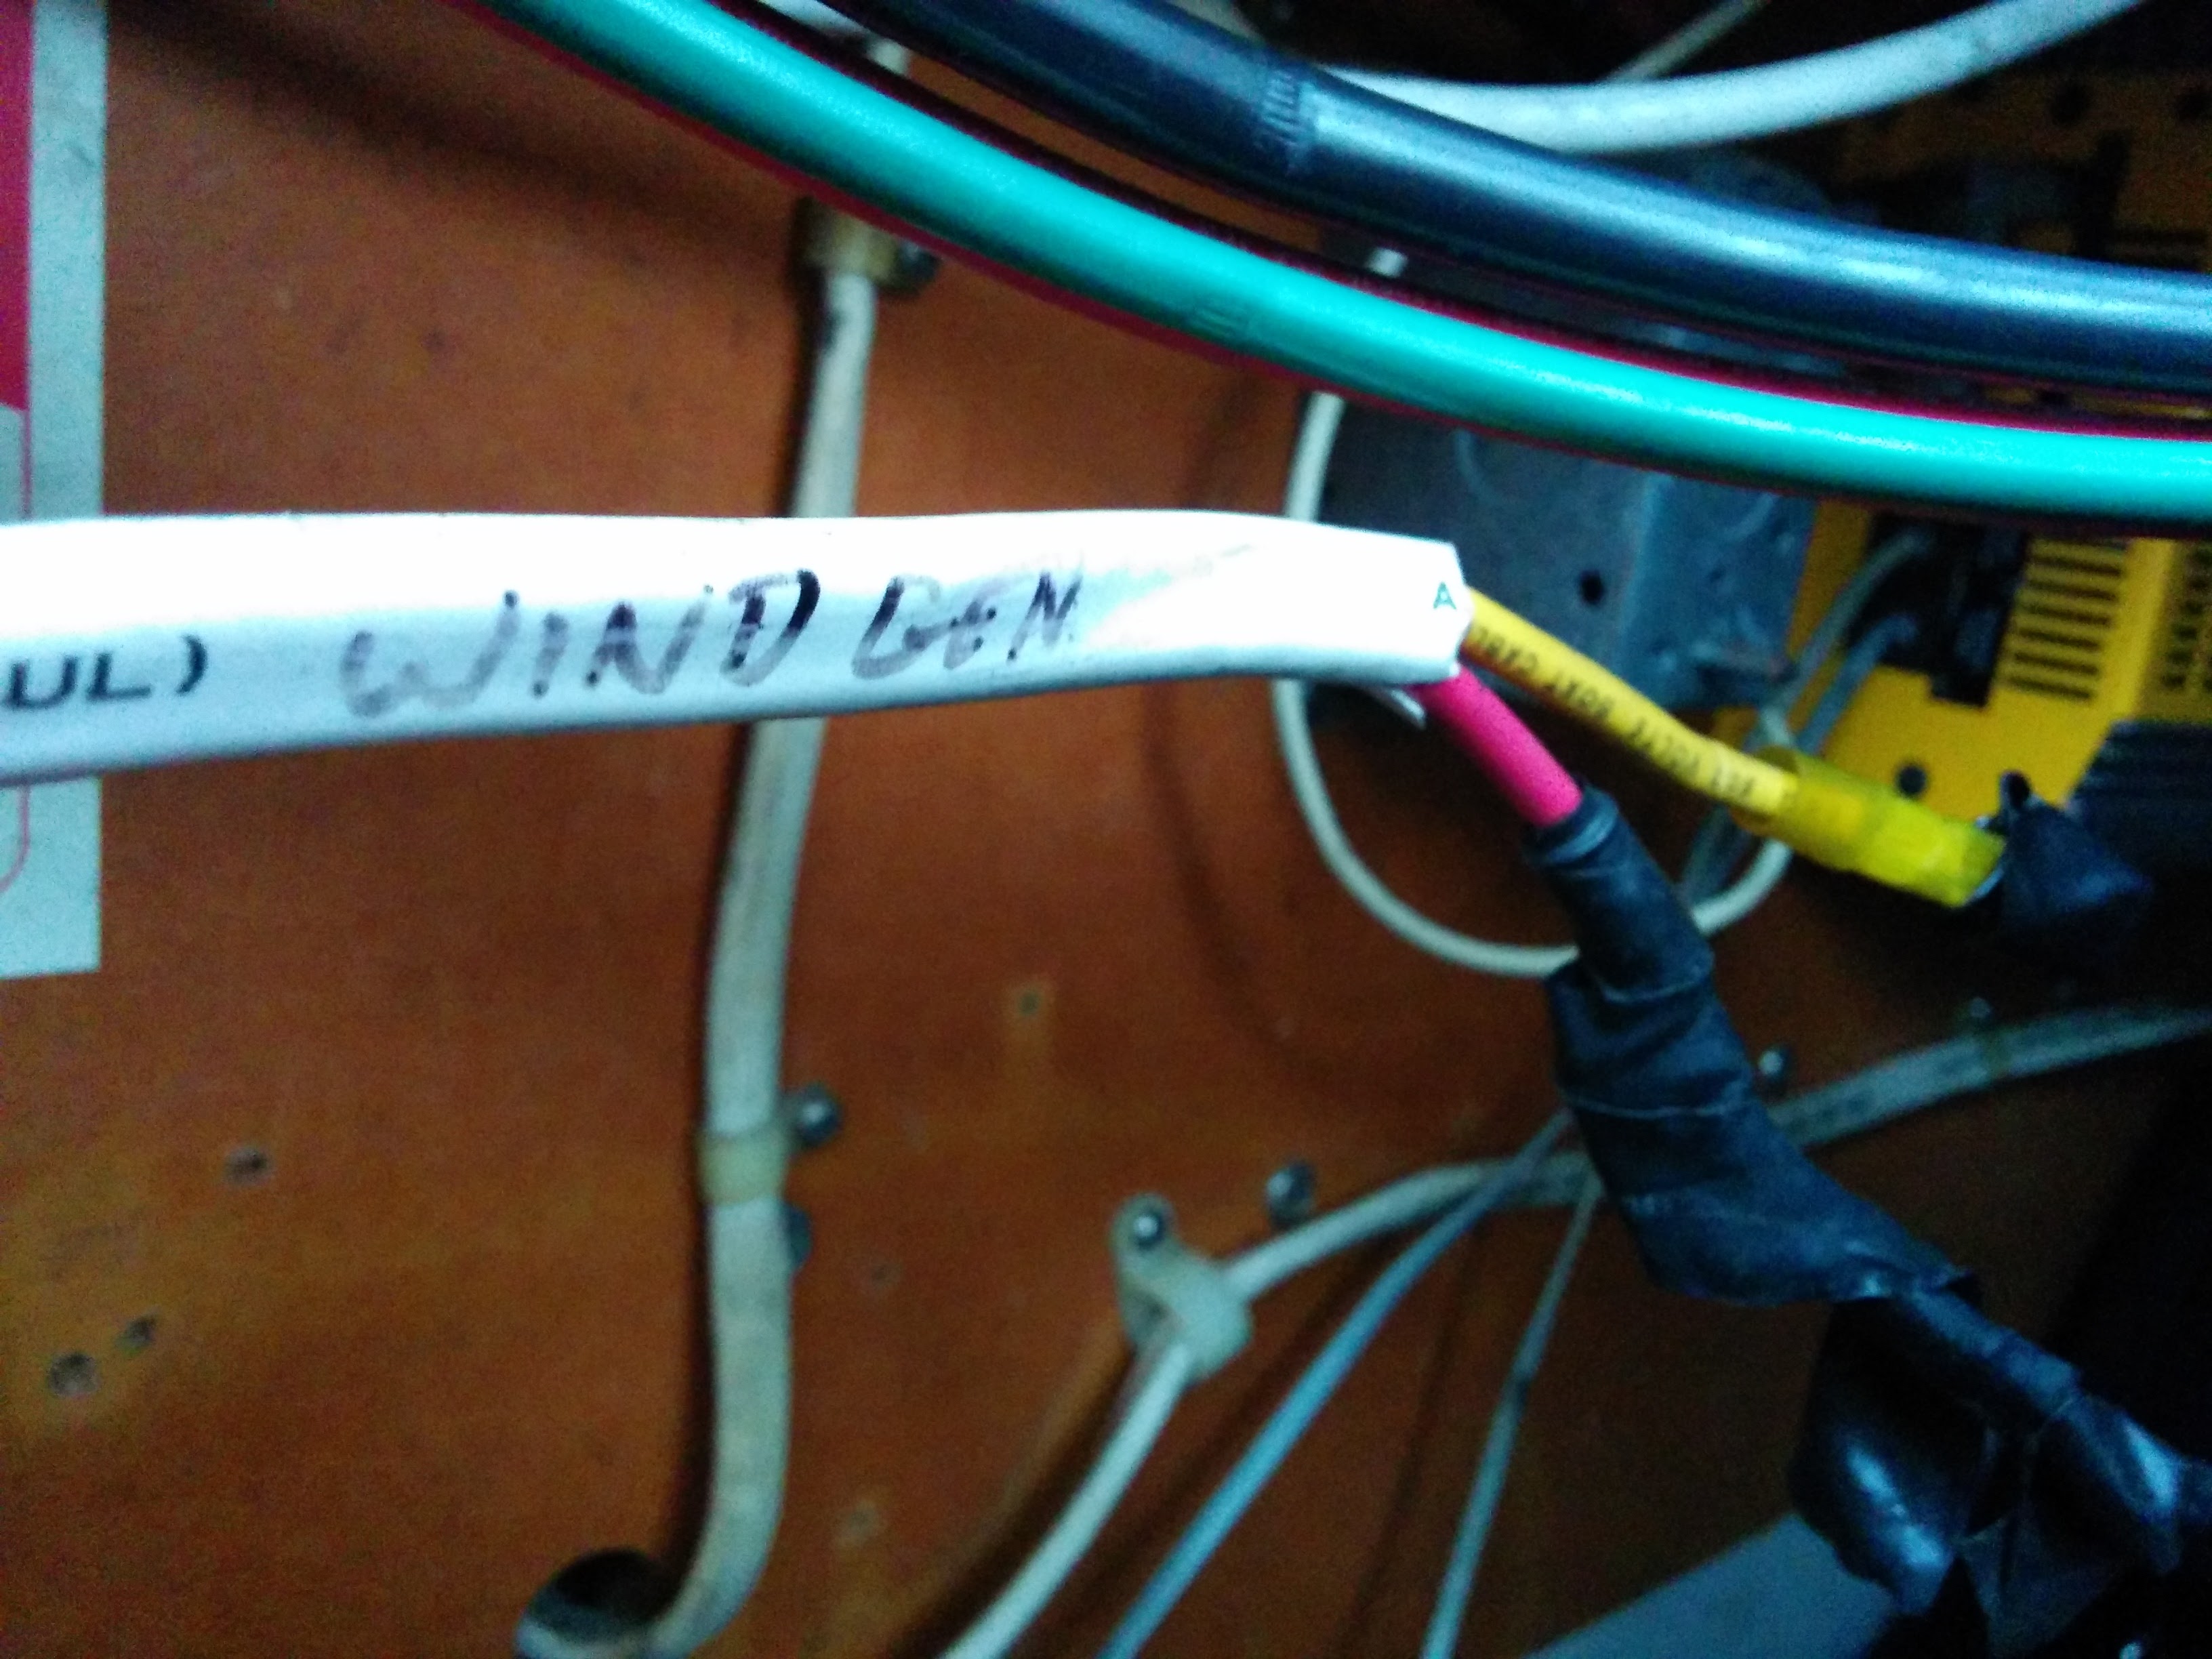
The Y valve below the vented loop
It turns out there are several types of sanitation hose vastly superior to the rigid white vinyl stuff we had in the boat. For some reason most boats have that unflexible white hose, and it’s the only kind of hose stocked onsite at the local West Marine and some other marine stores. This hose may be the cheapest, but it’s just stupid that so many people still use it – is it worth saving $50 on a head rebuild by using cheap hose? I don’t think so, since we really don’t want to have to do this again anytime soon.
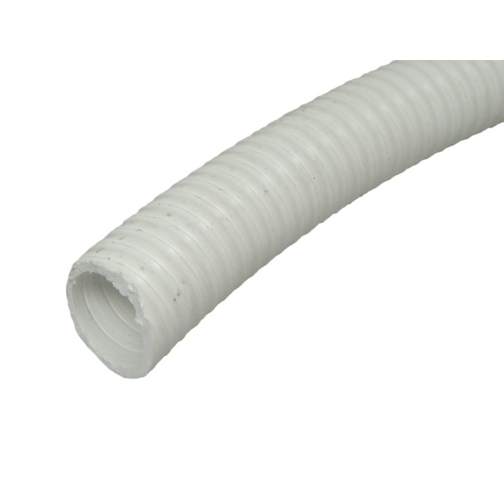
Standard PVC hose
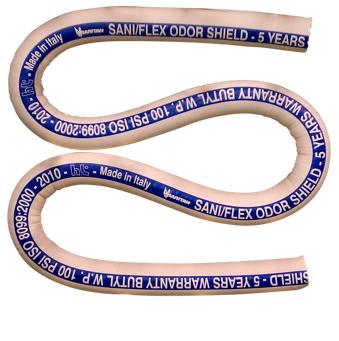
Raritan Sani/Flex hose
This unflexible hose is a giant pain to install or remove from tight spaces. Since it doesn’t bend much if you need to go around a corner you need to splice in a PVC or Marelon elbow joint. We wanted to minimize elbow joints since they can increase the chances of a clog – you don’t want flat spots or upslopes in the system where sludge can sit and dry.
Premium hose like Trident 102 (which we ended up buying from Fisheries Supply) is better because it’s easy to bend, yet still very strong and odor proof. Raritan Sani/Flex hose is also supposed to be very good, although it’s one of the most expensive ($17/ft list, $14/ft at Defender). Also Maine Sail (a well known boat maintenance writer whose opinion I trust) recommends Trident 102, and says the old PVC hose should basically die a horrible death.
This job ended up being the toughest we’ve done so far. It’s surprisingly difficult to get hoses off hose barbs in tight spaces. It makes you wonder why so many people would ever worry about double-clamping hoses. The hoses in our head plumbing, after removing the hose clamps, probably wouldn’t have come apart even if a giant sat on them. I’ll still do it for below waterline fittings, but probably not above waterline.
Anyway, we’re very happy to have a clog free head now, and looking forward to not doing that again anytime soon! On the plus side, after disassembling holding tank hoses, all other boat jobs seem pretty pleasant in comparison.
You can read more on hoses here: