I have a confession: I love cleaning winches. It’s really weird, but the idea of cleaning a winch with a beer or two sounds like a great way to spend a Friday night.
Taking apart a winch combines two of my favorite things among all boat tasks: 1) engineering – basic engineering skills in taking apart and putting it back together again, and 2) cleaning. The reason many boat owners actually like cleaning is that it’s easy – it doesn’t require any advanced skills like other boat tasks (diesel mechanics, electrical), and there’s pretty low risk of making things worse. Unlike mechanical or electrical jobs where messing up can make the situation worse than when you began, cleaning pretty much always improves the situation at least a little.
Supplies Needed:
- Mineral spirits (aka paint thinner)
- Winch grease (eg, Lewmar or Andersen)
- Some plastic cups or dishes for soaking the parts in the mineral spirits
- Plenty of paper towels
- Spanner tool – for opening the circular plate at the top (on Barients). A deck key (eg, like you use on the fuel fill port) can also work if the plate isn’t too tight / stuck.
- Hex wrench (make sure you have some of the larger hex sizes – ¼ inch was the largest I had, and it was the only size I needed)
- An hour or two worth of good music.

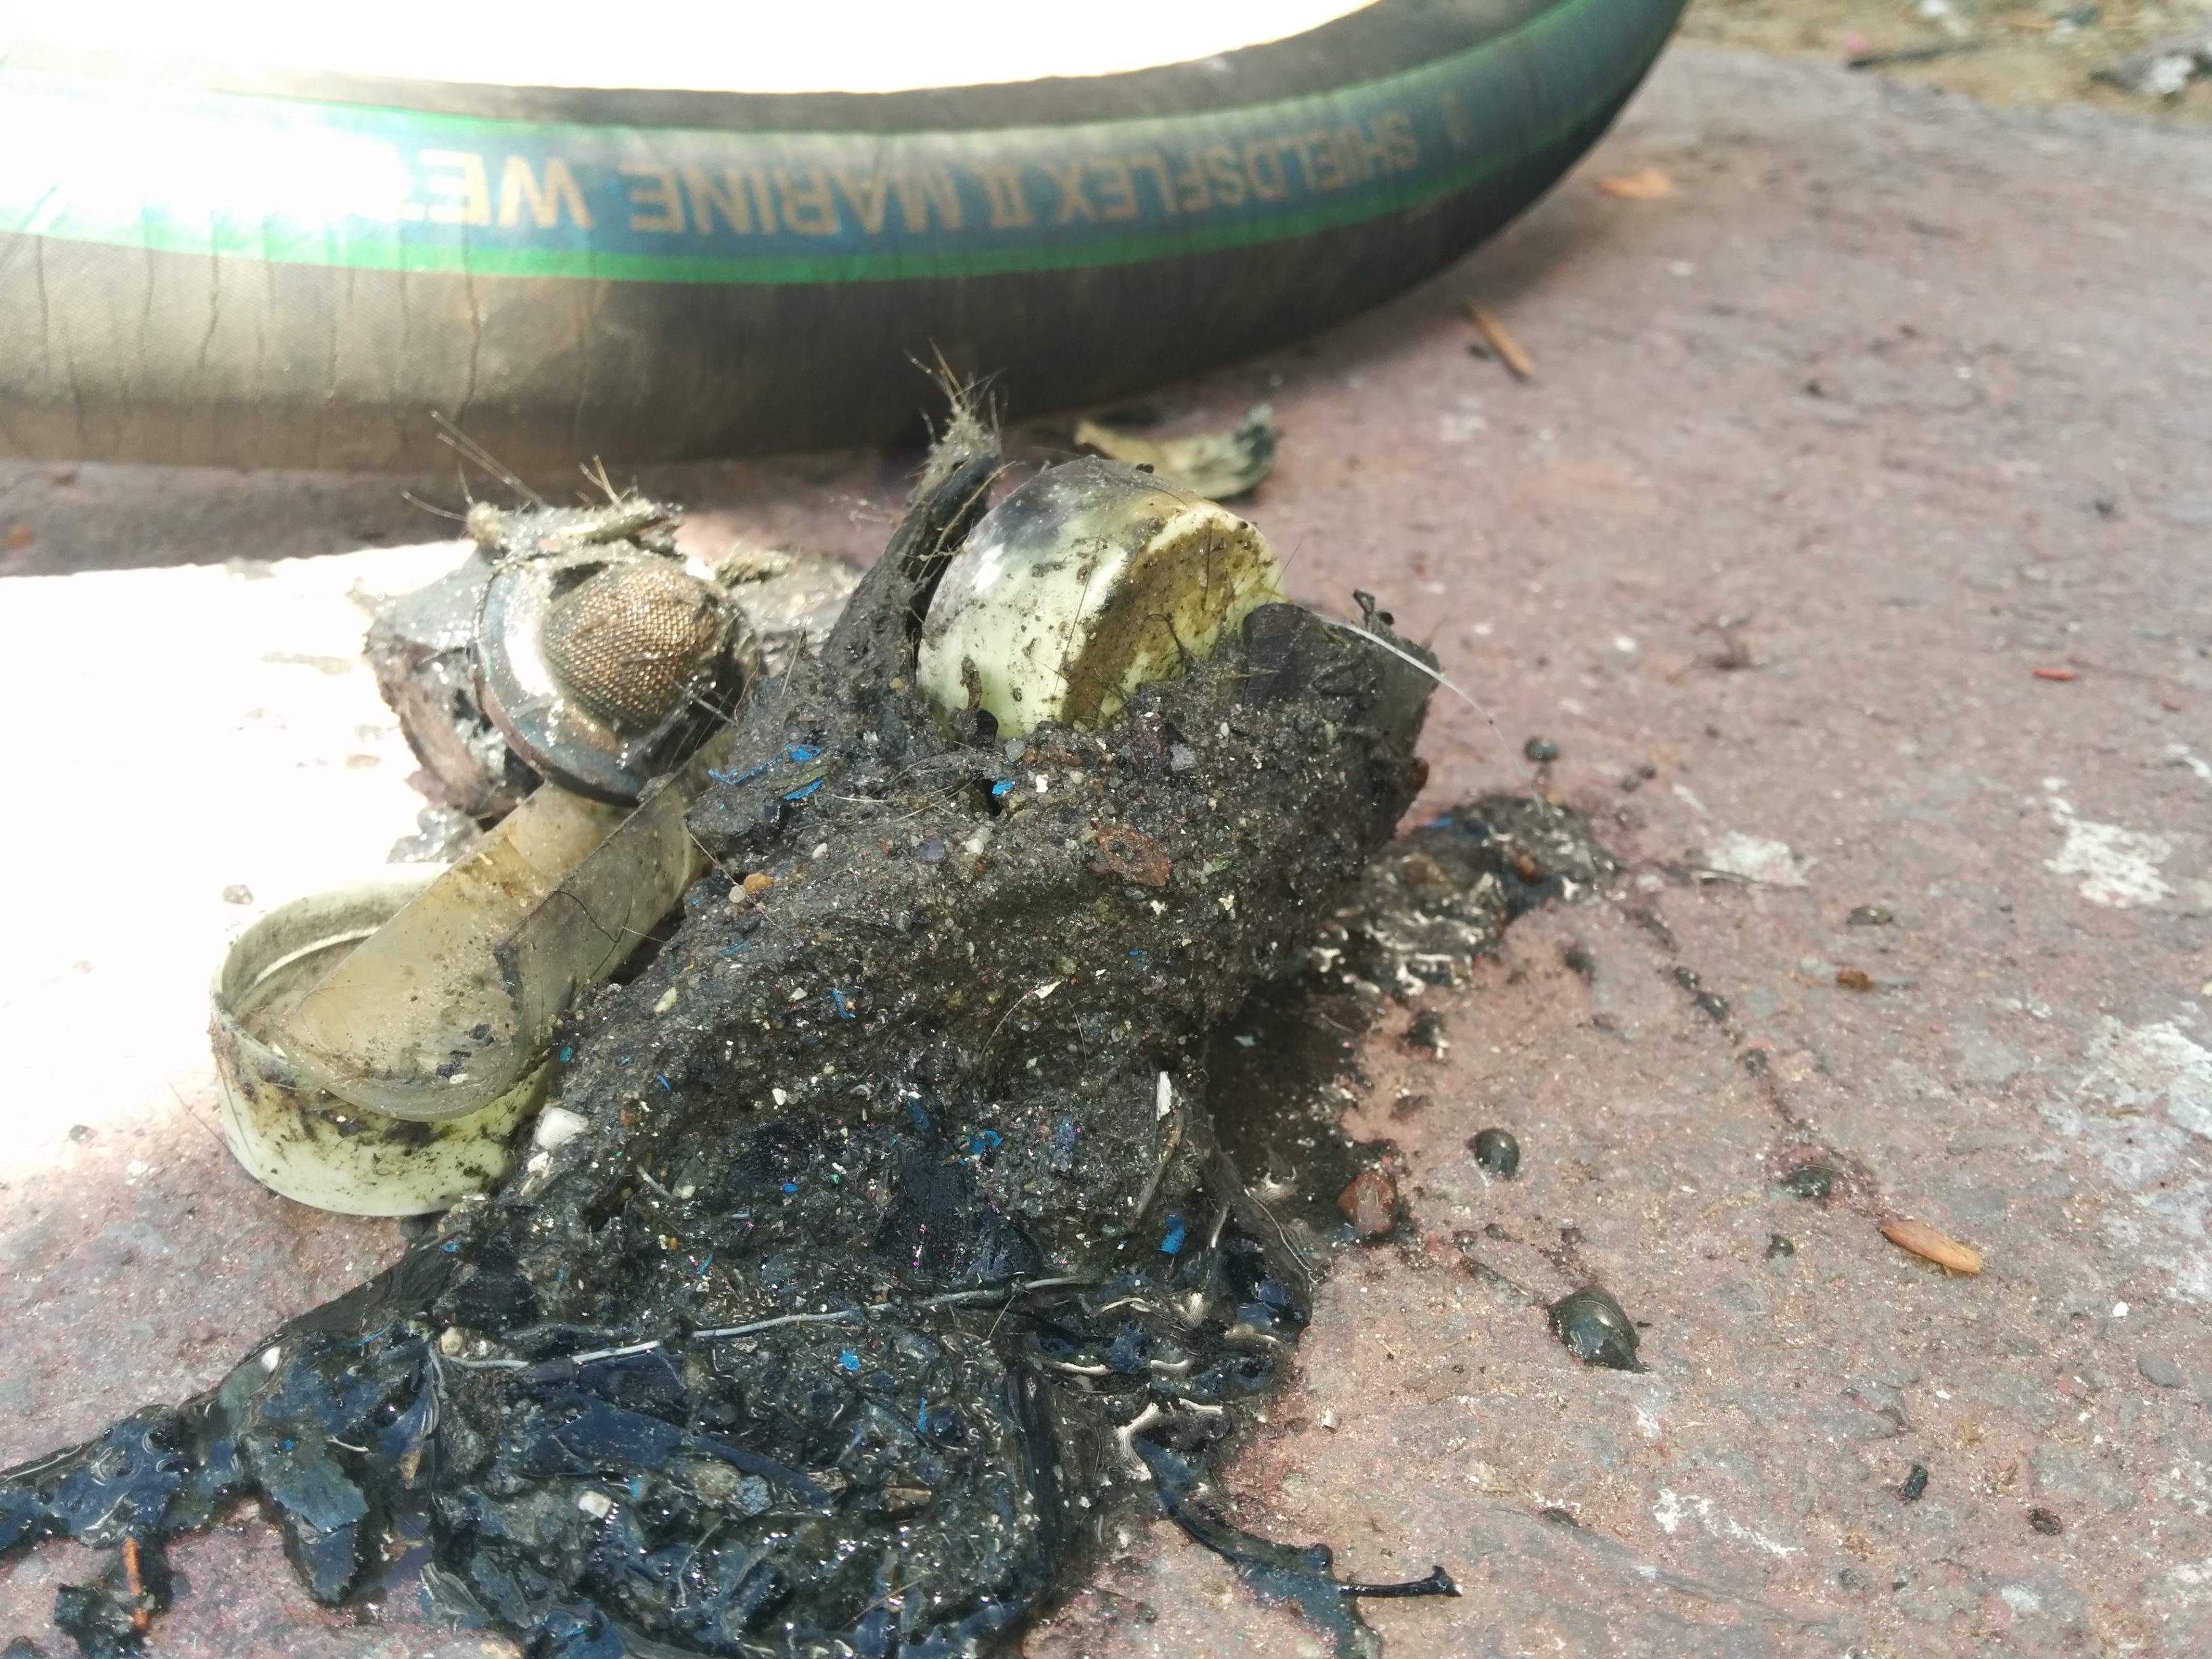
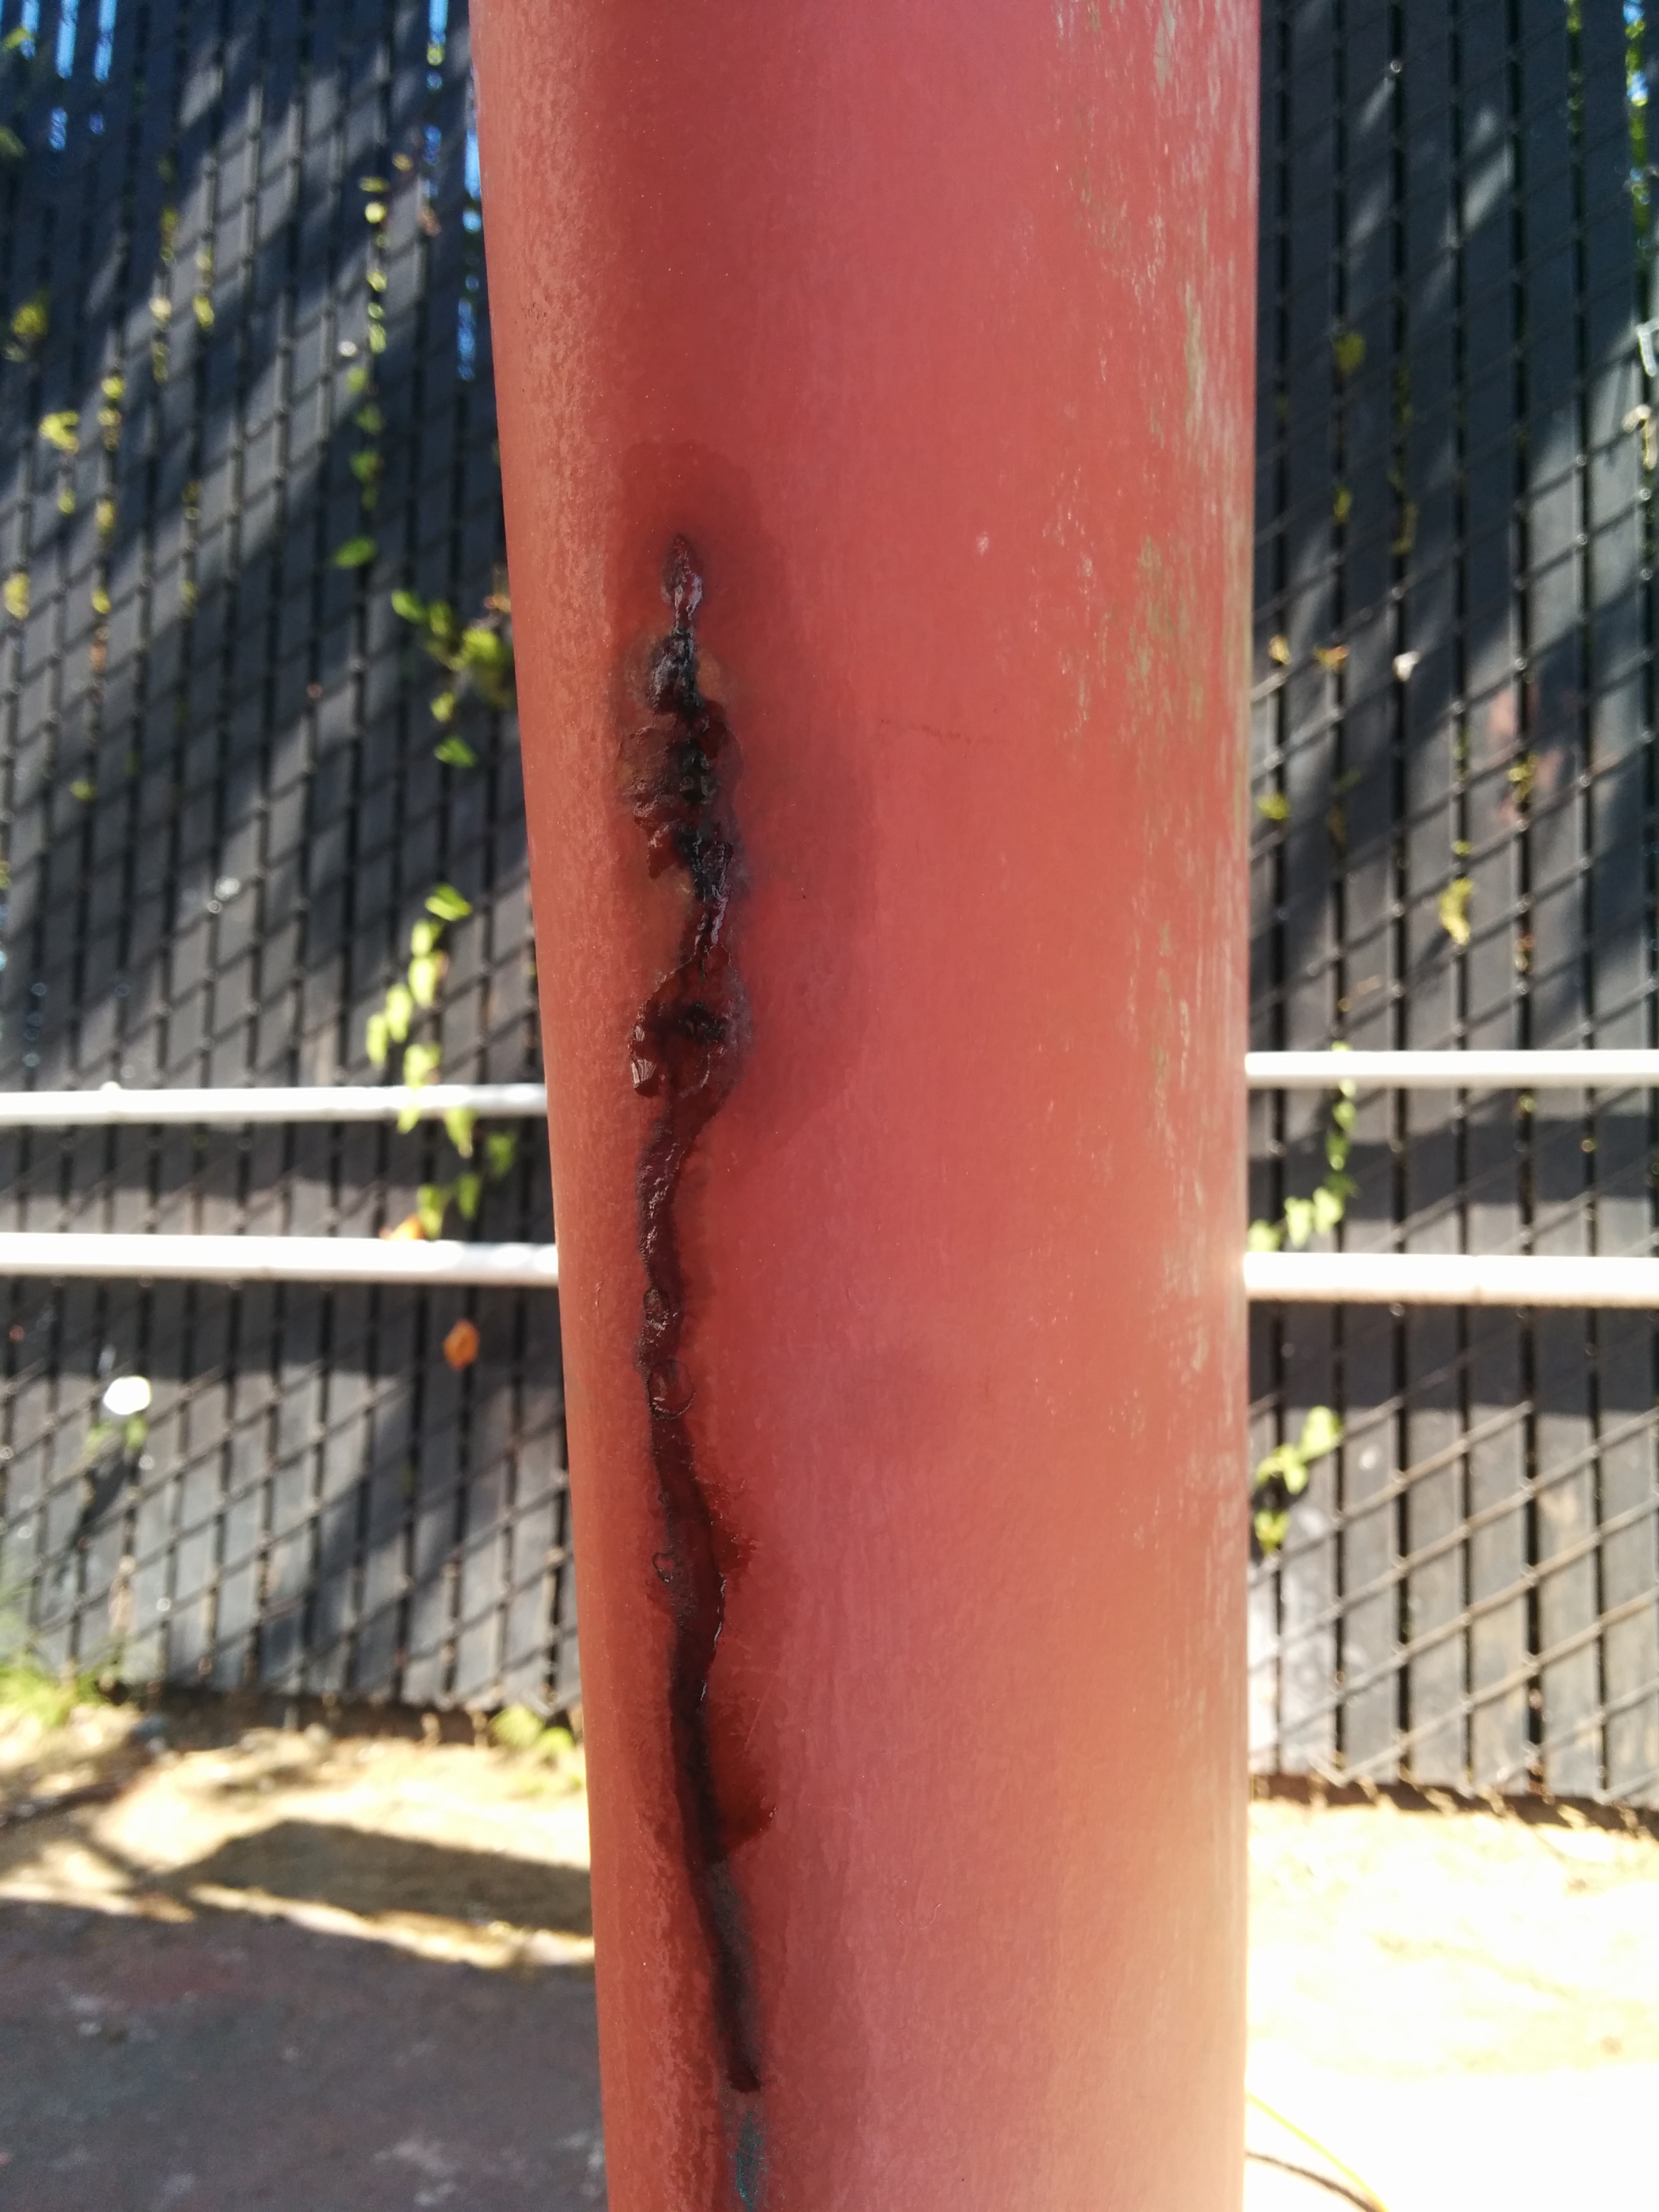
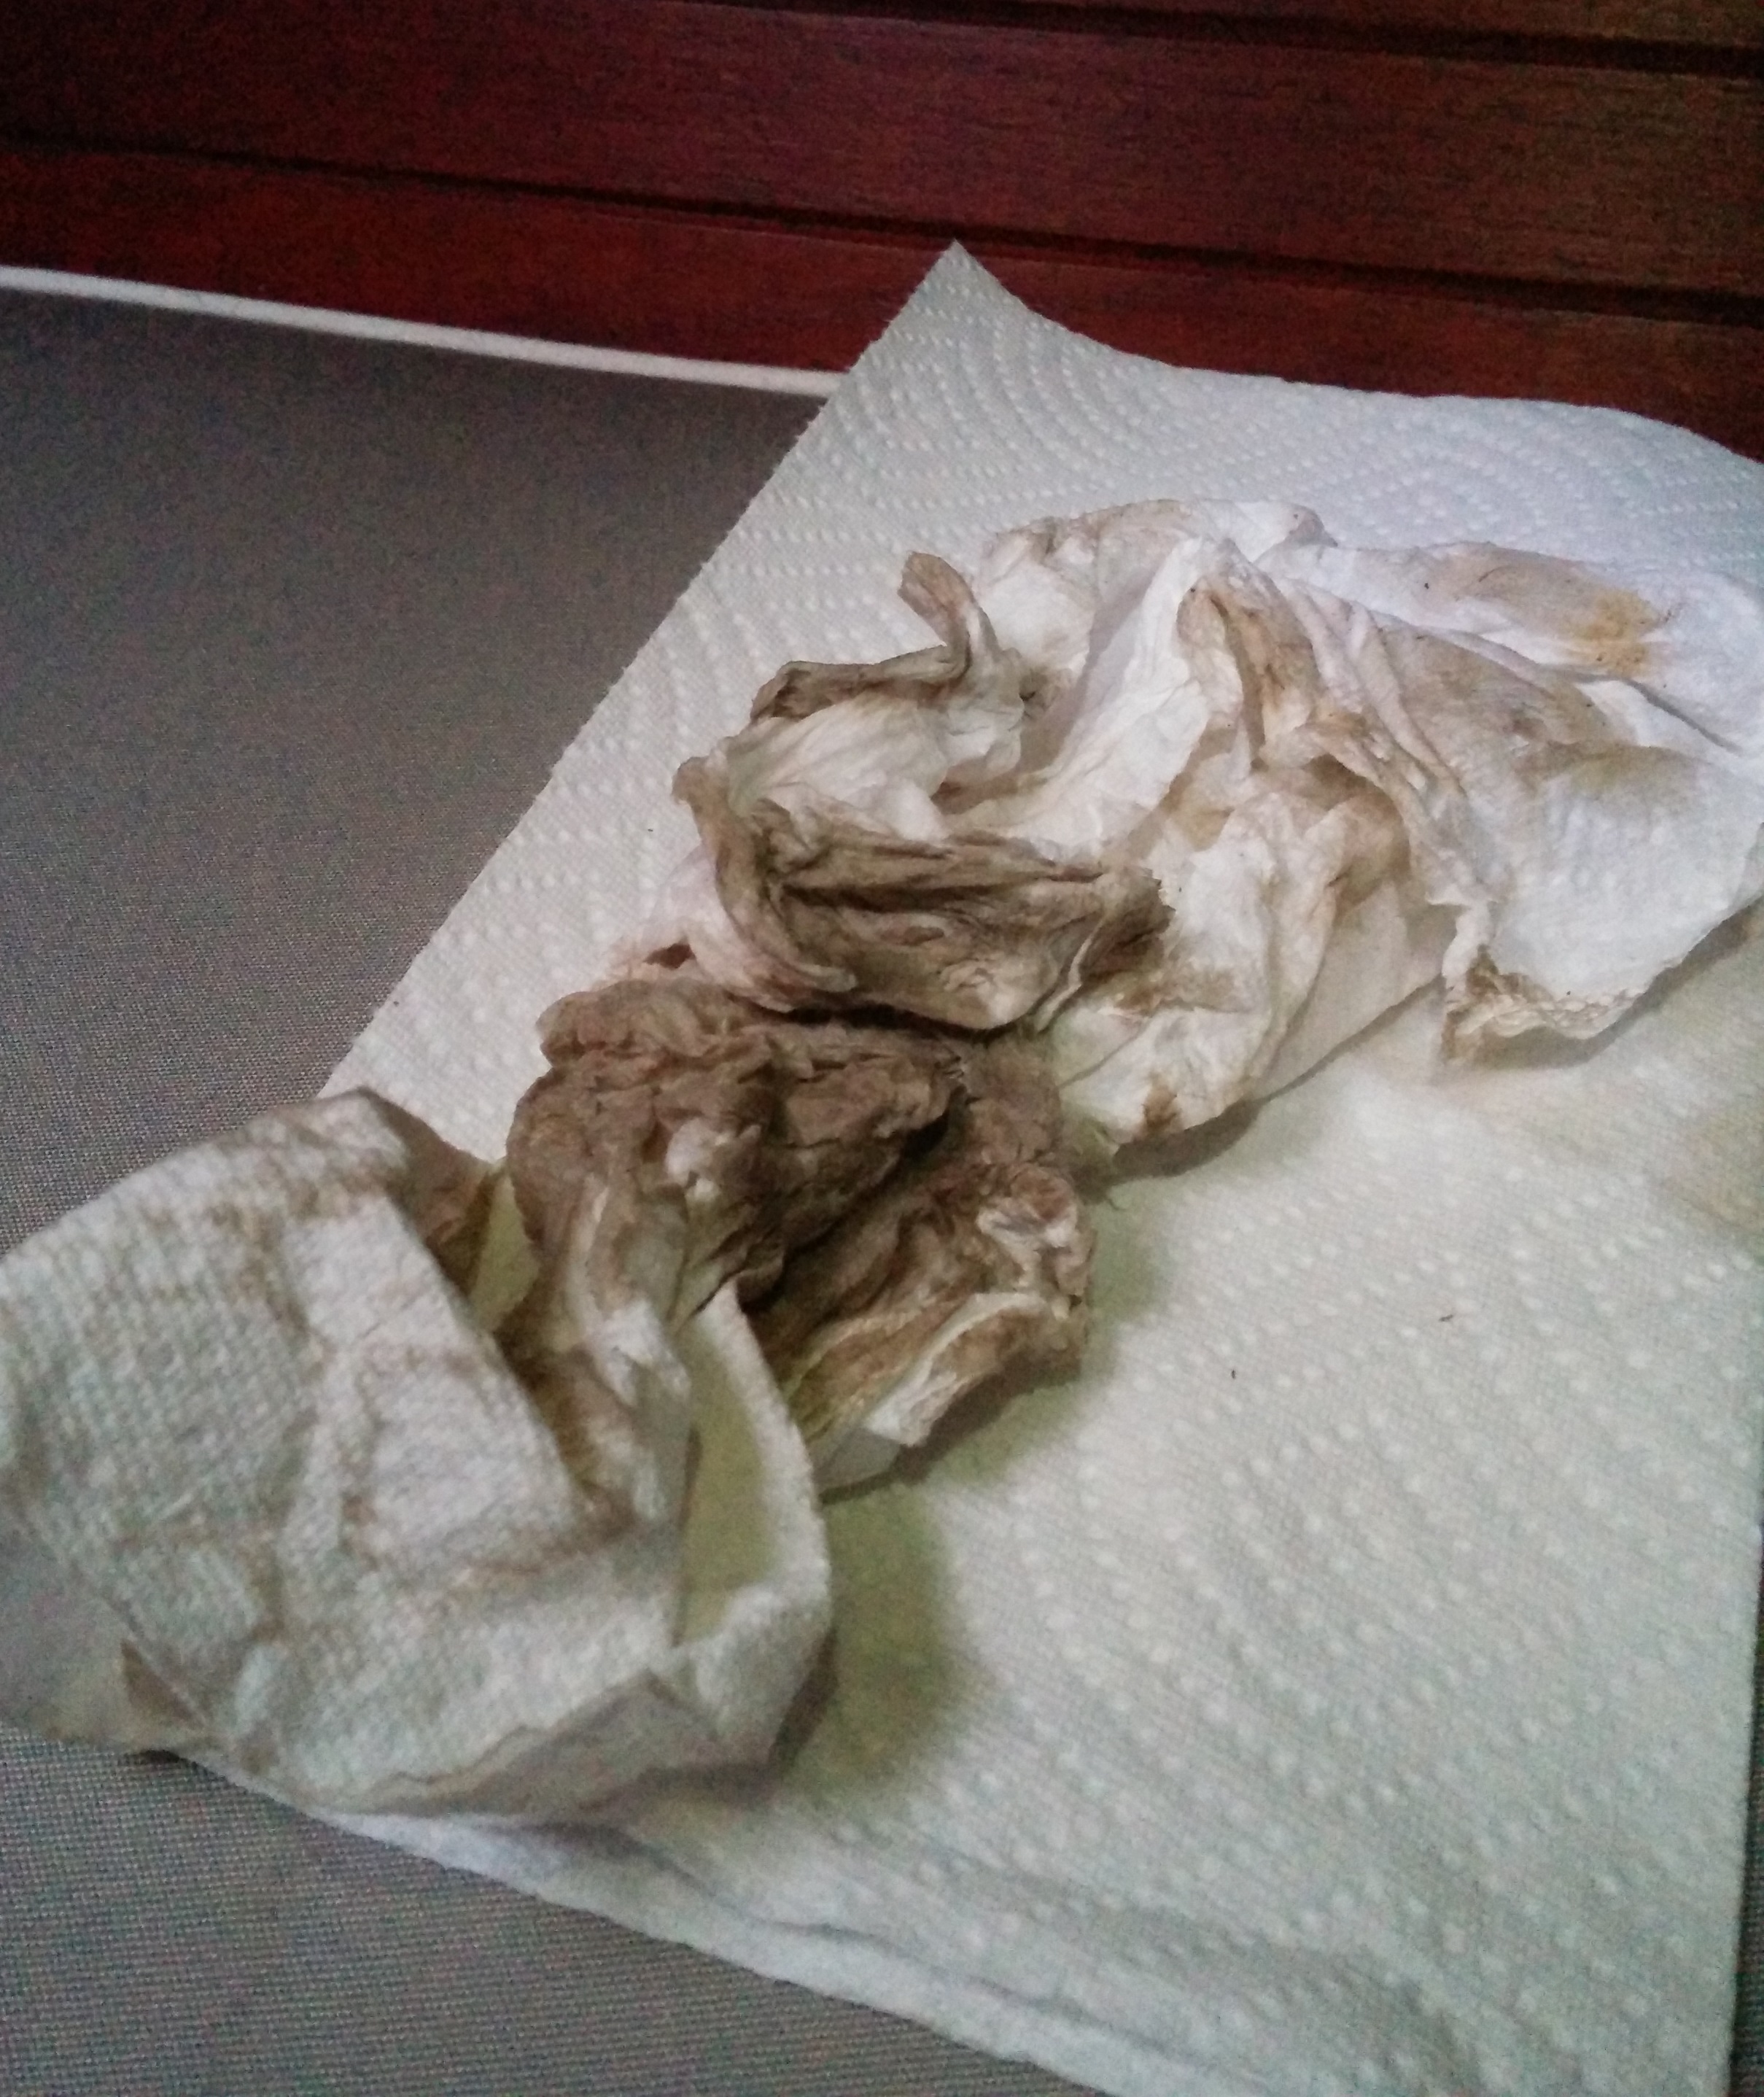
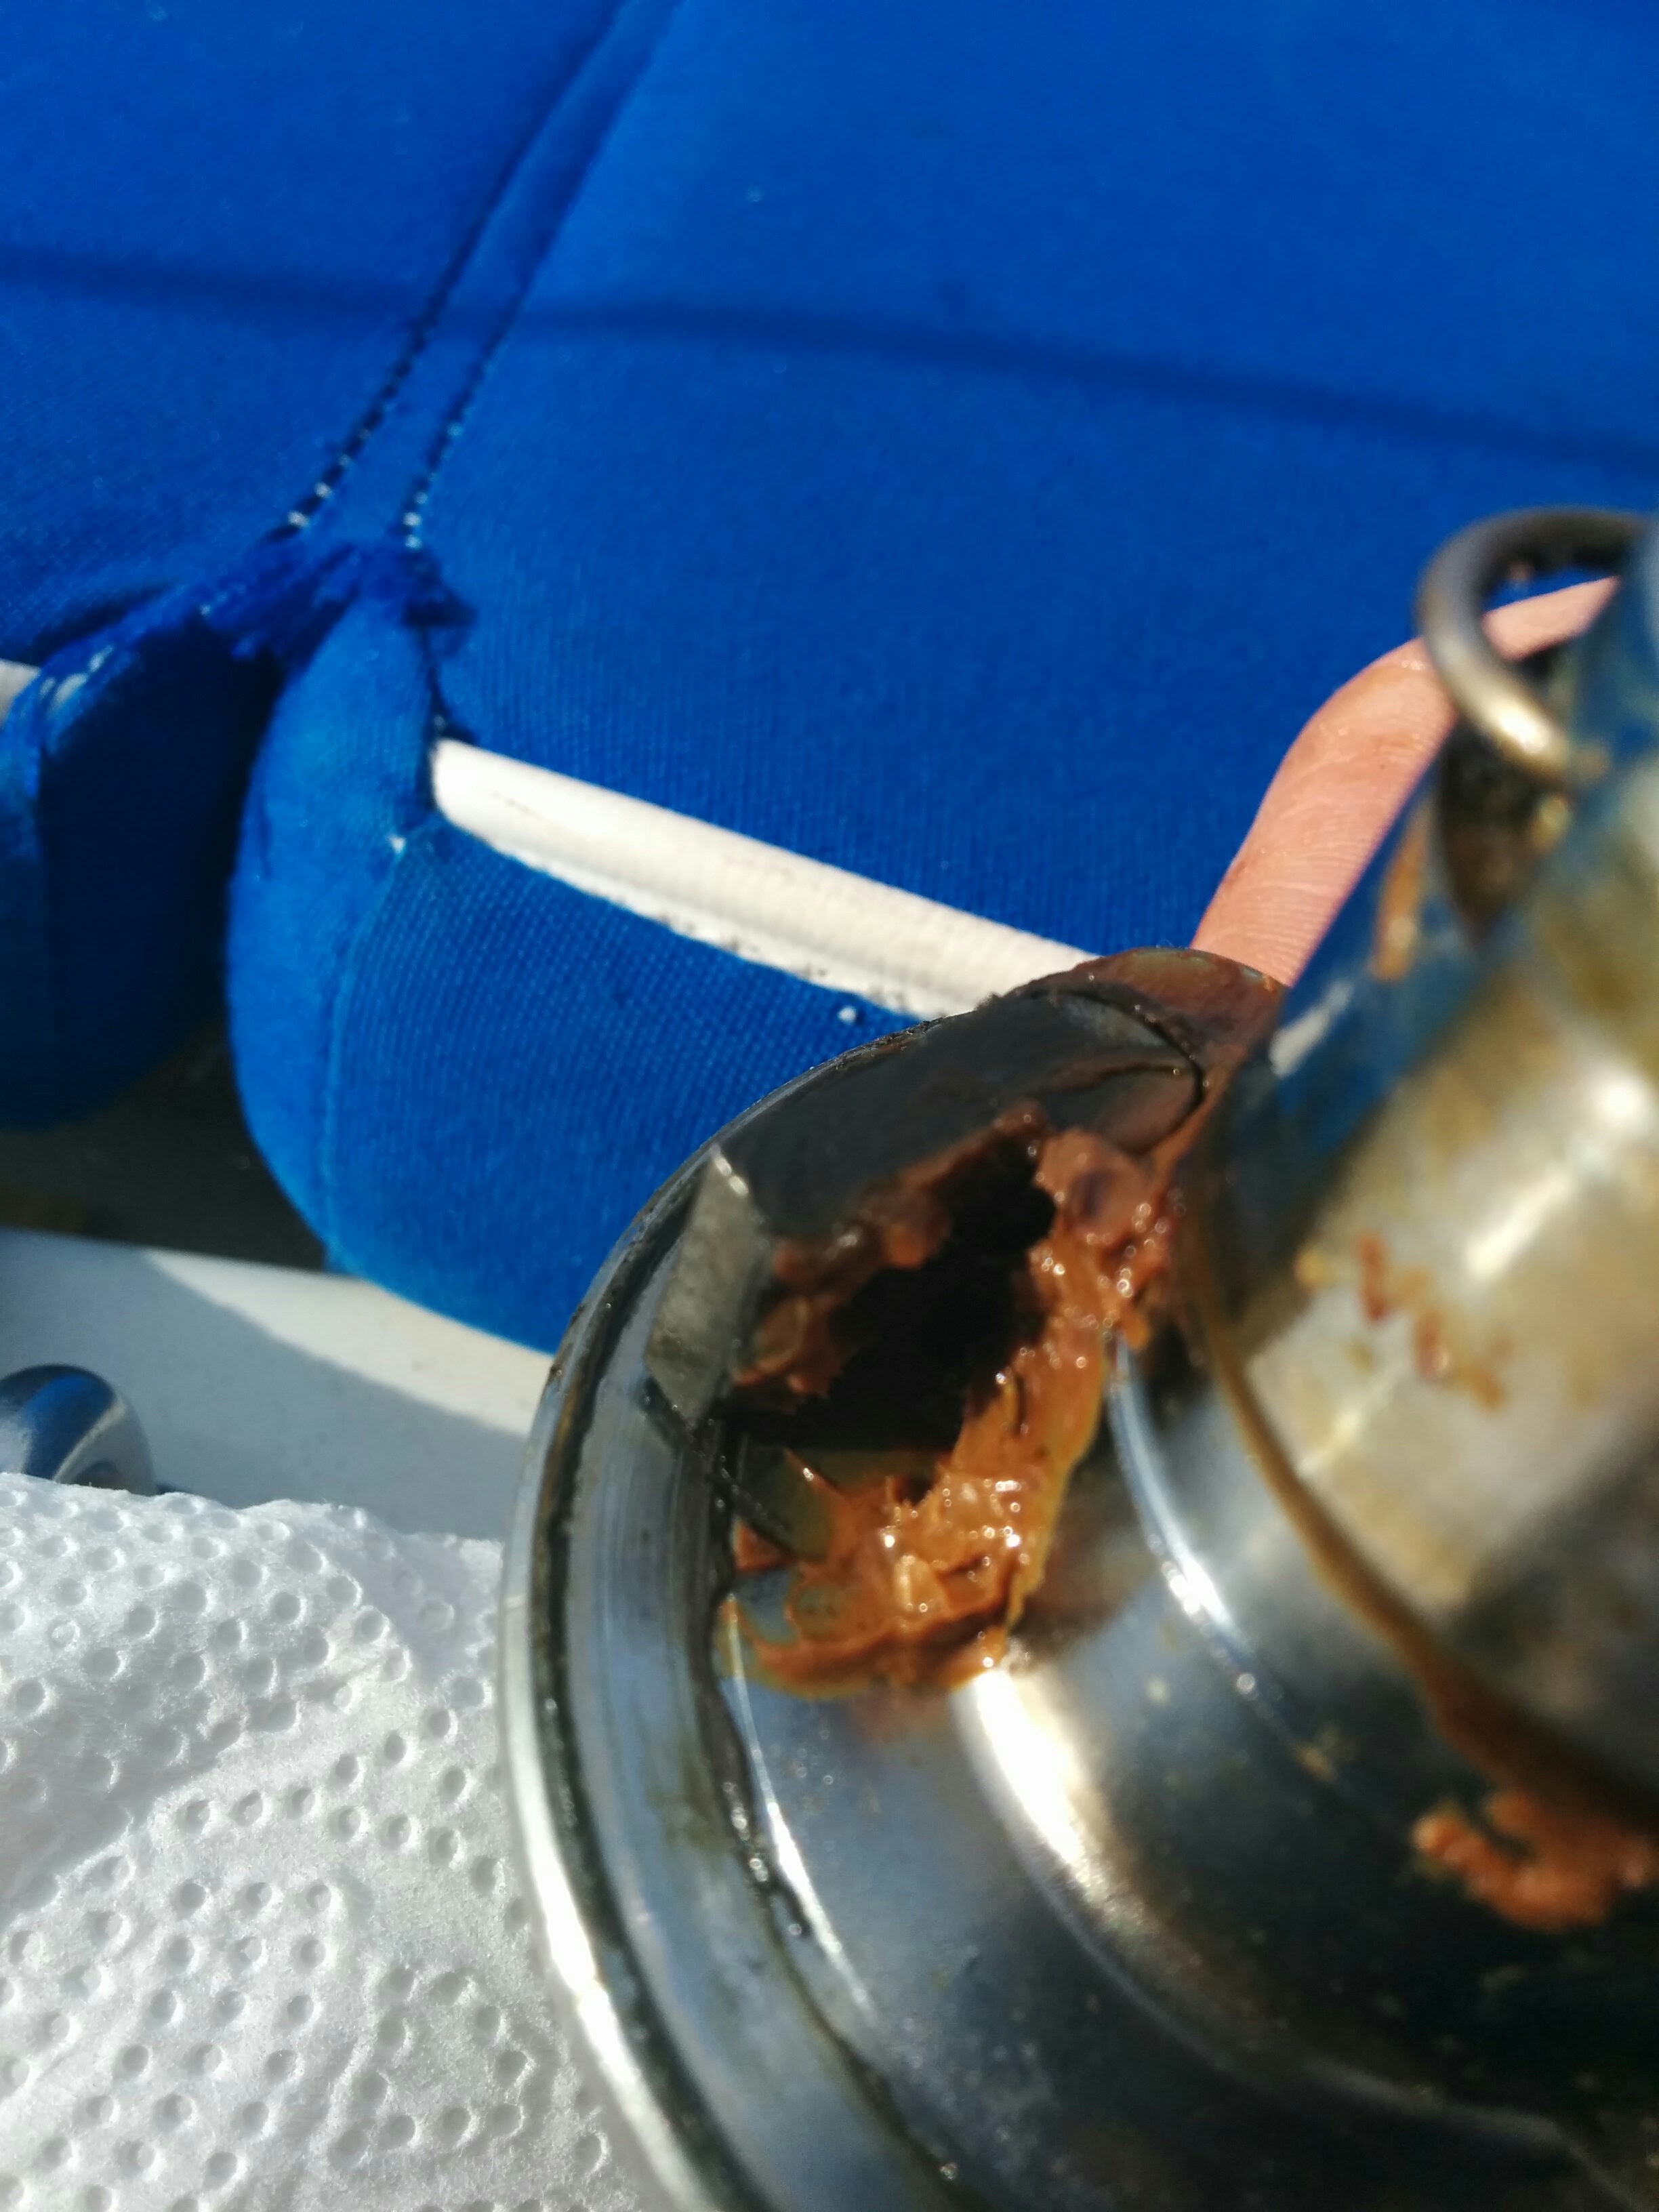
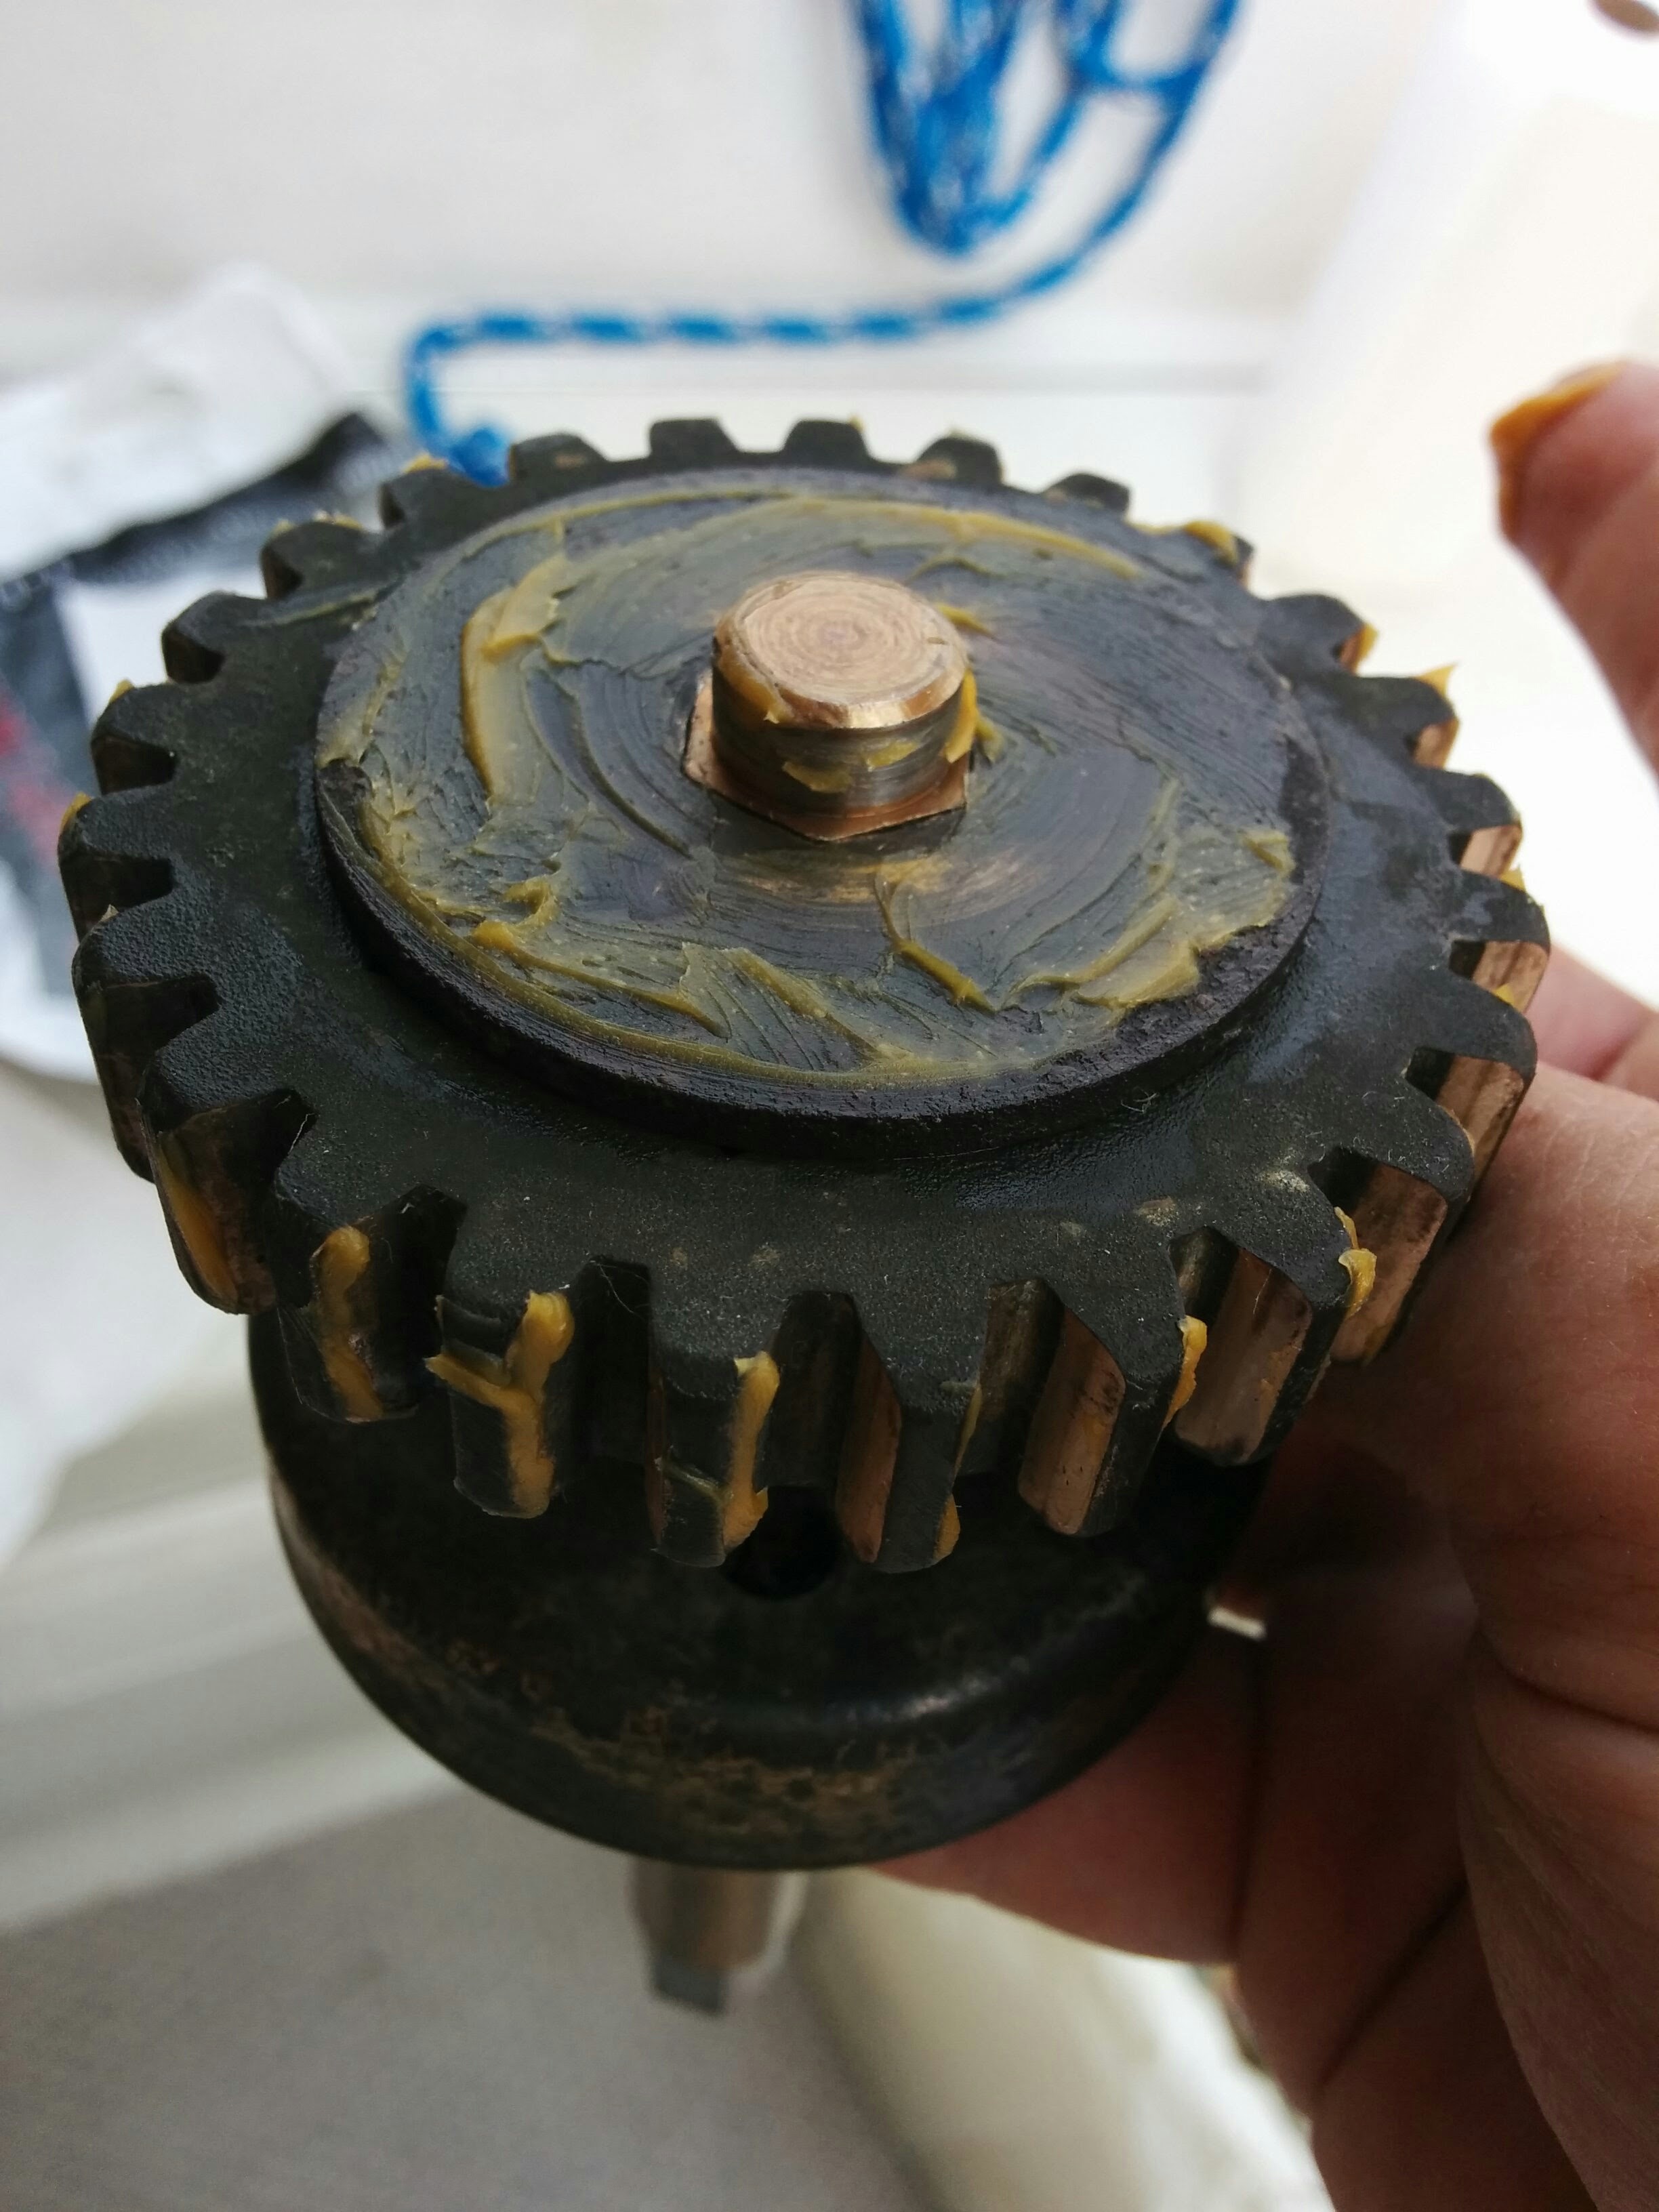
This is what it looks like when a prior owner used way too much grease. Don’t do this!
Steps:
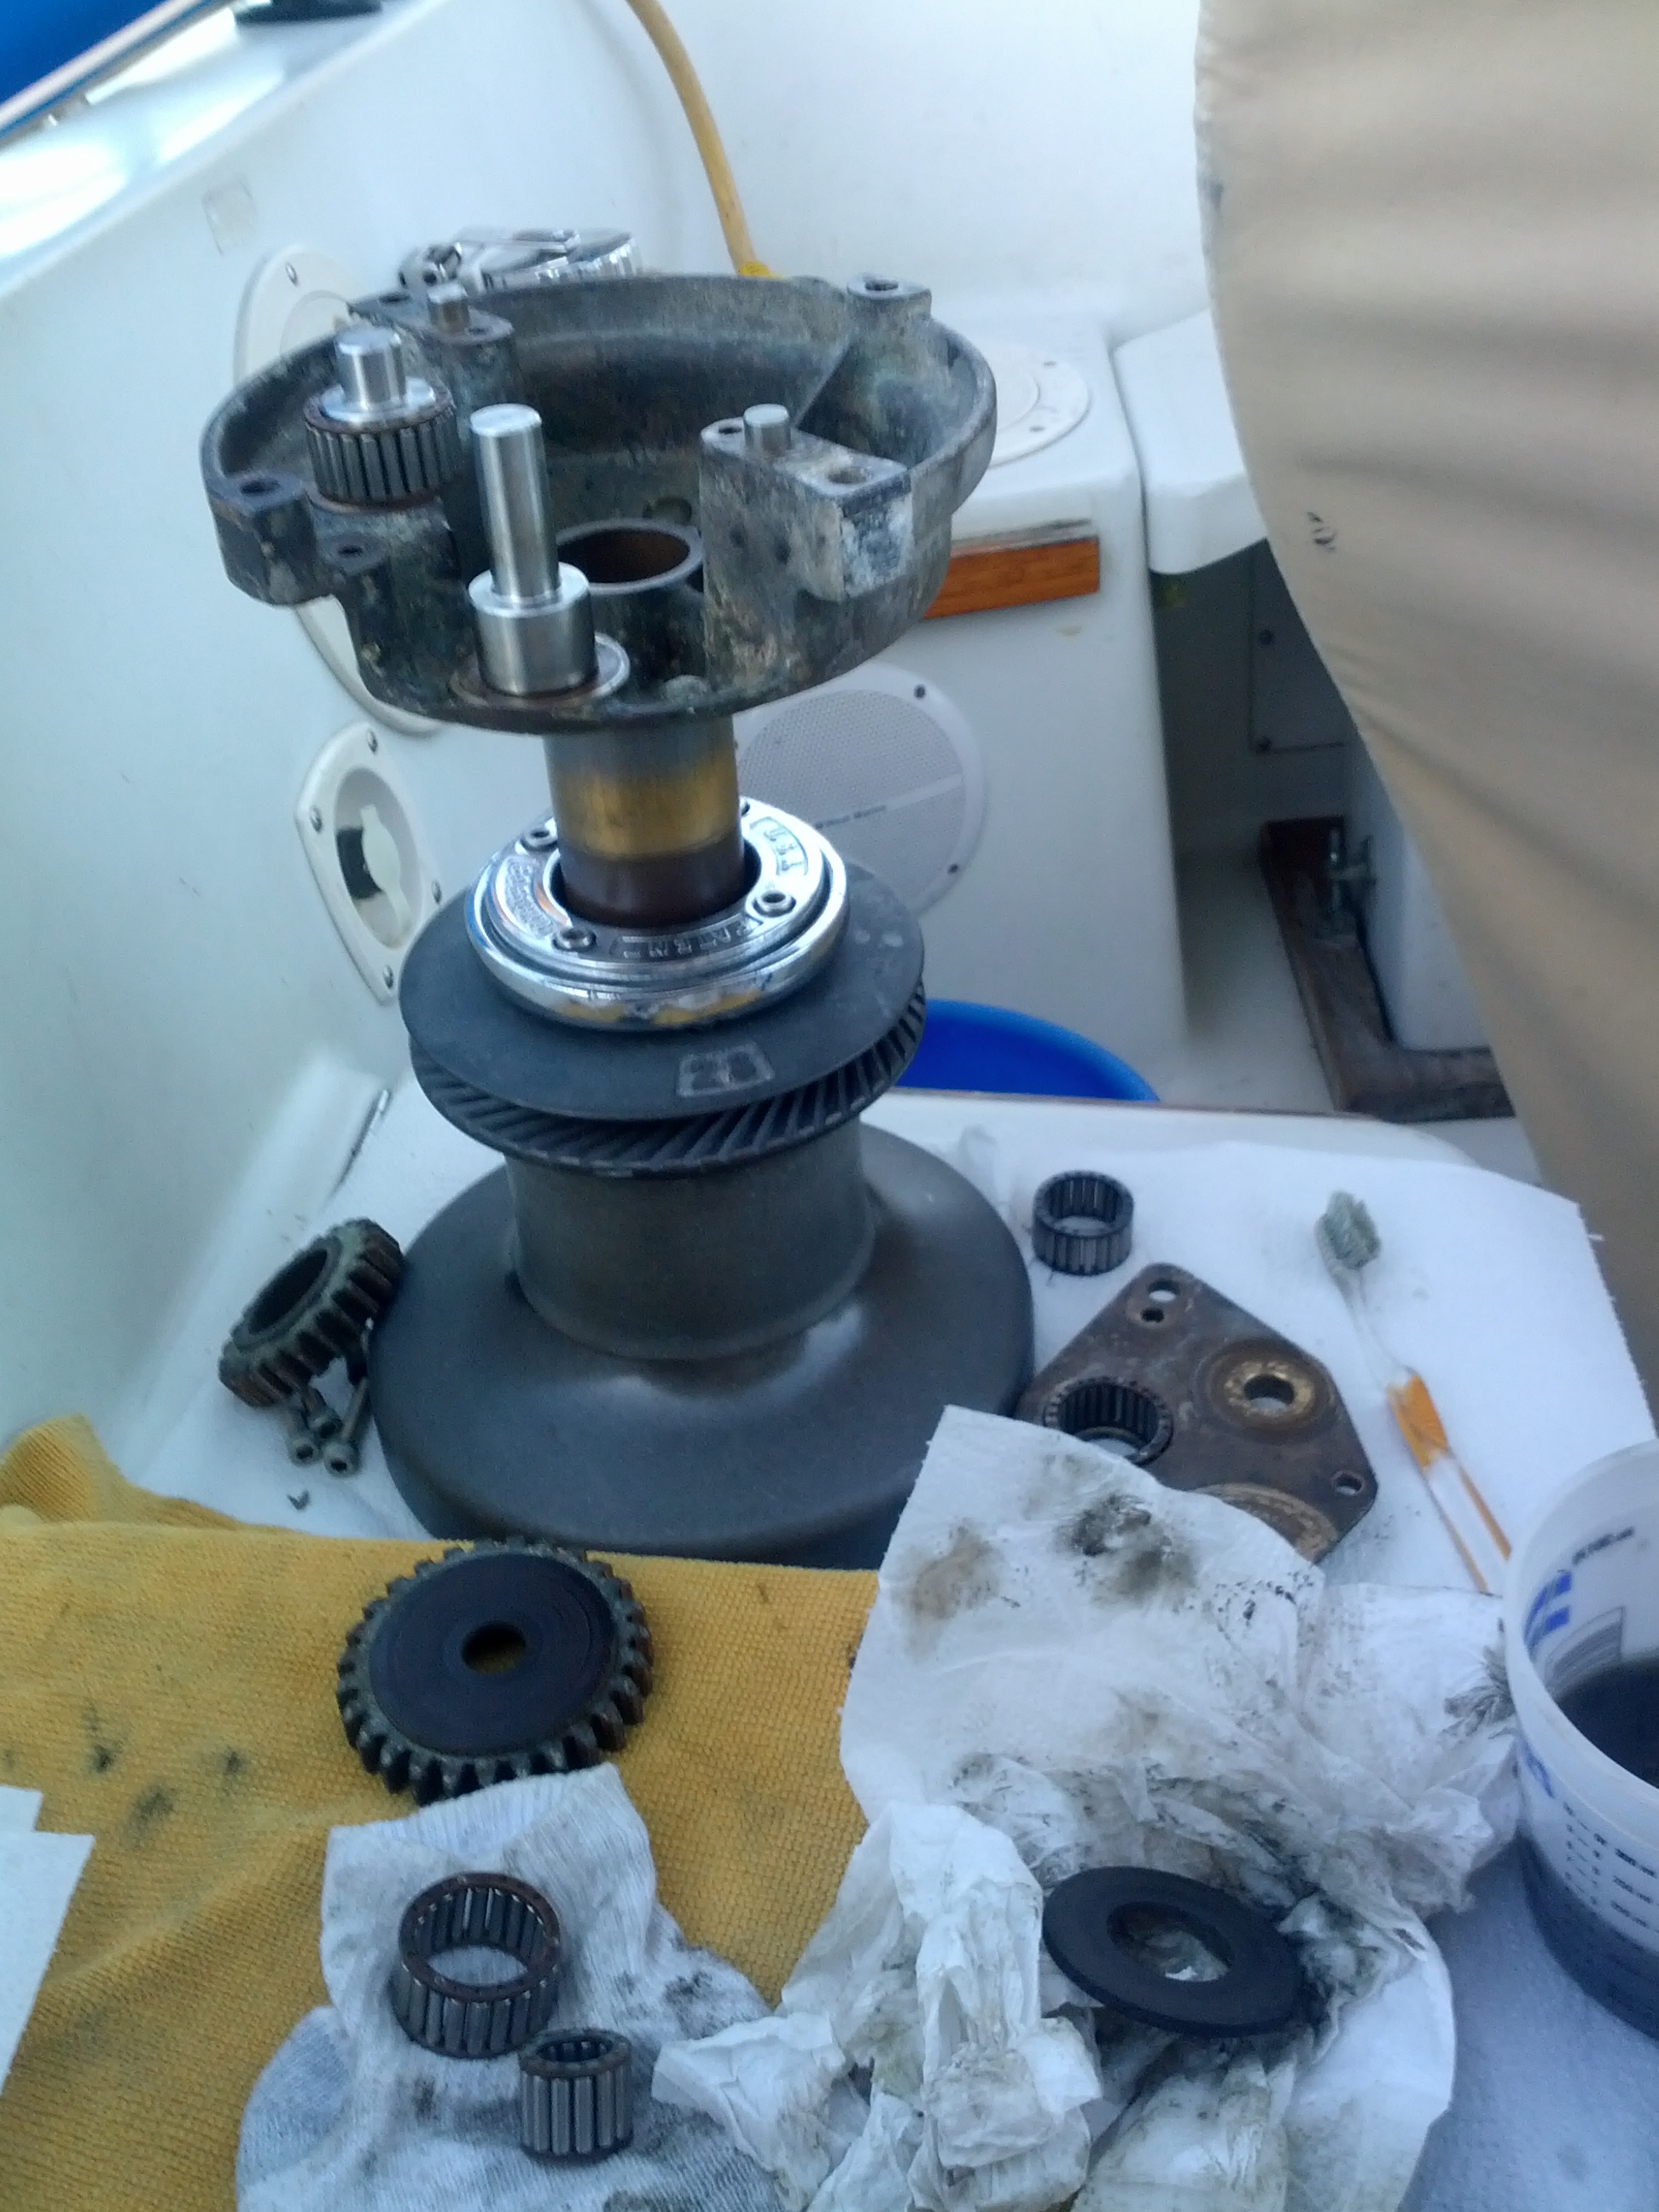
- Disassemble winch, keeping related parts grouped together.
- Clean off dirt and grease. The small parts – bearings (the shiny roller ring thingies), gears, and pawls – can be soaked in mineral spirits. Just about 5 minutes is all it takes for the mineral spirits to work their magic.
- Reassemble, lightly greasing gears and bearings. Don’t grease pawls. You can use WD-40 or oil on them if you want.
I have 6 Barient winches, ranging from about Barient 12 to Barient 28. Only 4 of the winches are actively used however. Those 4 are all 2-speed and self tailing. The smaller ones can take as short as an hour and the larger one as much as two hours, all depending also on how much of a mess they are to begin with. You can find parts diagrams and disassembly instructions for most Barient and Lewmar winches via a Google search, or go directly to l-36.com.
Cleaning a winch is just about one of the easiest boat jobs there is, *if* you’re good at taking things apart and putting them back together. The first time you do one, take some pics on your cellphone as you go and keep related parts close together. Be especially careful with the pawls and springs. I didn’t lose any pawl springs or need to replace any, but some people like to keep spares on hand in case they lose them.
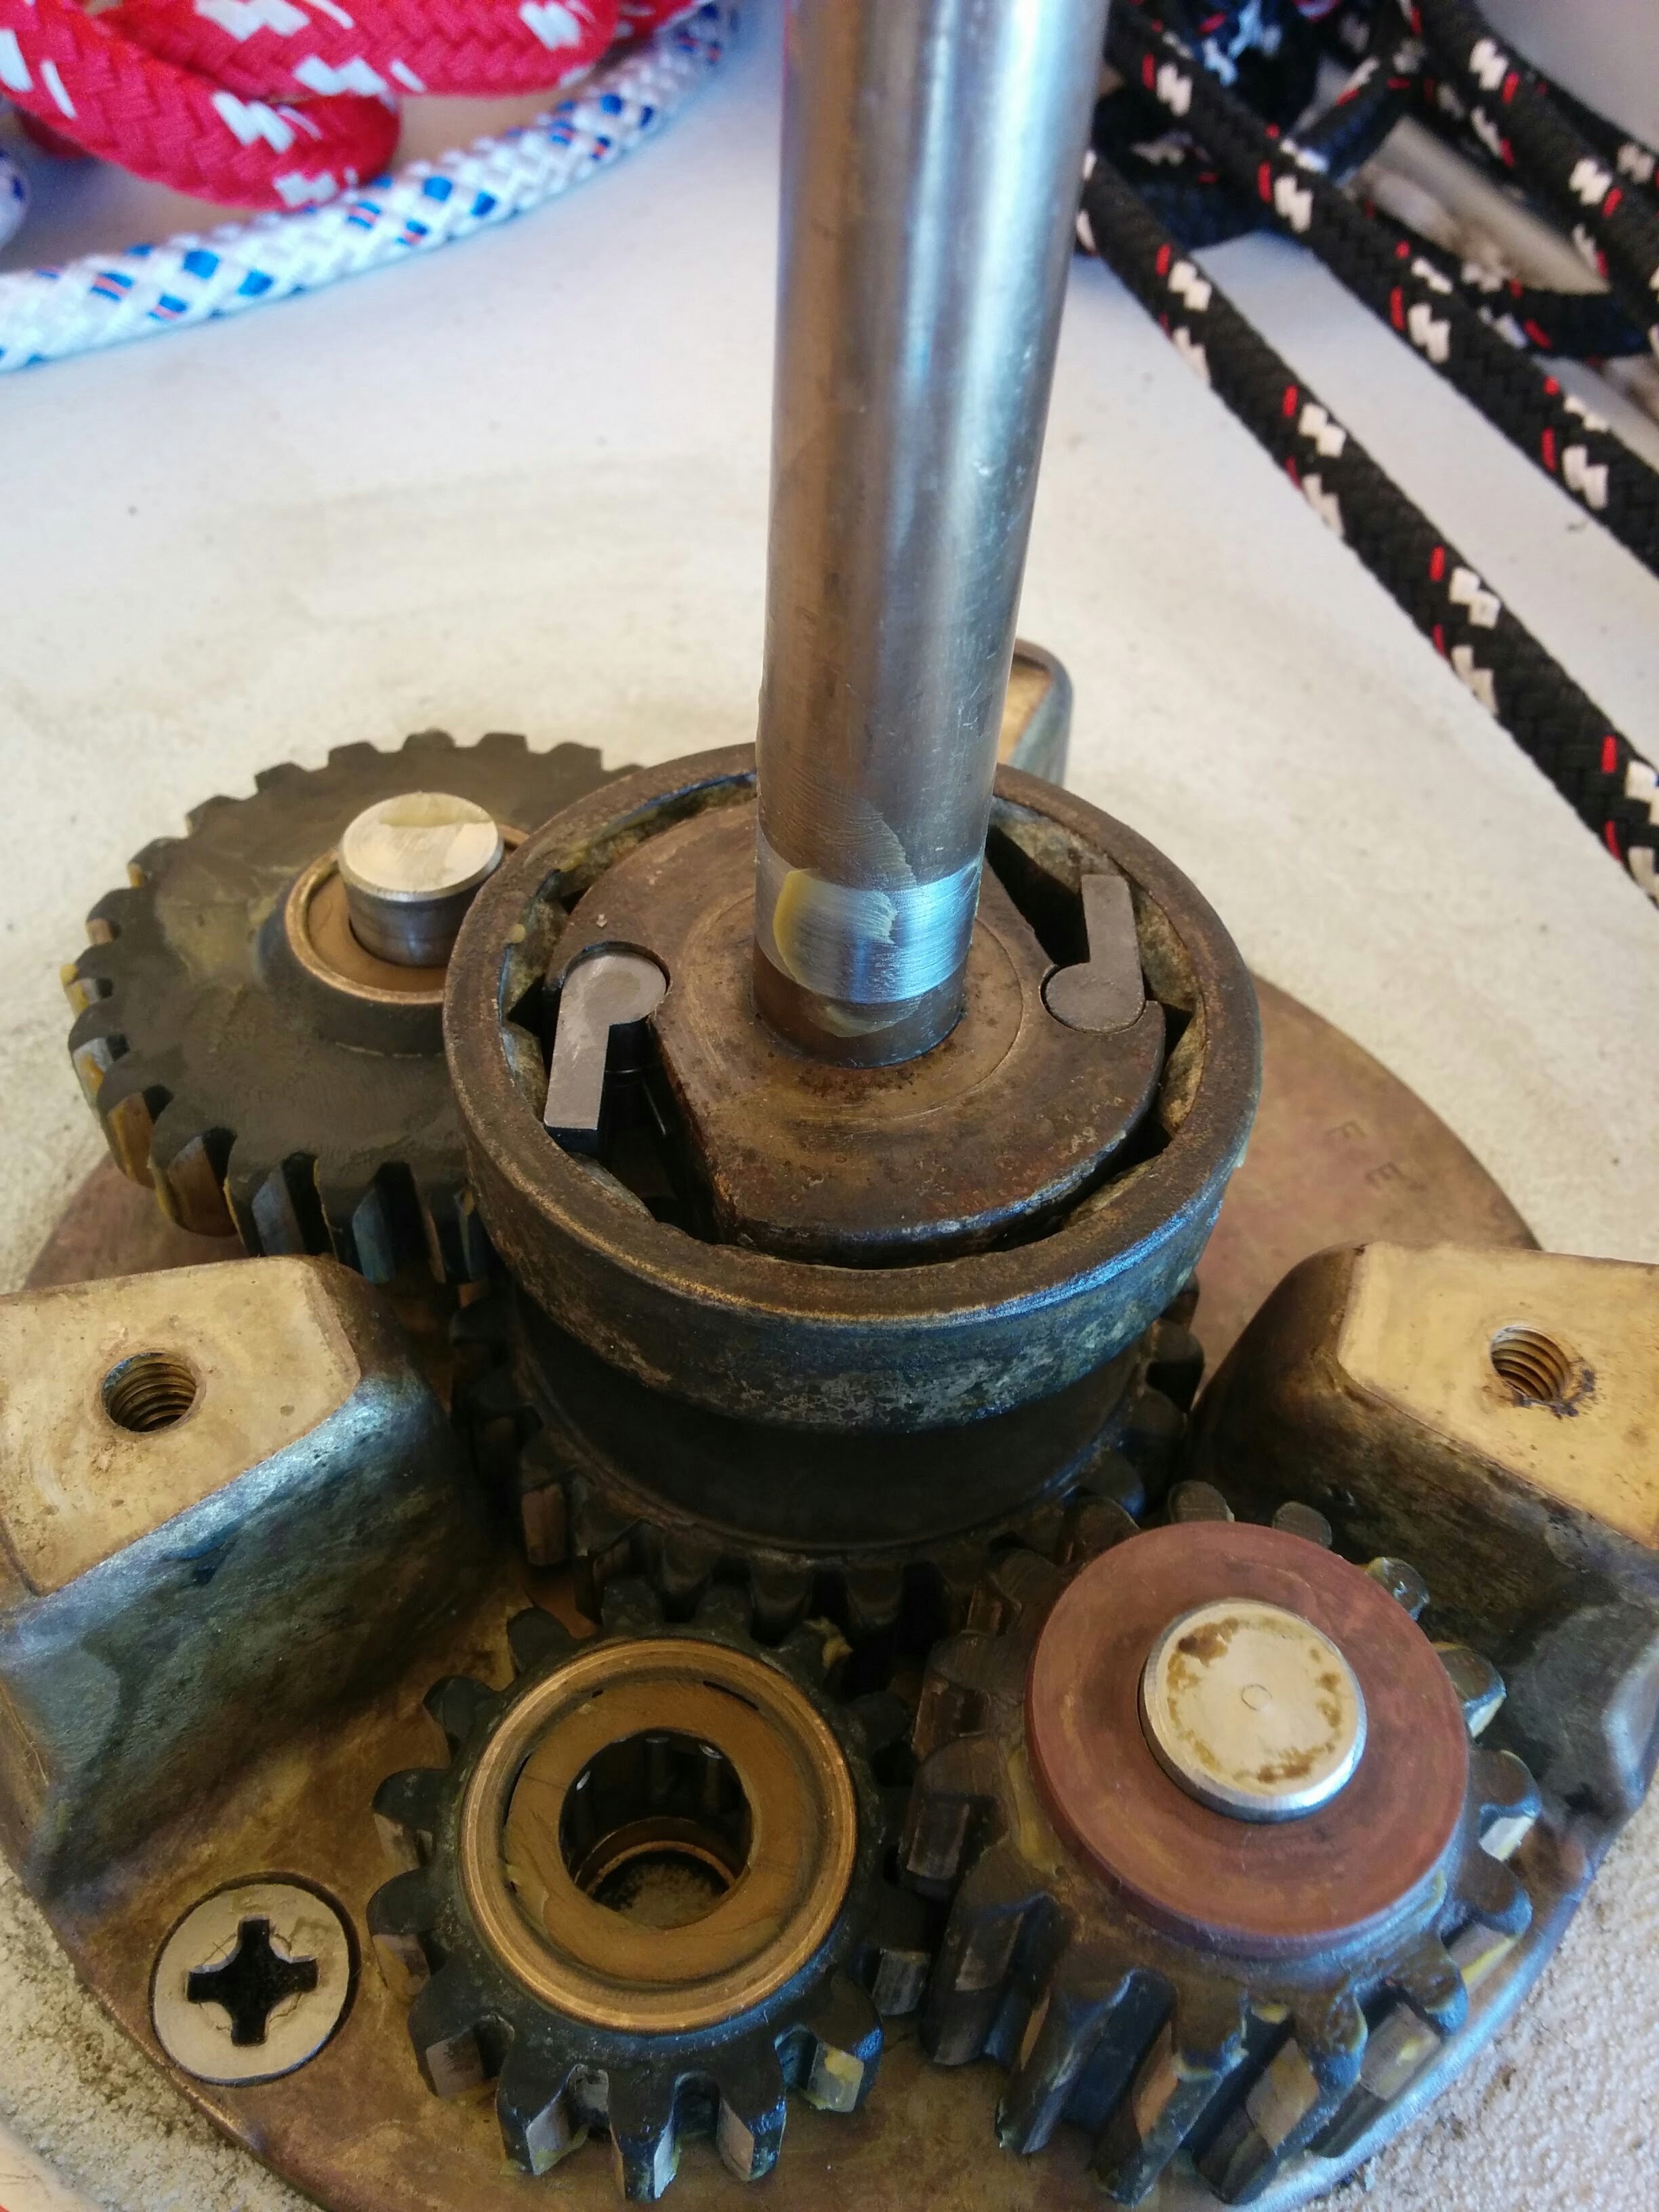
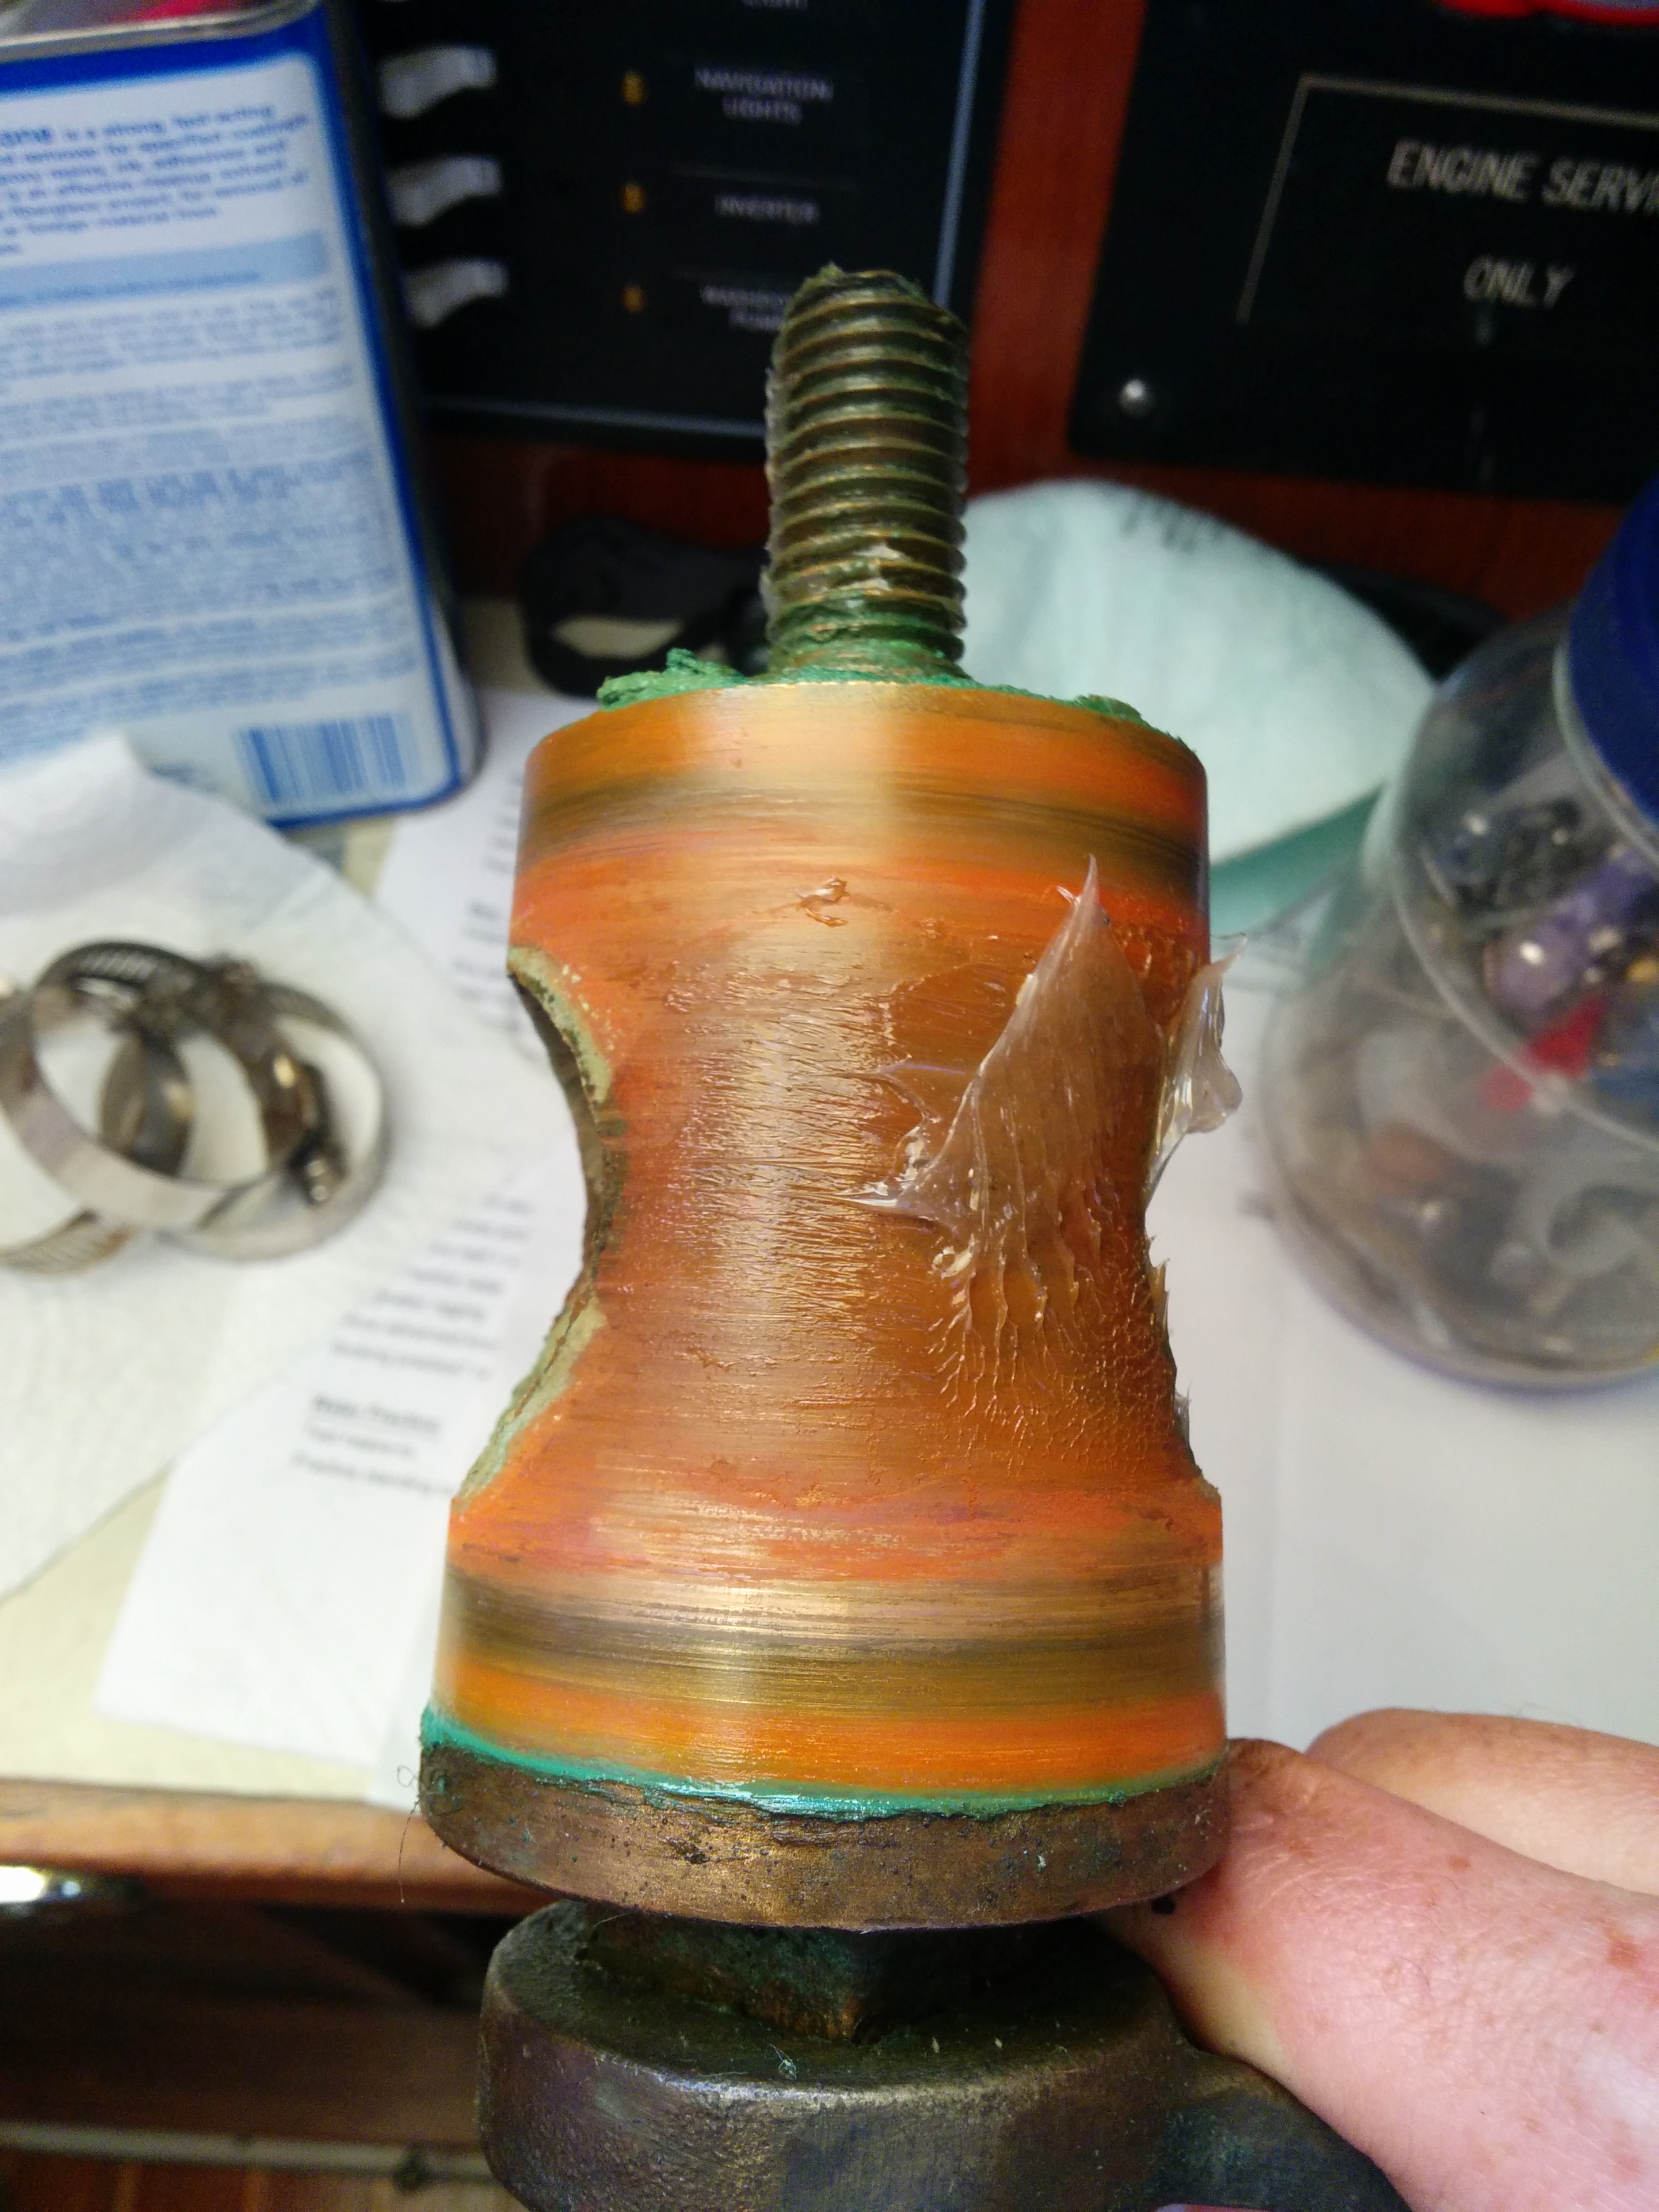
The reassembled base gears – notice you can barely see any visible grease. That’s because it becomes translucent when it’s spread thin
Winches are amazing pieces of engineering. You can take it apart a 20-year-old winch and clean it and it’s basically as good as new. And you only have to do that about once a year (winch manufacturers recommend more, and some racers that really abuse their winches might need more, but once a year is more than enough for us).
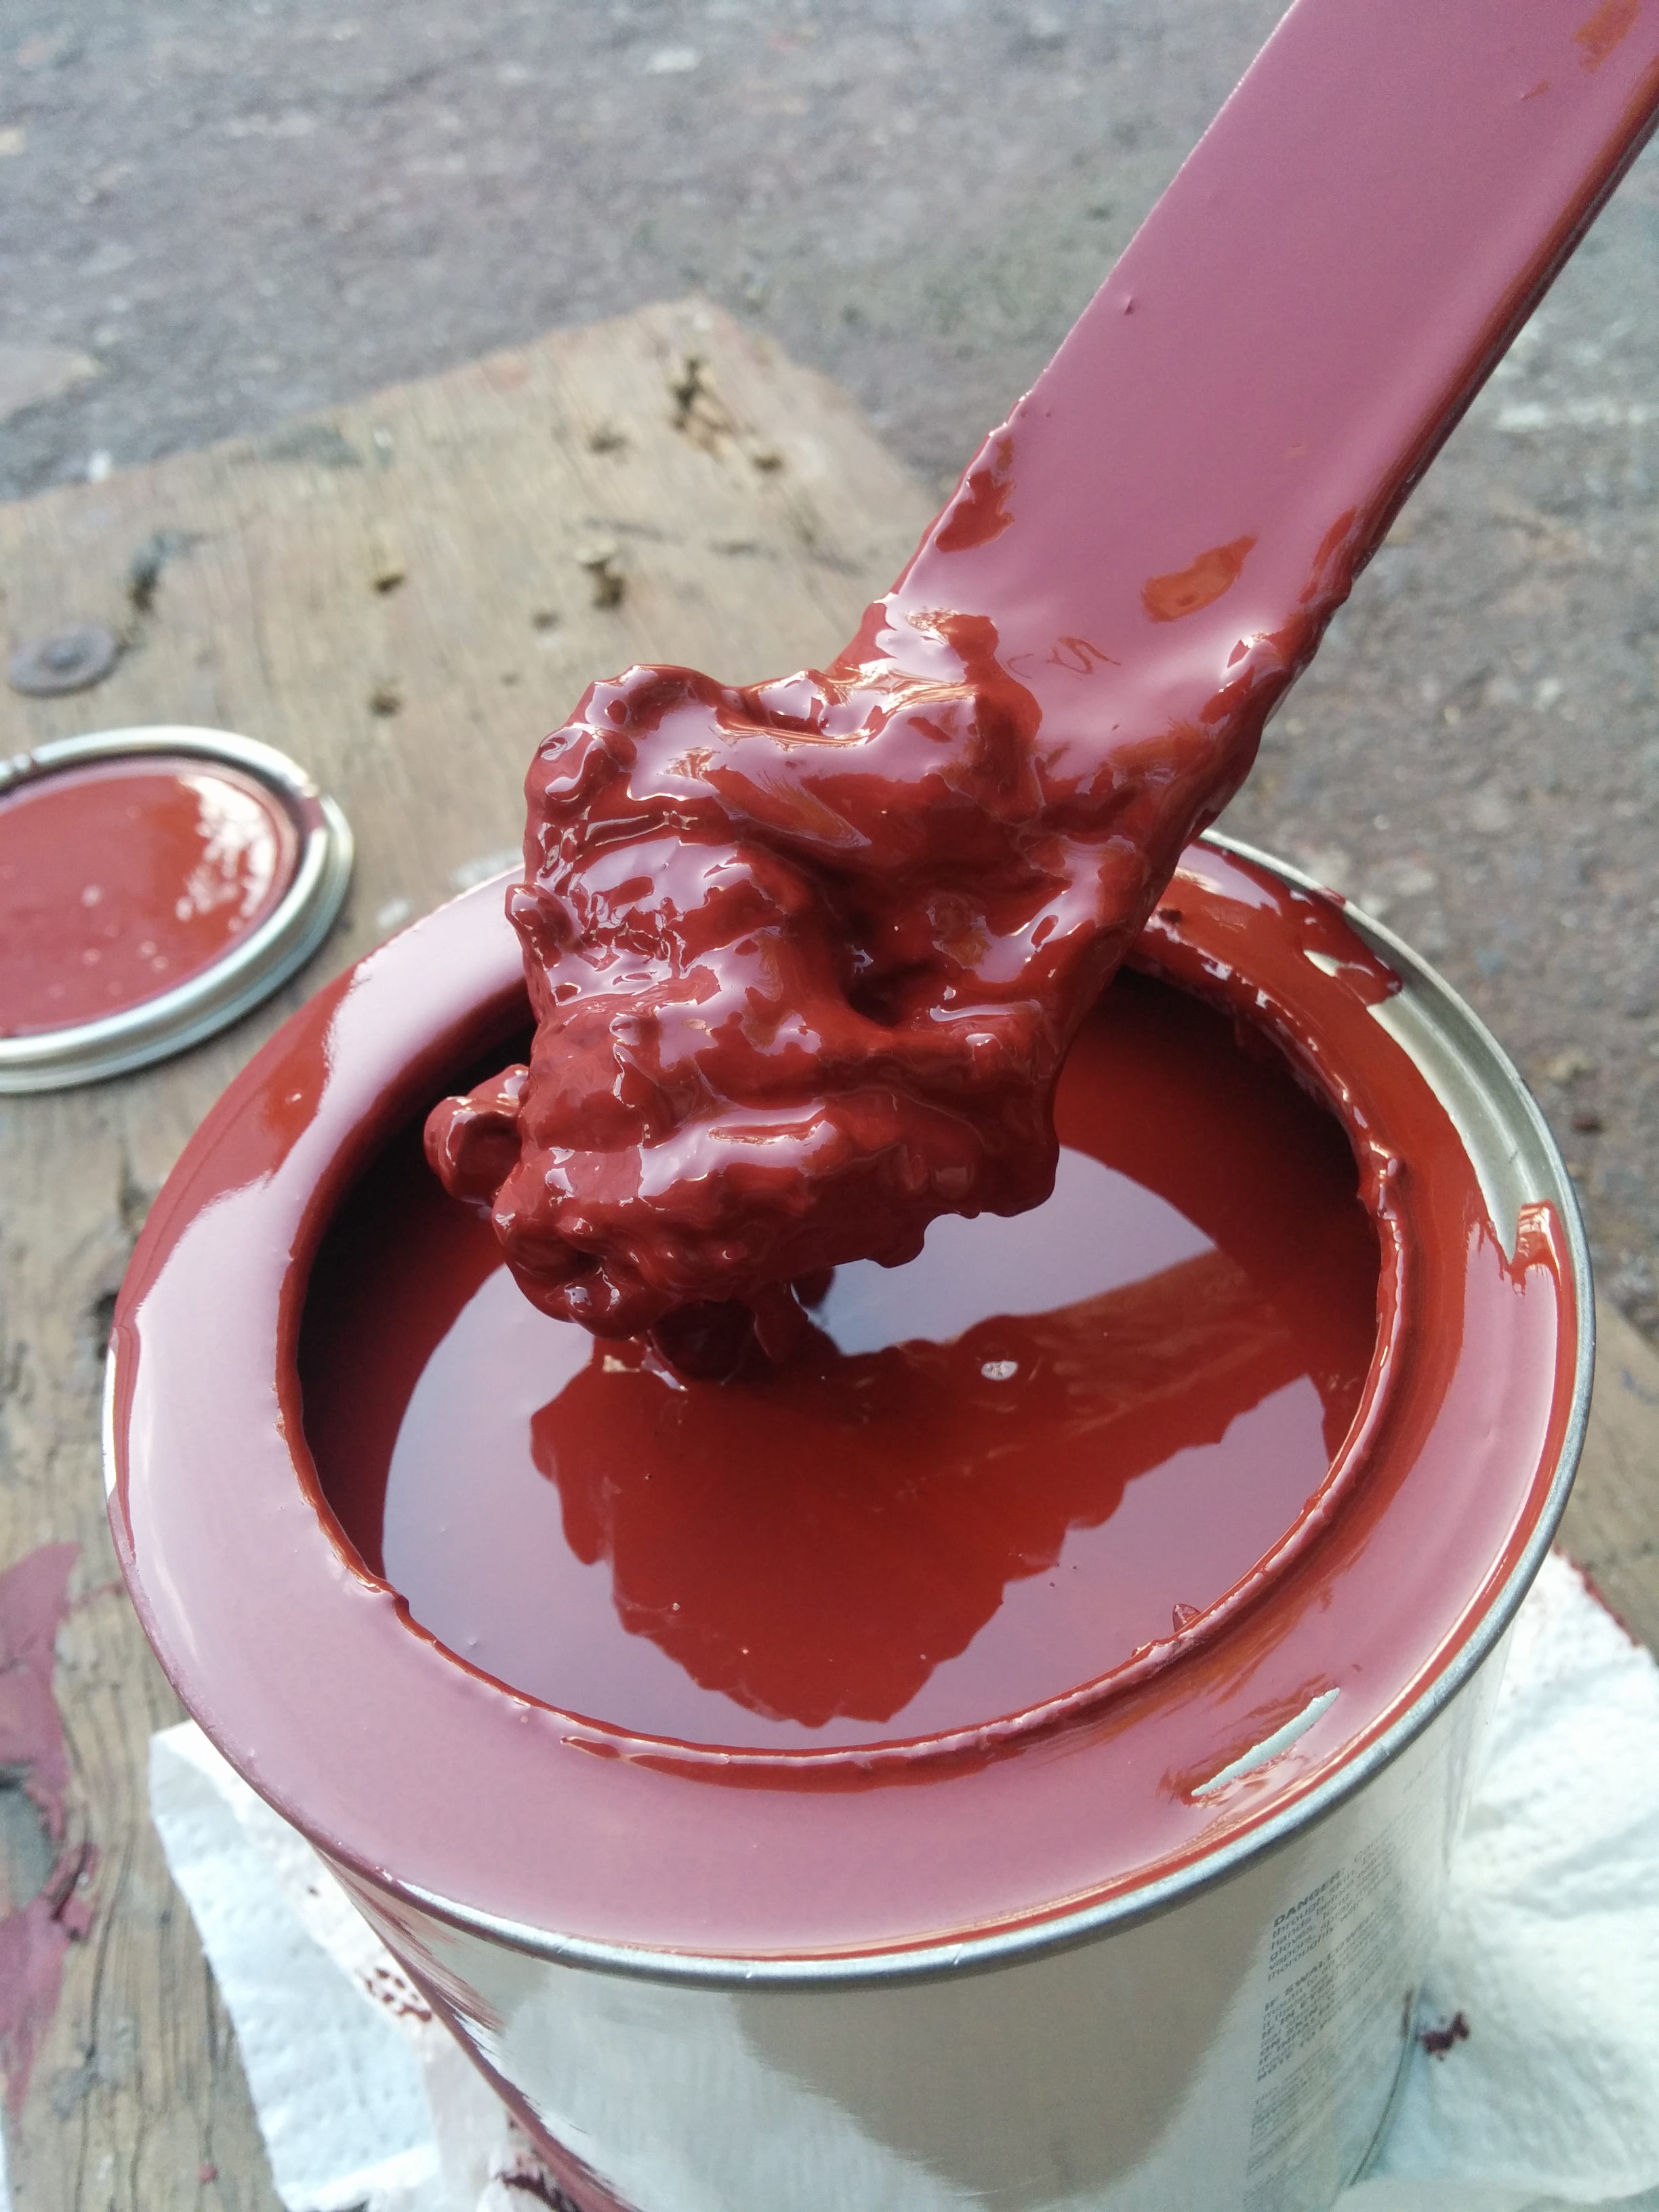
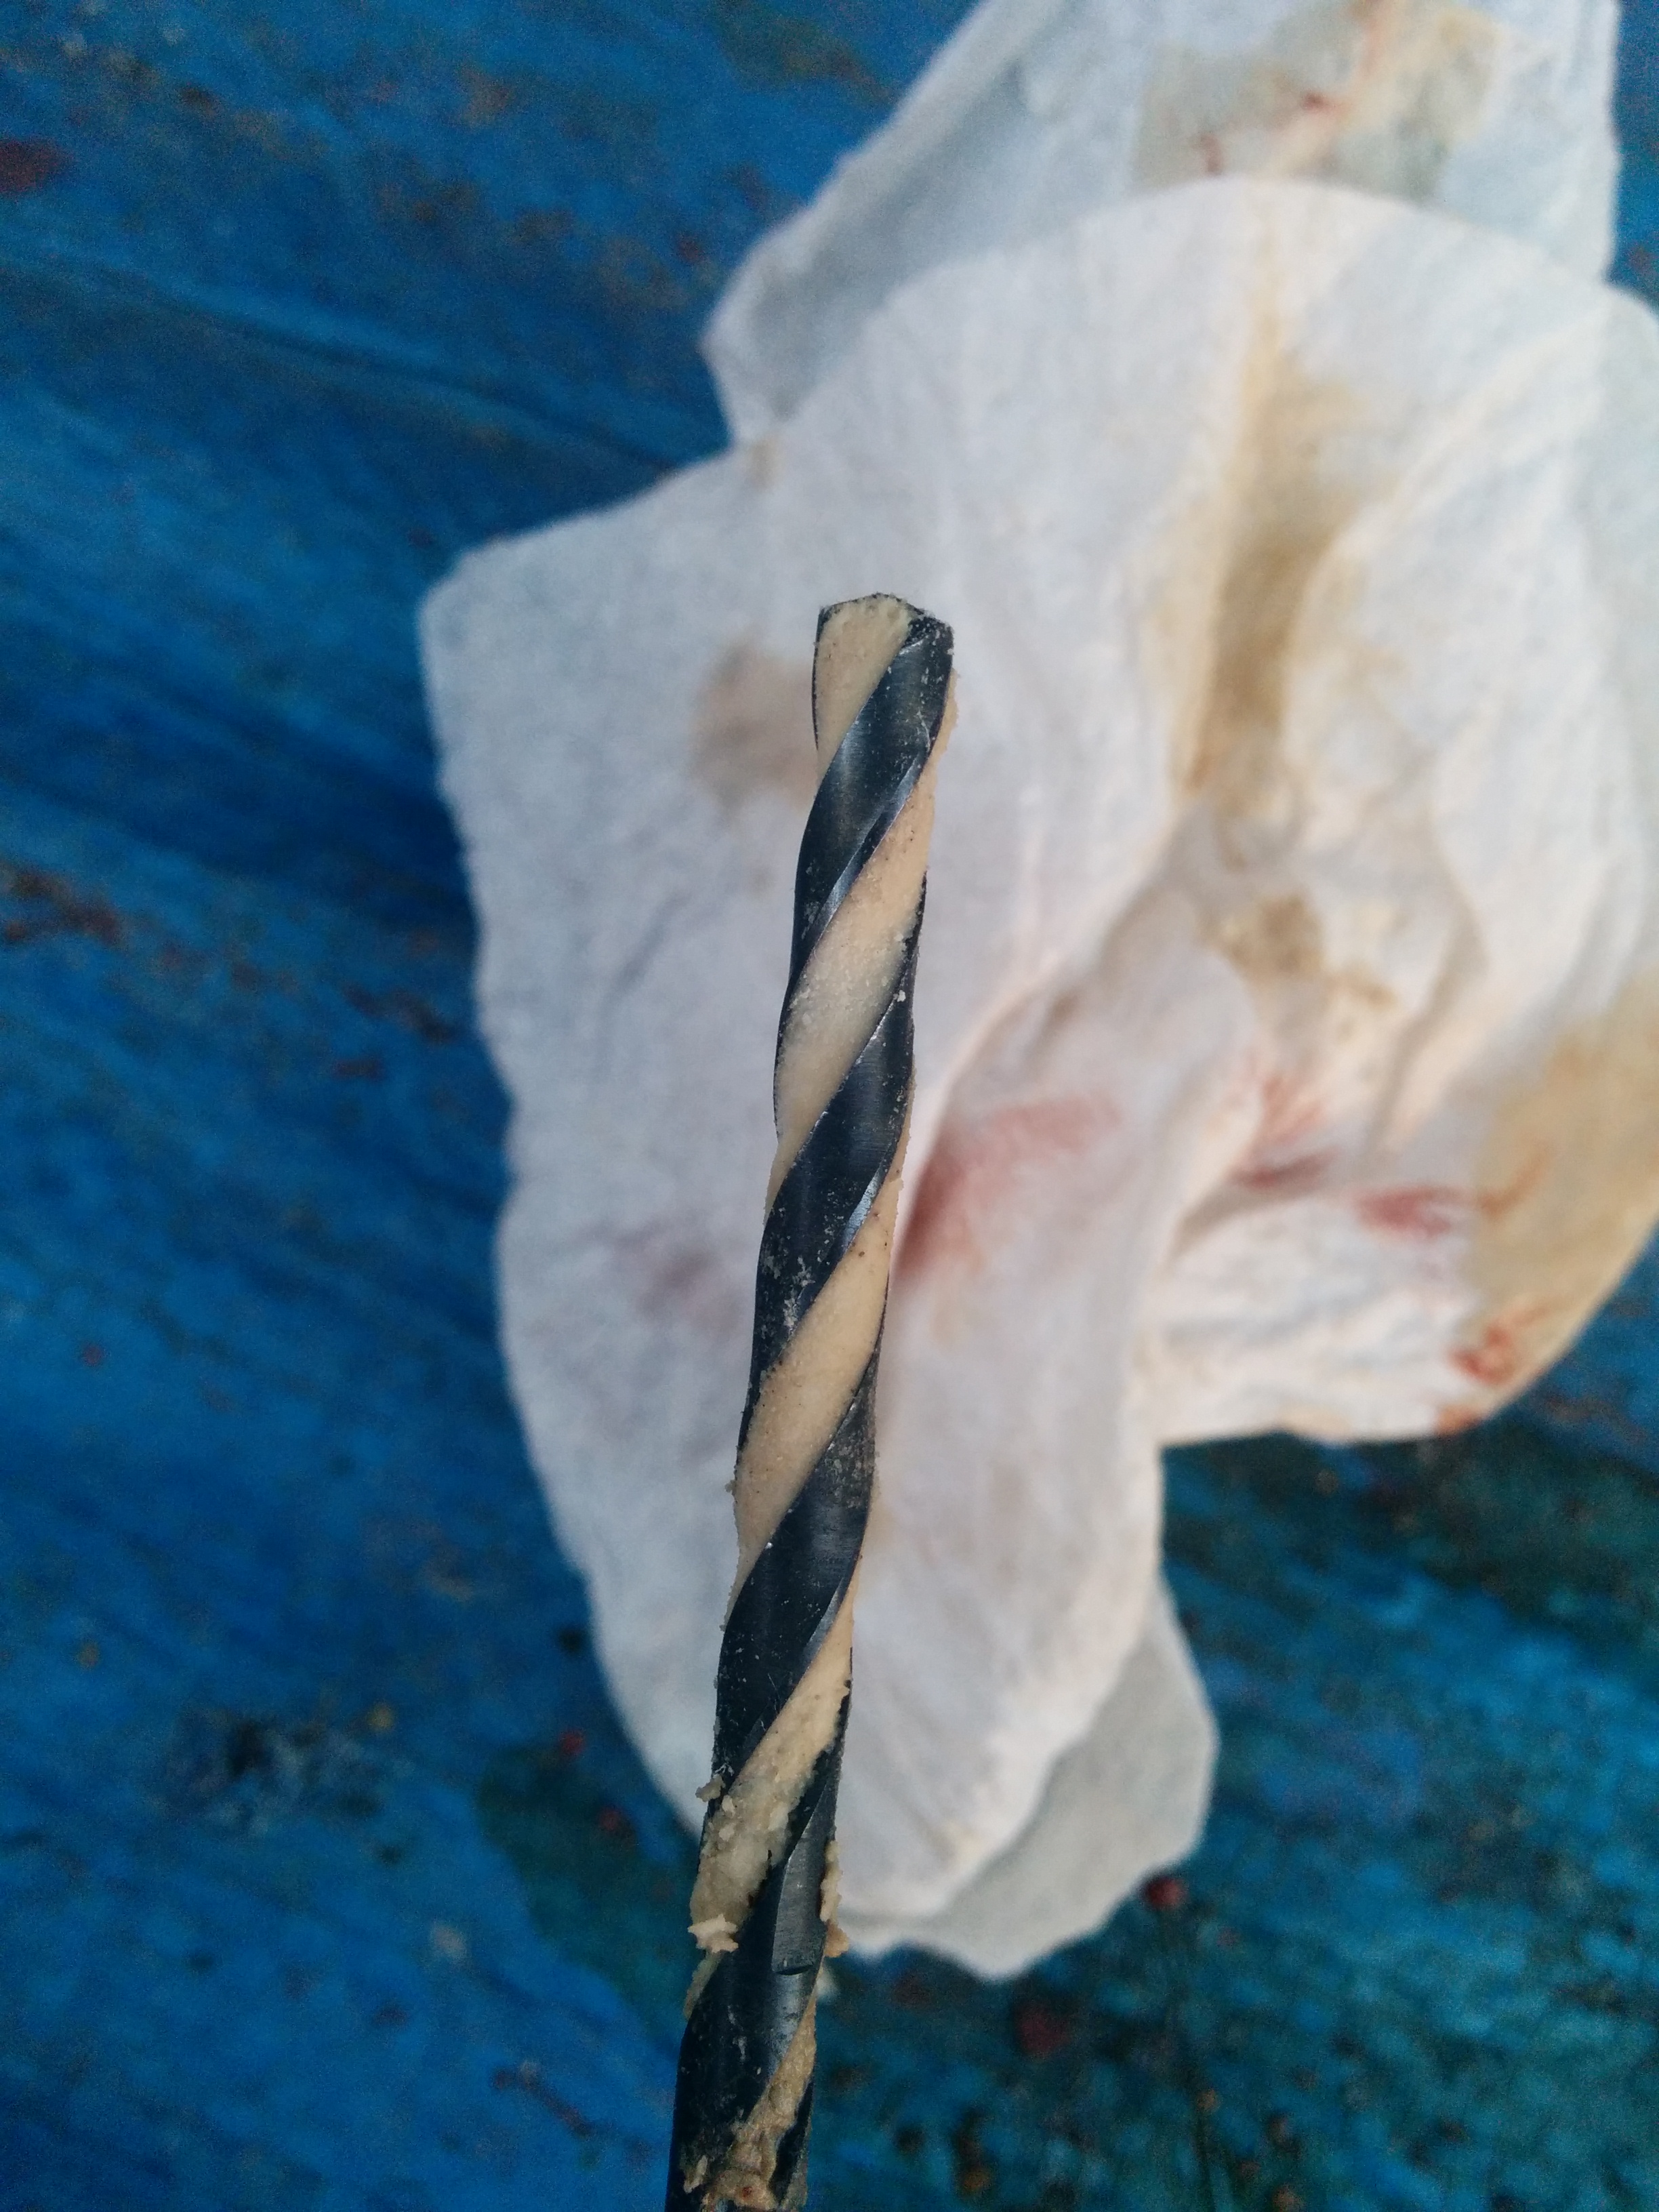
This is about the most grease I’d put onto a part, and this part was one that takes more weight.