Category Archives: howto

The Joy of Easy Projects on a Boat

Sailboat maintenance and refitting often involves many difficult, frustrating jobs – diesel engine work, rigging, fiberglassing, boatyard work. So it’s really nice to have some easy, fun ones mixed in sometimes. If you only did hard projects all the time, you’d probably burn out.

Easy projects are short, cheap and rewarding because they quickly make some small improvement to your life. They’re simple enough that unlike most boat projects, there aren’t 10 different things that can go wrong.

Ice Box LED Light

The first one, which I should’ve done a long time ago, is add a light to our fridge / ice box.

You see, our ice box is a great, giant, cavernous hole in which my beers sit at the bottom in the dark. So last summer when I wanted to find a beer, I’d often have to grab my headlamp or handy pocket flashlight. As everyone knows, beer is important to sailors. And often when cruising BC, we had a variety of types to try (Lighthouse IPA, Red Racer, Russell Brewing’s mixer pack, etc), so I couldn’t just grab any blindly.

Finally I realized a cheap solution to this inconvenience: motion activated LED light bars which you can find on Amazon for about $10! And this one came with a 3M adhesive strip on the back, so all I had to do was stick it on a surface inside the icebox.

Continue reading

Rerig Part 4: Stuck Navtec U-Bolt Chainplates

It’s been a long road to finishing our rerig. Going on 5 weeks now with the mast out, I’ve started to get very antsy to go sailing. Being patient is always the hardest part of any project that takes the boat out of commission (ex, haulouts). After 2 weeks, most projects had been finished and it was just a matter of waiting for BSI to produce the rod.

The downside to rod, as mentioned in Part 1, is it generally can’t be made locally / onsite and therefore takes longer to get. That downside is apparent now in the delays with BSI producing the rod – even though we gave them the end fittings order 5 weeks ago, and final measurements 3 weeks ago, they still haven’t started producing the rigging.

In contrast, a couple weeks ago two new Selden masts arrived in the yard for brand new boats going to the Seattle Boat Show, with wire rigging ready to go, and those masts were fully rigged and stepped in a week.

I wouldn’t change my decision to go to rod – it’s worth it for keeping the mast tang system the same – but if we were buying a new boat someday, I would probably try to avoid rod or would consider it negative points for a boat being considered. It’s a wonderful material, but for a cruiser, availability and ease of access are more important.

Navtec U-Bolt Chainplates

The hardest part of the rerig however (other than the waiting) has definitely been pulling the chainplates for inspection. More specifically, pulling the Navtec U-Bolts above the chainplates.

C&C’s with rod have a somewhat uncommon chainplate system (O’Day’s and Ericsons also have a similar system). At the deck there are six big ½” U-Bolts (one for each shroud) that go through the deck to a thick aluminum backing block. That backing block has a recessed cup on the upper side which is used to capture the head of a stainless steel tie rod. The tie rod then goes down to connect with traditional chainplates inside the boat, attached to a fiberglass bulkhead inside some cabinetry.

img_20170122_132904

img_20170122_124107

Totally inadequate lever arm for pulling 1/2″ U-Bolts

It’s actually a pretty great design, because the chainplates are completely dry and pristine – I have no concerns about those since they never see water. And the U-Bolts likely do a better job of sealing out water at the deck level than traditional chainplates do. This is because they have a cover plate which fits tightly with the deck, and then the legs of the U-Bolts are flanged (they have a “lip”) so that they are wider than the holes in the cover plate – they overlap it and fit quite snugly.

The downside is they’re really hard to get out. The SS U-Bolt legs interact galvanically with the aluminum backing block, producing pasty white powder which basically locked the U-Bolt into the aluminum block.

Continue reading

Rerig Part 3: Now the Projects Really Begin

Warning: This post is pretty technical.  In the last week a lot has gotten done – assembled the wire forestay, a new Harken furler, removed the spreaders, cut out a seized clevis pin, got out a second seized clevis pin for a masthead sheave, ran new VHF coax cable through the mast, sanded and painted the mast collar, and did a whole bunch of cleaning.

Assembling a Hayn HiMod Swageless Fitting

I decided to use a Hayn HiMod swageless fitting for the forestay lower connection so that I could measure / cut the forestay to length, not have to get a wire swaged on site, and have a fitting that could be inspected or shortened in the future if needed.

hayn-stud

Hi-Mod components: threaded stud, cone, and crown ring. (The body, not shown, is already on the wire)

hayn-pullingwire

Unlaying the compact strand wire around the core

haynhimodcone

Hi-Mod cone installed on the core

haynhimodinterior

Cone and crown ring installed in the fitting

Project Time:

  • 1 hour – planning, reading and watching YouTube videos.
  • 1 hour – measuring, re-measuring and cutting forestay.
  • 1 hour – assembling Hi-Mod.

Tips:

  • The 7mm compact strand wire (distributed by Alps) was quite difficult to unlay. Since the strands are so tightly compacted together, it’s hard to pick them apart. Standard flat head screwdriver tips were too thick. A thin paint scraper works well, or perhaps my mini screwdriver set (like an eyeglass kit).
  • The big debate with HiMod’s is whether to use sealant or not. Hayn says not to, in their instructions. They’re saying it’s not necessary but you can use it if you want to (they say it’s ok to use in this PDF). I wish there were a more scientific analysis of this.
    I decided to use sealant for a couple reasons: Brion Toss, the rigger in Port Townsend, recommends using sealant in HiMods. And the HaveWindWillTravel sailors on YouTube had their HiMods show rust after just a few months in Florida. They believe it was from metal dust that got on their wire after cutting it with a grinder. That’s a plausible explanation, but perhaps sealant also would’ve helped prevent their issue.
  • Sealant is hard to inject into a Hi-Mod however. The body of the fitting is already on the wire. And the standard injection nozzle that comes with 3M adhesive tubes doesn’t fit in between the wire and the body. A typical syringe doesn’t fit either (the tip isn’t long enough to get past the threaded part of the body). I didn’t want to gunk up the threads, since those are supposed to be secured with Loctite, not 4200 goop. The best option was injecting sealant into the wire strands alongside the cone. I didn’t get sealant squeezing out the top at the end, so maybe didn’t use enough, but it should still be effective.

Continue reading

How to Rerig a C&C with Rod Rigging – Part 1

The time has come to replace the standing rigging on our 33-year-old C&C. C&C’s like ours have Navtec rod rigging – which lasts much longer than wire rigging, but it doesn’t always give clues when it’s about to fail. While we could probably push it a few years longer (and know many sailors doing exactly that), the type of sailing we do (lots of upwind, and fairly remote areas like the west coast of Vancouver Island), plus some issues noticed in my rig inspections motivated the decision to do it now.

We’d rather do it now than wait and regret it later (when the mast comes down, and I don’t mean with a crane!). A dismasting can be dangerous (even lethal if someone gets hit in the head by the mast), so it’s not a risk worth taking. Racers do it (push their boats to smaller margins of safety, which is why racing boats have more dismasting than cruising boats) – but they’re in a very different situation. A dismasting with a crew of 6, in a populated area, is pretty different from a dismasting with a crew of 2 in a remote area.

So better safe than sorry. But a rerig is a pretty expensive and time consuming project. So it’s no wonder people delay it as long as possible.

First it’s important to note I’m not doing this completely on my own. I got advice from a number of riggers and other sailors (to whom I’m very grateful), and am working with a local rigger for a few of the key parts (ordering and inspection).

mastphoto

Rod vs Wire

Most C&C’s have Navtec rod rigging instead of the more common stranded wire rigging. Rod rigging is awesome when you don’t need to replace any of it. It’s strong, long lasting, highly corrosion resistant, lightweight (less weight aloft improves boat handling) and has low stretch (which makes the boat sail a bit better, and you don’t have to tune it very often).

But rod is a huge pain if you need to replace it, or want to switch to wire. It’s expensive (especially in the fittings – tangs, stemballs, and turnbuckles), can’t be sized and swaged onsite (with wire you can cut it to length and use swageless fittings, right at the boat), and there are only a small number of rigging shops in the US that can even make rod rigging (it requires expensive rod heading machines and dies).

So switching to wire could make some sense, especially since our boat is more of a cruiser than a racer. But there would still be some tricky parts to work out – how to change the mast tangs for wire, and how to rework the spreader tips for wire. All this extra work, plus the risk the boat might not handle as well, or might have reduced resale value, steered me towards choosing to stay with rod.

rig-turnbuckledetail

The original C&C rig plans I have, thanks to a prior owner’s forethought.

Which Kind of Rod?

With the decision to stick to rod, I assumed Navtec would be the manufacturer. Later, I was surprised to discover there’s a big competitor to Navtec making just as much rod or more: BSI, based out of Denmark (with a US factory in Rhode Island).

Continue reading

How to Recondition a Diesel Pot-style Cabin Heater

In order to cruise year-round in the Northwest, cabin heat is essential. On cold, wet days you don’t want to be shivering at anchor while the temperature drops to 35 F. So around October, repairing the Sig Marine diesel heater that came with our boat became a #1 priority.

Working on a diesel heater was scary to me though – these heaters involve setting a fire inside your boat! Fire is usually the last thing you want on a boat. But, as I learned more about it I gained confidence. It was a bigger project than expected though.

On a club meetup at Port Orchard last month with the Puget Sound Cruising Club, we were on 3 or 4 other boats in 30 degree weather that had nice, calm burning diesel heaters keeping their boat nice and toasty. This was a stark contrast to our heater which had flared up into an angry inferno a couple weeks ago. Getting the fuel and air mixture right on a heater that hasn’t been used in a number of years is more difficult than it seems.

IMG_20151112_211827

Continue reading

How to Have a Boat Without A Car

The average American household owns 2 cars. We own no cars, but a boat. This is a more peculiar situation than you’d think – most boat owners also own at least one car.

A year ago, I sold my beloved Mazda RX-8 of 8 years, and converted to bike commuting plus car sharing (Car2Go, Uber, city bus). Natalie already had no car.

Part of this was inspired by Mr Money Mustache, one of my favorite bloggers. He encourages people to get out of their clown car habits and become rich by adopting a biking lifestyle.

A boat is extravagance enough – why have a car too if you live in a city that has decent public transit and excellent car sharing options? I decided having a boat warranted some self deprivation.

Many people want a sailboat to live the cruising lifestyle, but don’t know how they can afford it. Well, our boat cost about the same as an expensive car (like a BMW or Audi SUV), albeit with higher maintenance costs. Giving up a car is one of the best ways to be able to afford a boat.

IMG_20130909_204050

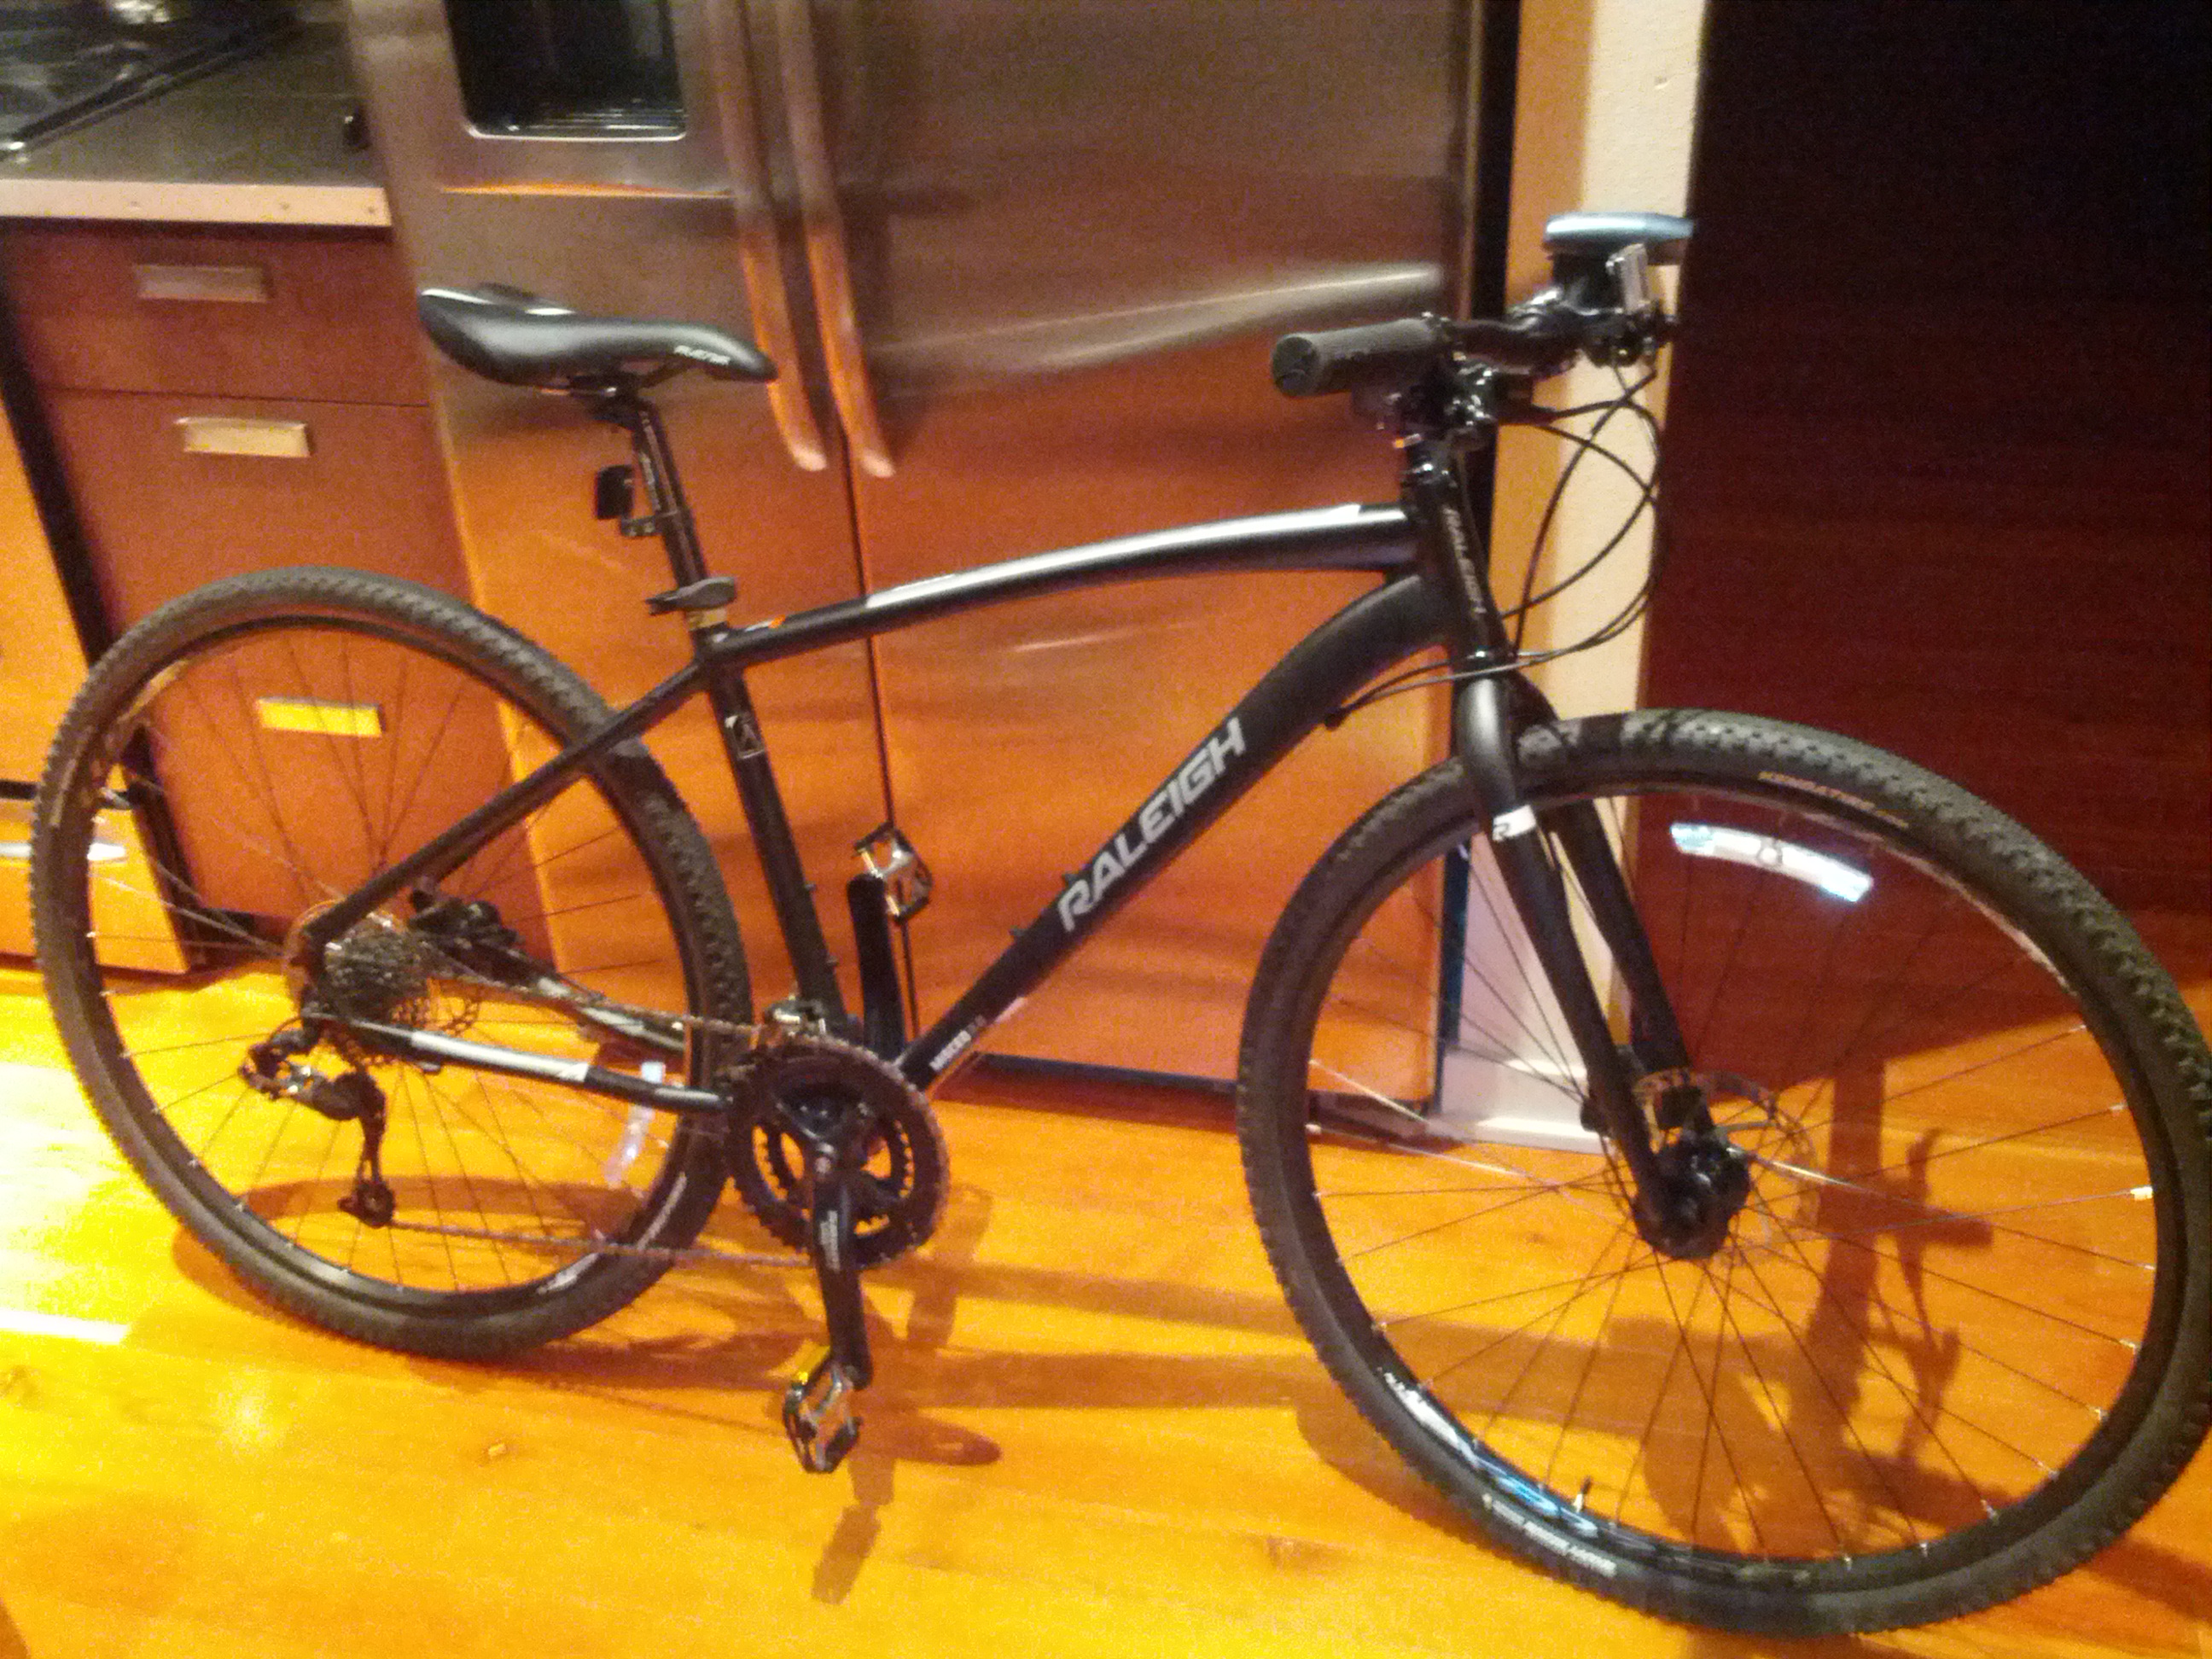
To be able to bike commute you need a good sturdy bike – this is my Raleigh Misceo 3.0. It cost much less than a car.

IMG_20140208_171725

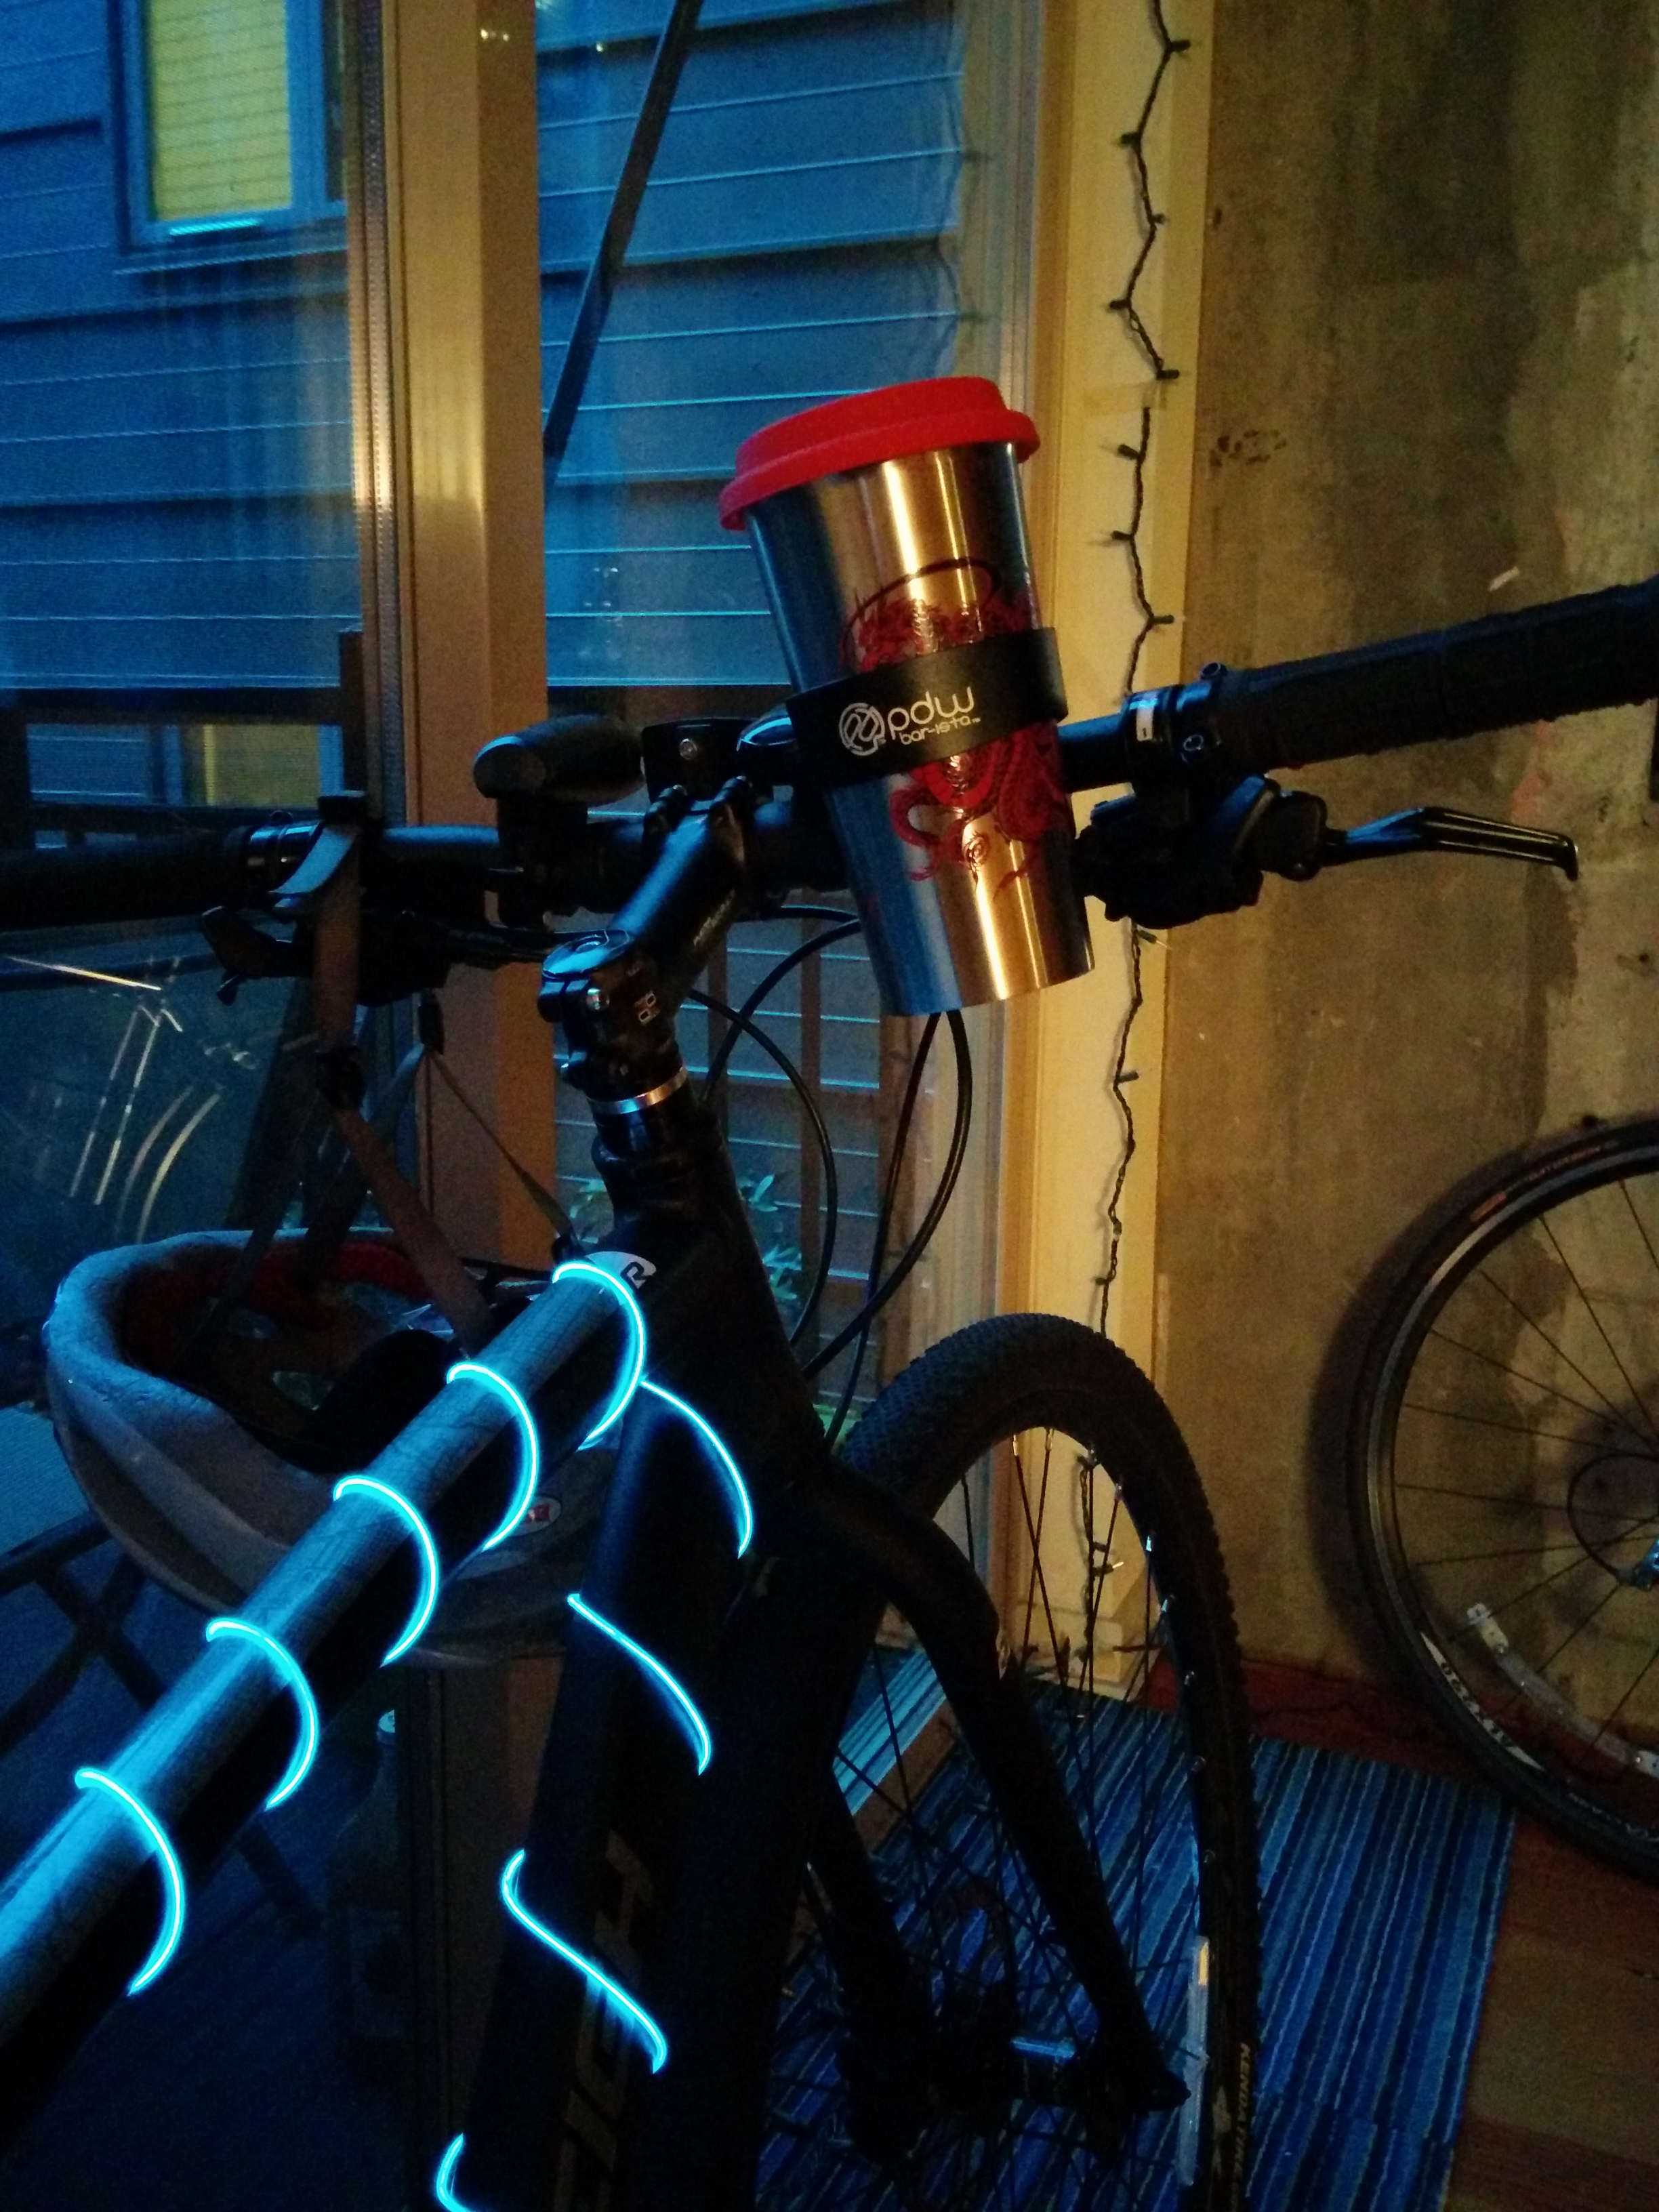
Good lighting is important for safety, and of course, a coffee cup holder.

Before I sold my car, I computed a spreadsheet estimating how much it cost and how much it would cost me to rent cars instead (hint: it was cheaper to rent other people’s cars than own my own):

Fixed Costs: Annual Cost of Car
Insurance $828
Car depreciation $2,380
Maintenance $321
WA Licensing $140
Variable Costs:
Gas $696
Total Car Cost: $4,365

I should note certainly car costs could be cheaper. Car value depreciation would be lower by buying a used car or a cheaper car. But I do think these car costs are fairly typical of the average American family who tend to own at least one moderately expensive SUV or gas guzzler truck.

The above table was based on actual numbers from my car usage; the following one was just an estimate:

Costs without Owning a Car: Annual
Car2Go, 1 round-trip to work per week, $16 $832
Rental car for multi-day weekend trips, 3d x 2 x $35/day $210
Rental car for hiking trips, avg 10 x $30-80, say $45 avg $450
4 ski days (Zipcar), 4 * $80 $320
Total Non-Car Cost: $1,812

Not having a car is also a life hack that has surprising benefits. Not having a car means:  

  • Automatic exercise – from biking or walking.
  • Taking yourself outside the flow of traffic (sometimes) – this is the big one for me. Sitting in an hour of standstill traffic to go 3 miles on a Friday evening is really soul crushing. If you can avoid being ruled by traffic, your life will be a lot happier. Biking or walking is the easiest way to step outside the flow of traffic.
  • Recentering your life to a more local mindset – you might rediscover the local farmer’s market or restaurants right around the corner you had forgotten about while learning to be less car dependent.
  • Fewer bills, greater savings – no insurance, gas, car repairs, parking costs.
  • Simplification of your life – no need to worry about whether your car needs an oil change, washing, or tires replaced.

Transporting Boat Supplies

Owning a boat without a car presents some unique difficulties. Boats need weighty things brought to-and-from occasionally. I’ve biked over with bilge hose coiled around my neck (probably not the safest thing), backpacks loaded down with 30 pounds of gear, gallon containers of bleach, or bed sheets (after washing at home).

And let’s not forget beer! Beer is heavy, and you gotta get it to the boat. These loads certainly slow me down – but burn more calories too, making it a better workout!

Sometimes, there’s just too much to cart and you’ll have to rent a car or cab. But it helps to be really organized about staging things to and from the boat – have a boat pile at home so you can bring things a little at a time – if you bring a few things on each bike trip, maybe you won’t need that car trip as soon.

We can fit a lot of stuff in a tiny Car2Go when we're packing for a trip

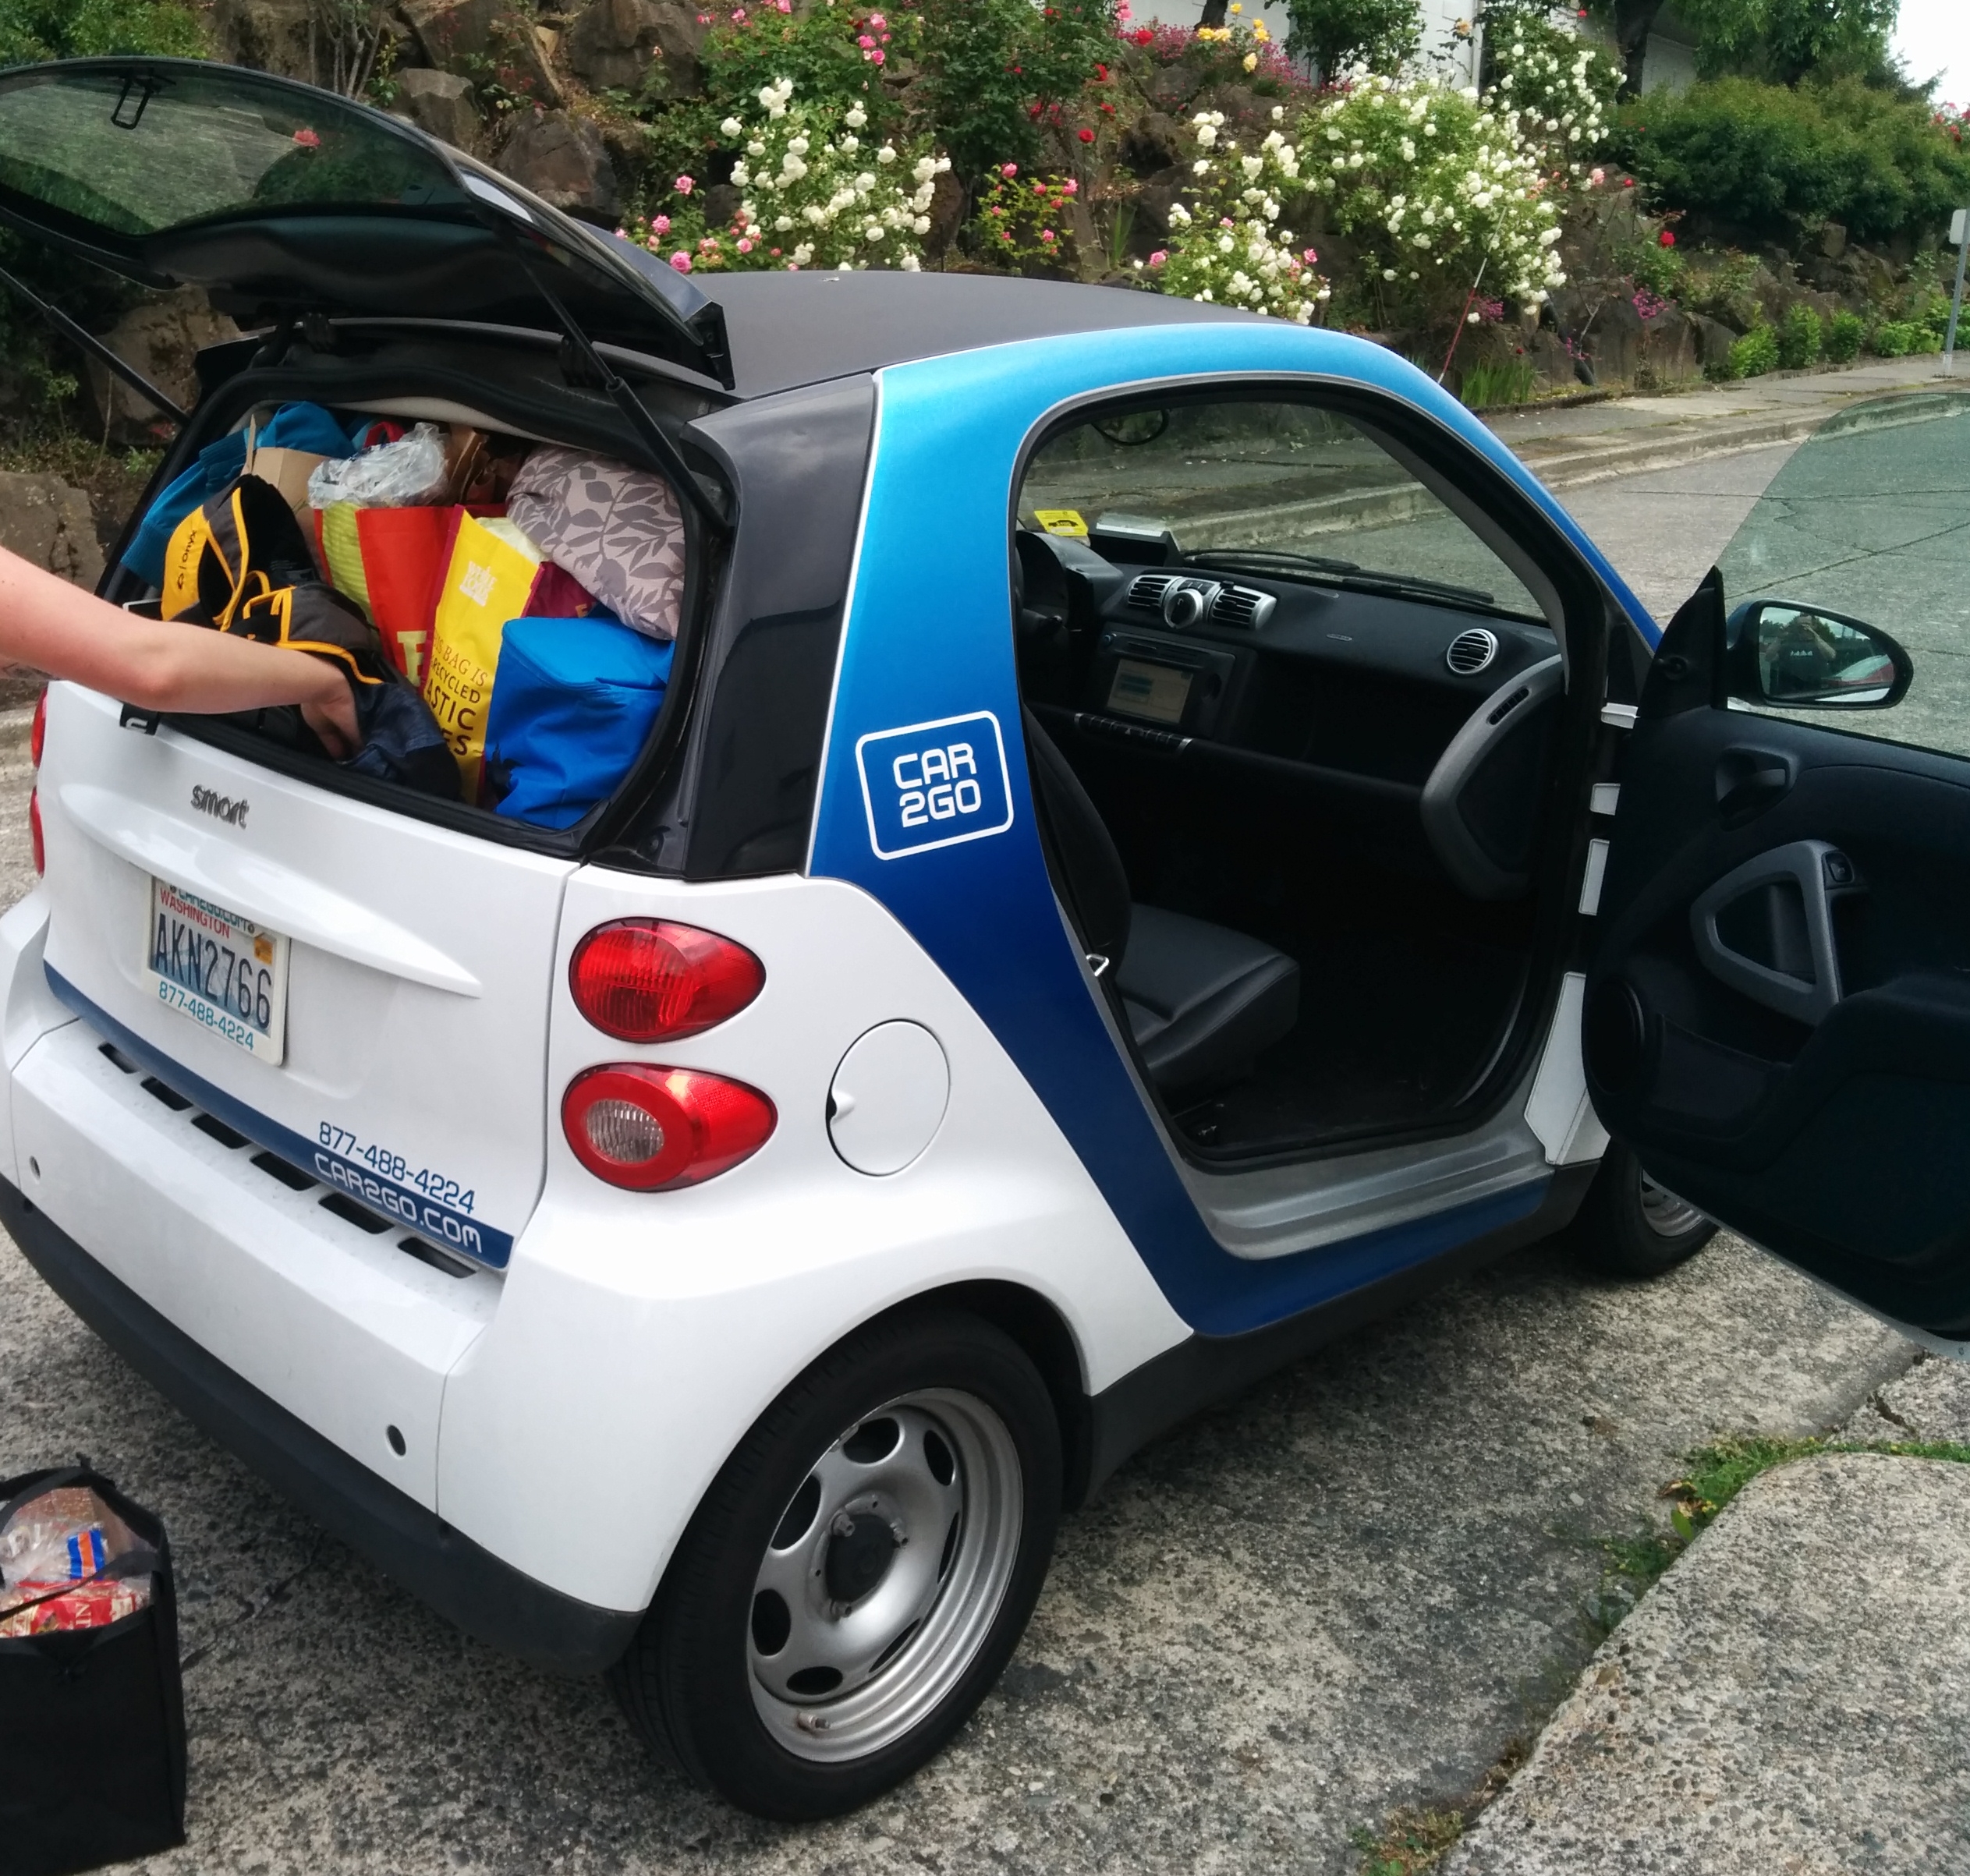
We can fit a lot of stuff in a tiny Car2Go when we’re packing for a trip

Transit Accessibility of Marinas

Picking a marina with better transit accessibility is probably the biggest thing you can do to make a car free life with a boat easier. Some marinas like Elliott Bay Marina and Shilshole have very poor public transit options. They’re in transportation dead zones. The bus routes simply don’t go near them, or drop you off at a random deserted bus stop in the middle of a bridge with speeding traffic and no crosswalks.

Marinas closer to central areas of the city (Fisherman’s Terminal, any marina on Lake Union) can save a lot of time in commuting back and forth to the boat by bike or bus. Or reduce your car sharing expenses. Although it is really nice to be able to bike down the marina dock (some of these docks are really long!), biking in cold, rainy winter weather can be tough, and for carting supplies you’ll want to be able to take the bus sometimes in order to reduce car2go or Uber expenses.

Car Sharing

I don’t think a car free life works well in all cities. It works best in a city with good car sharing options. Seattle (and similar cities like San Francisco, NYC, Portland) has had excellent car sharing options since about 2012. Car2Go plus Uber cover most of your needs, and rental car agencies (Enterprise, Hertz) fill in when you need a car to go somewhere for a full day (often surprisingly cheap – just $30-40).

In Conclusion

Going car free is a simple change, but most people can’t do it even if they agree with the idea in principle – they’re too deep into the mindset of a car owner. But maybe, just maybe, your car is actually doing you more harm than good – holding you back and tying you down.

How to Clean a Winch

I have a confession: I love cleaning winches. It’s really weird, but the idea of cleaning a winch with a beer or two sounds like a great way to spend a Friday night.IMG_20150702_202251

Taking apart a winch combines two of my favorite things among all boat tasks: 1) engineering – basic engineering skills in taking apart and putting it back together again, and 2) cleaning. The reason many boat owners actually like cleaning is that it’s easy – it doesn’t require any advanced skills like other boat tasks (diesel mechanics, electrical), and there’s pretty low risk of making things worse. Unlike mechanical or electrical jobs where messing up can make the situation worse than when you began, cleaning pretty much always improves the situation at least a little.

Supplies Needed:

  • Mineral spirits (aka paint thinner)
  • Winch grease (eg, Lewmar or Andersen)
  • Some plastic cups or dishes for soaking the parts in the mineral spirits
  • Plenty of paper towels
  • Spanner tool – for opening the circular plate at the top (on Barients). A deck key (eg, like you use on the fuel fill port) can also work if the plate isn’t too tight / stuck.
  • Hex wrench (make sure you have some of the larger hex sizes – ¼ inch was the largest I had, and it was the only size I needed)
  • An hour or two worth of good music.
IMG_20150823_143434

This is what it looks like when a prior owner used way too much grease. Don’t do this!

IMG_20150825_172322

Steps:

  1. Disassemble winch, keeping related parts grouped together.
  2. Clean off dirt and grease. The small parts – bearings (the shiny roller ring thingies), gears, and pawls – can be soaked in mineral spirits. Just about 5 minutes is all it takes for the mineral spirits to work their magic.
  3. Reassemble, lightly greasing gears and bearings. Don’t grease pawls. You can use WD-40 or oil on them if you want.

I have 6 Barient winches, ranging from about Barient 12 to Barient 28. Only 4 of the winches are actively used however. Those 4 are all 2-speed and self tailing. The smaller ones can take as short as an hour and the larger one as much as two hours, all depending also on how much of a mess they are to begin with. You can find parts diagrams and disassembly instructions for most Barient and Lewmar winches via a Google search, or go directly to l-36.com

Cleaning a winch is just about one of the easiest boat jobs there is, *if* you’re good at taking things apart and putting them back together. The first time you do one, take some pics on your cellphone as you go and keep related parts close together. Be especially careful with the pawls and springs. I didn’t lose any pawl springs or need to replace any, but some people like to keep spares on hand in case they lose them.

IMG_20150806_201239


The reassembled base gears - notice you can barely see any visible grease. That’s because it becomes translucent when it’s spread thin

The reassembled base gears – notice you can barely see any visible grease. That’s because it becomes translucent when it’s spread thin

Winches are amazing pieces of engineering. You can take it apart a 20-year-old winch and clean it and it’s basically as good as new. And you only have to do that about once a year (winch manufacturers recommend more, and some racers that really abuse their winches might need more, but once a year is more than enough for us).

This is about the most grease I’d put onto a part, and this part was one that takes more weight.

This is about the most grease I’d put onto a part, and this part was one that takes more weight.

How To Climb the Mast Solo – Part 2

The first time I climbed the mast, I was surprised how tiring and somewhat frightening it was. Since then I’ve gone up twice more, and it was much much easier! I’ve worked out a good system that I can setup in 5-10 minutes, climb in 10-15 minutes, and do that safely with just me (no one else onboard).

The biggest thing I did wrong initially was use a dynamic climbing rope. I used that because I had one unused from my climbing days, and wanted to avoid the abrasion of ascenders on my working halyards. But a dynamic rope stretches a lot when you put your weight on it, so I was basically doing twice the work. I’ve now switched to a spare 7/16” line I had in the cabin, with the spinnaker halyard as backup.

Also instead of having someone raise the backup halyard as I climb, I just fix it next to the climbing halyard and use a Prusik knot with webbing connected to my harness to act as a stopper – that way I can be completely self-reliant.

Here’s what you need:

  • 2 ascenders – I used Petzl Ascension, about $55 each on sale at REI.
  • Climbing harness.
  • 2 lengths of climbing webbing or accessory cord, about 3’ and 6’, for waist harness and foot loops.
  • 1 length of accessory cord, about 6’, for backup Prusik line.
  • 2-4 carabiners for attaching to the ascenders and harness.
  • 2 halyards, plus a spare line if you don’t want to use ascenders on a working halyard.
  • Gloves (belaying gloves are great, but sailing gloves will do if that’s all you have – note belaying gloves are better made than sailing gloves and are the same price or cheaper).

Here’s the setup:

  1. Find a low-stretch spare line (this will be the climbing line and tie with a bowline to the main halyard clasp, then raise the main halyard to masthead. (Note if you don’t have a spare line you can use the main halyard instead, but I prefer to avoid wear and tear to it).
  2. Anchor the climbing line to a deck tie-down ring. Make the line as taut as you can comfortably get it.

    Halyard anchored through U bolt and run to cleat. Backup halyard connected with a snap shackle (not load bearing - if it came undone it wouldn't really matter, because the top is anchored and the Prusik will work reasonably well with a slack line).

    Halyard anchored through U bolt and run to cleat.
    Backup halyard connected with a snap shackle (not load bearing – if it came undone it wouldn’t really matter, because the top is anchored and the Prusik will work reasonably well with a slack line).

  3. Attach 2 ascenders to climbing line.
  4. Attach upper ascender to your harness tie-in point, using about 1-2’ of webbing and carabiners if you have them.

    Upper ascender with webbing attached to harness

    Upper ascender with webbing attached to harness

  5. Attach lower ascender to a nylon cord that is formed into a V shape with two foot loops. It should be about 3’ from foot loops to ascender.

    Accessory cord foot loops attached to lower ascender

    Accessory cord foot loops attached to lower ascender

  6. Anchor a backup halyard next to the climbing line. Spinnaker halyard works well.
  7. Attach webbing with a Prusik knot to the backup line, then attach webbing to harness. Webbing length should be about 4-5’ so you have some slack and don’t need to be constantly moving it.

    Prusik with webbing (a bit messy - I would've rather used cord, but was out - webbing still works fine but doesn't look as neat)

    Prusik with webbing (a bit messy – I would’ve rather used cord, but was out – webbing still works fine but doesn’t look as neat)

  8. Climb using inchworm / squat technique – move the upper ascender (waist attachment) as high as you can get it, then move the lower ascender to within a few inches of upper. Stand up in foot loops, using your hands to pull laterally on the climbing line to help stand up. Then repeat, starting with moving up the upper ascender again.
  9. As you move up, slide the Prusik knot up the backup line. Remember to do this before it’s out of reach, and slide it as high as you can reach.
  10. To descend, just reverse the climbing technique. When lowering the feet ascender make sure you don’t lower too far such that when you stand you can’t unweight the waist ascender. If you don’t unload an ascender you won’t be able to unlock it, and will need to readjust your position.
Gloves make things much easier on your hands

Gloves make things much easier on your hands