Monthly Archives: January 2017

Rerig Part 4: Stuck Navtec U-Bolt Chainplates

It’s been a long road to finishing our rerig. Going on 5 weeks now with the mast out, I’ve started to get very antsy to go sailing. Being patient is always the hardest part of any project that takes the boat out of commission (ex, haulouts). After 2 weeks, most projects had been finished and it was just a matter of waiting for BSI to produce the rod.

The downside to rod, as mentioned in Part 1, is it generally can’t be made locally / onsite and therefore takes longer to get. That downside is apparent now in the delays with BSI producing the rod – even though we gave them the end fittings order 5 weeks ago, and final measurements 3 weeks ago, they still haven’t started producing the rigging.

In contrast, a couple weeks ago two new Selden masts arrived in the yard for brand new boats going to the Seattle Boat Show, with wire rigging ready to go, and those masts were fully rigged and stepped in a week.

I wouldn’t change my decision to go to rod – it’s worth it for keeping the mast tang system the same – but if we were buying a new boat someday, I would probably try to avoid rod or would consider it negative points for a boat being considered. It’s a wonderful material, but for a cruiser, availability and ease of access are more important.

Navtec U-Bolt Chainplates

The hardest part of the rerig however (other than the waiting) has definitely been pulling the chainplates for inspection. More specifically, pulling the Navtec U-Bolts above the chainplates.

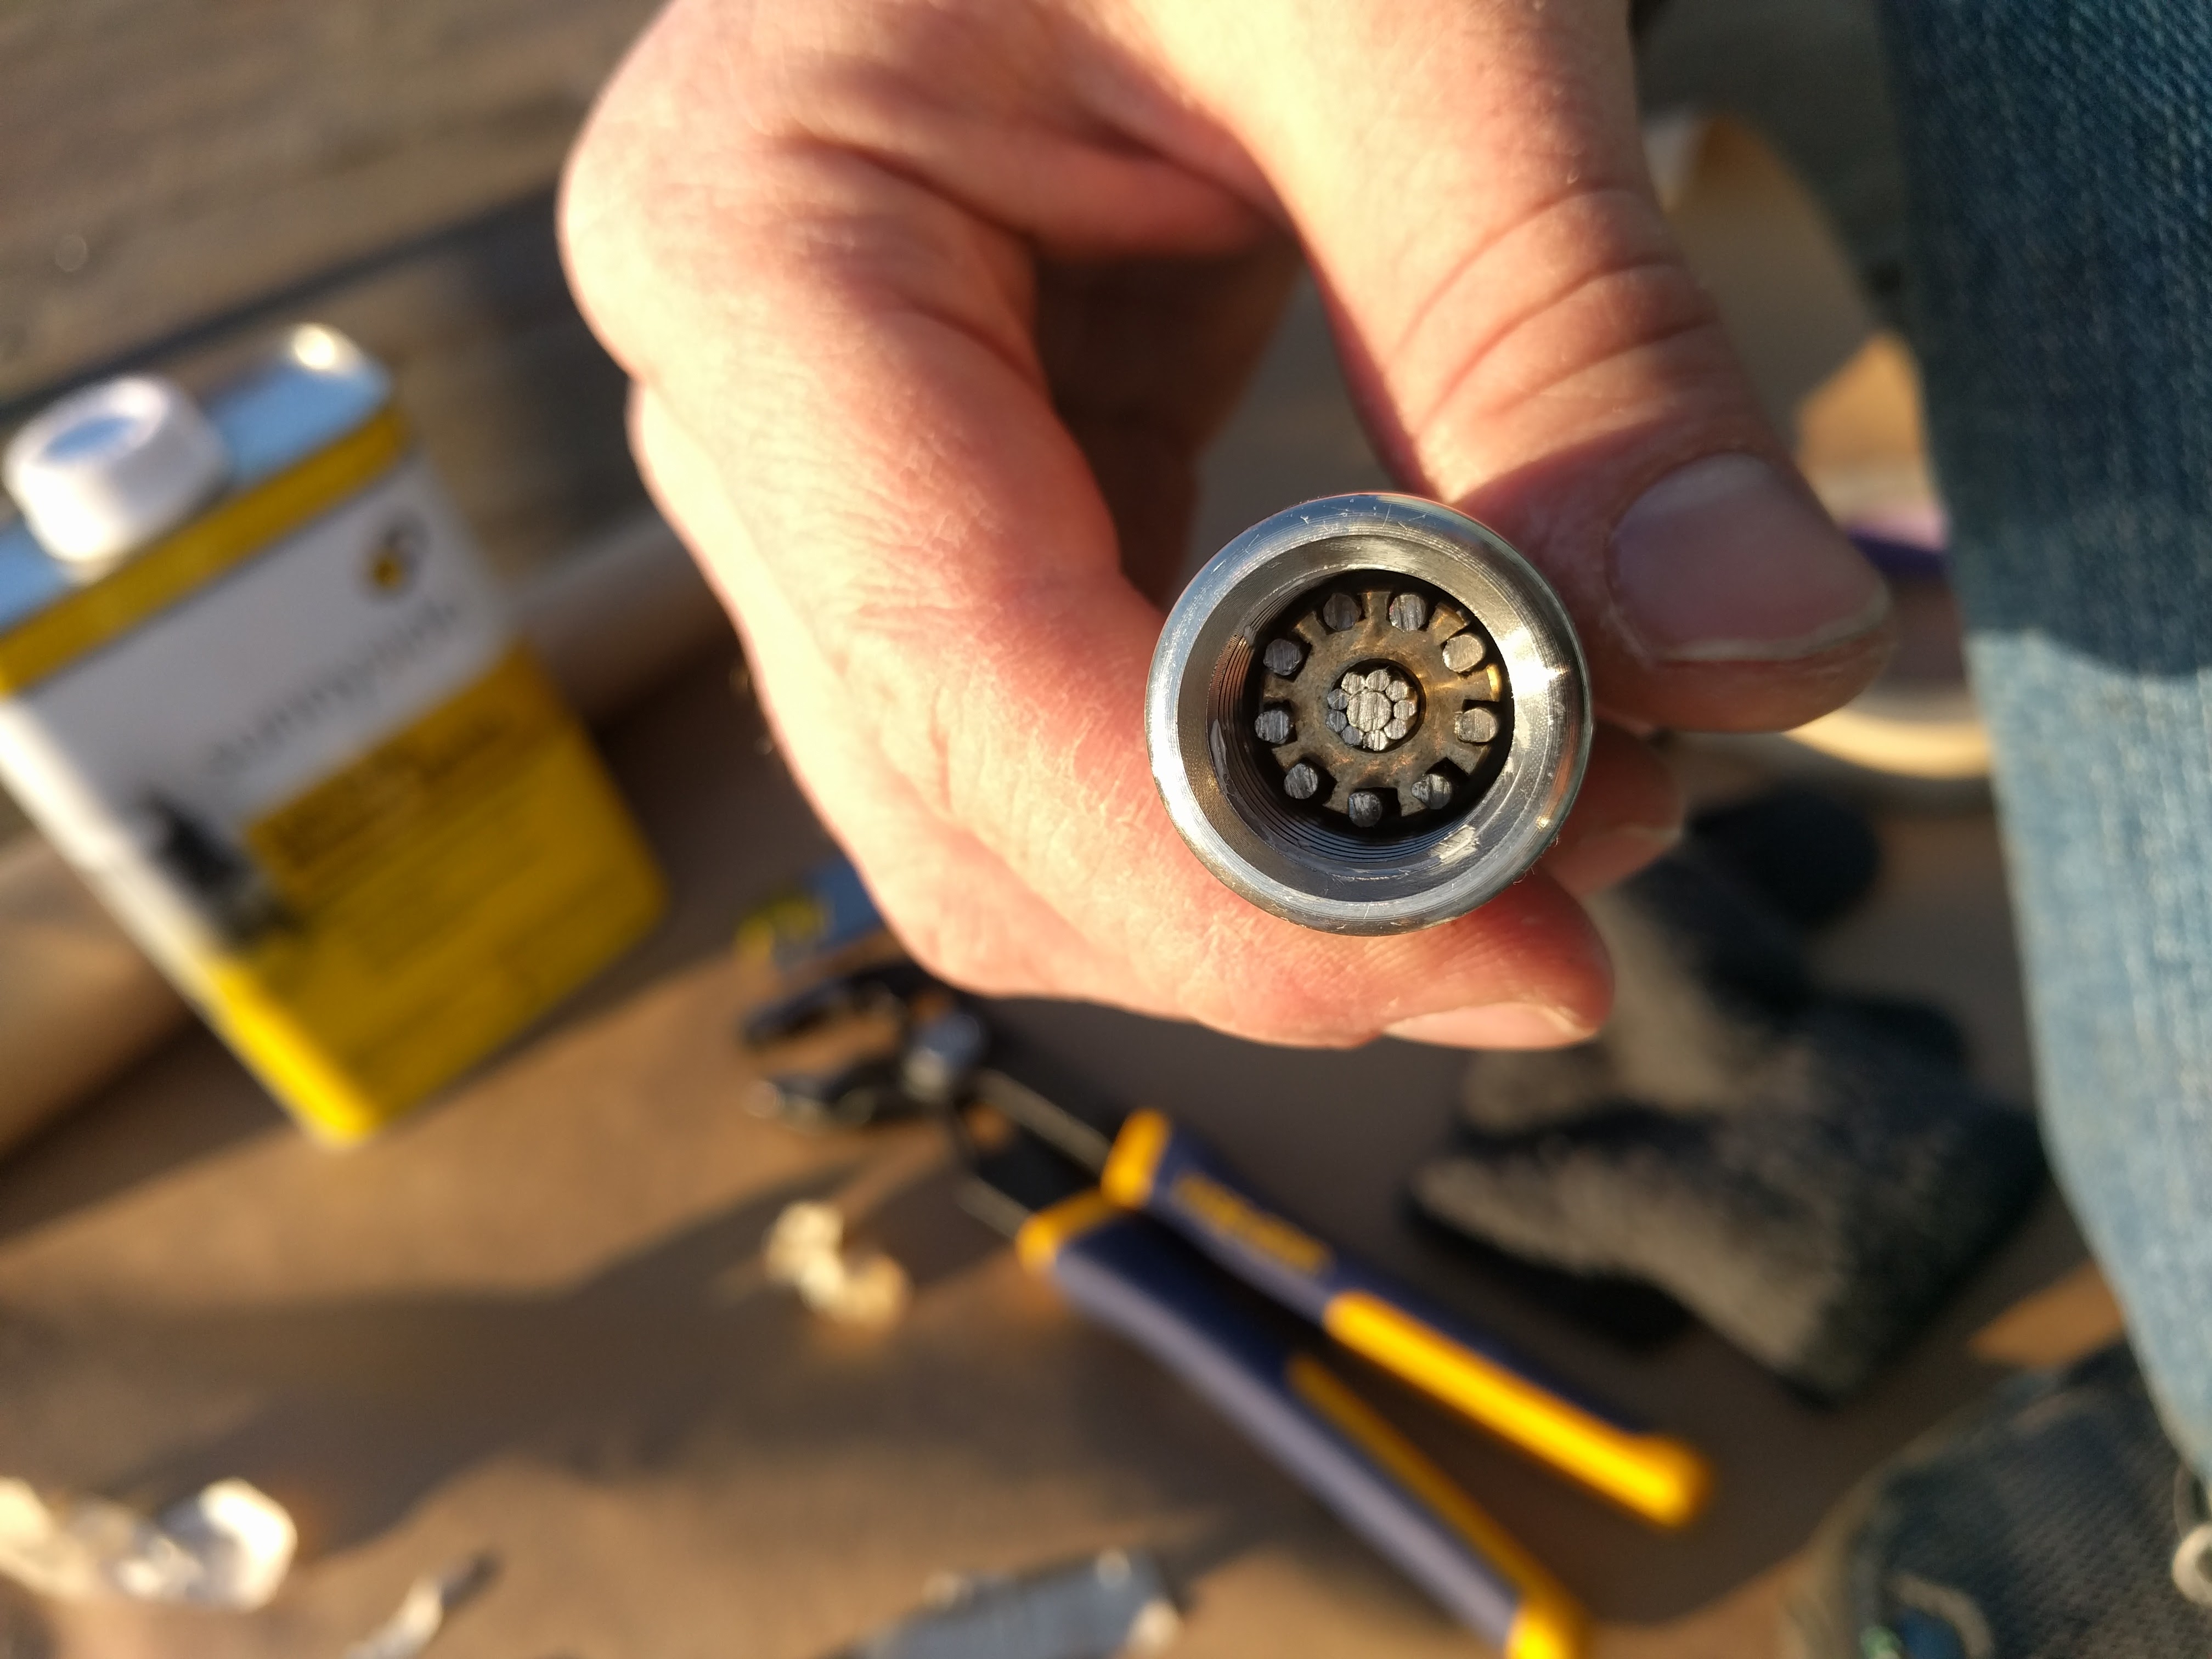
C&C’s with rod have a somewhat uncommon chainplate system (O’Day’s and Ericsons also have a similar system). At the deck there are six big ½” U-Bolts (one for each shroud) that go through the deck to a thick aluminum backing block. That backing block has a recessed cup on the upper side which is used to capture the head of a stainless steel tie rod. The tie rod then goes down to connect with traditional chainplates inside the boat, attached to a fiberglass bulkhead inside some cabinetry.
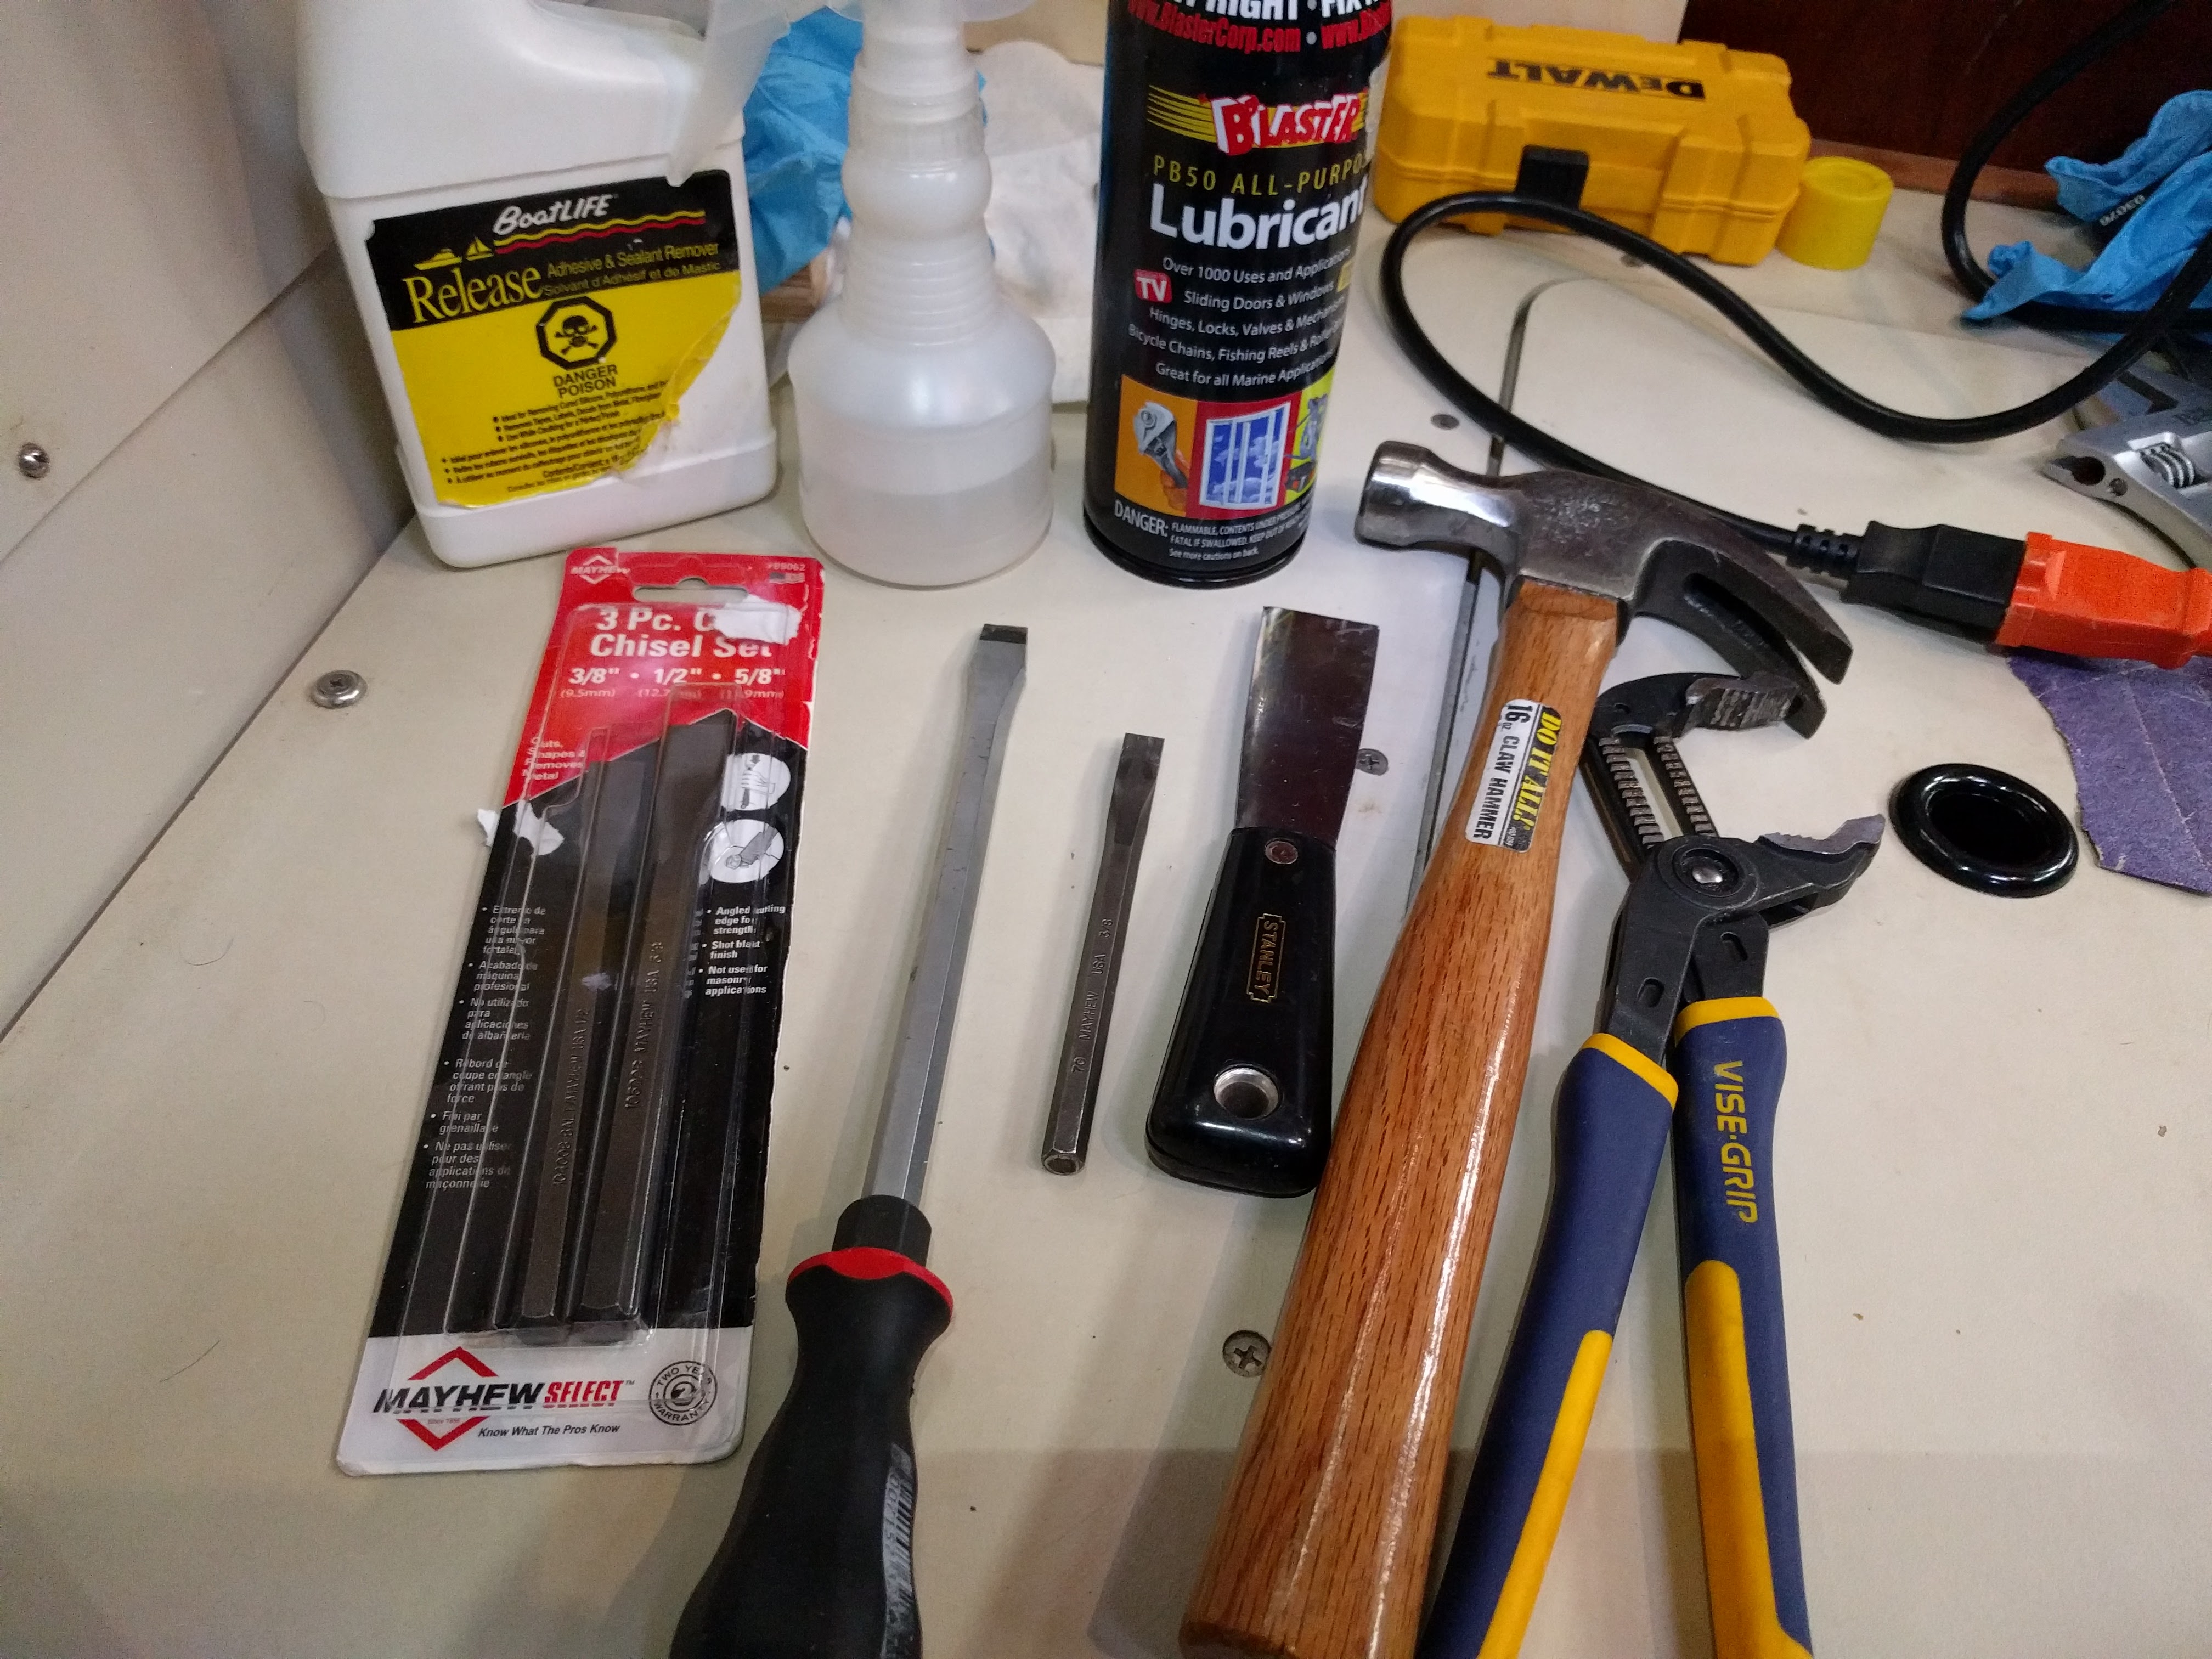
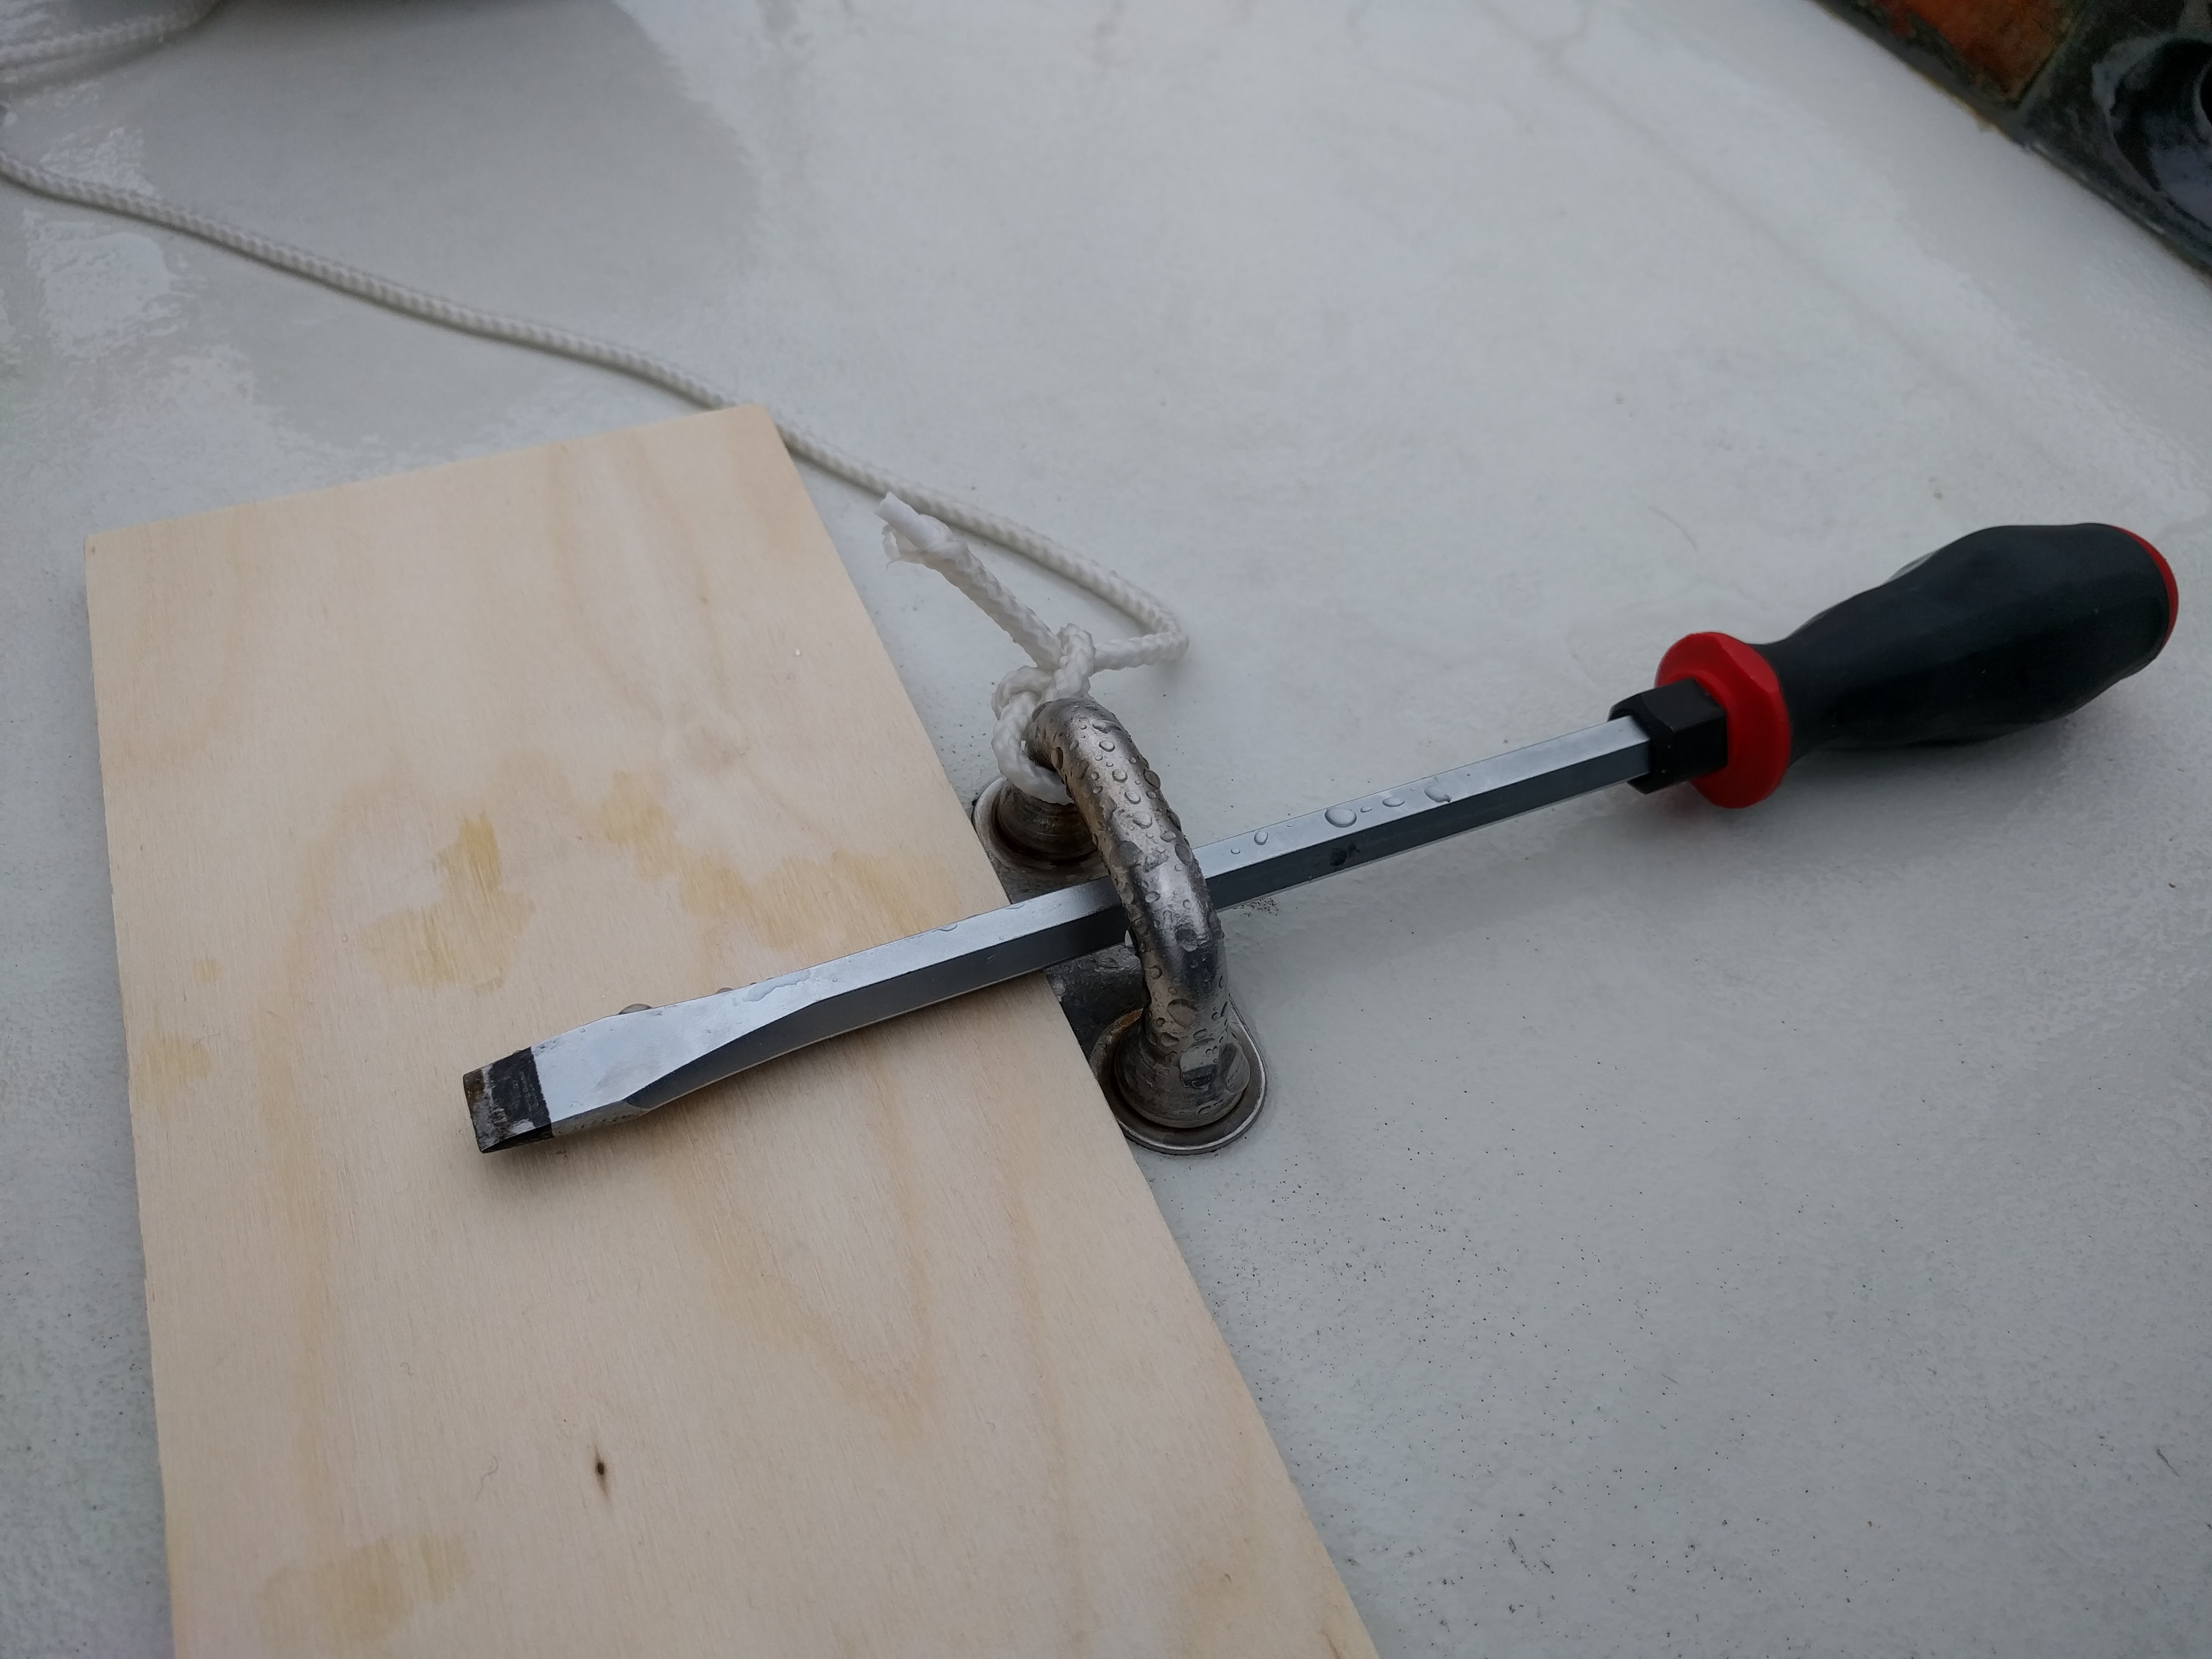
img_20170122_132904

img_20170122_124107

Totally inadequate lever arm for pulling 1/2″ U-Bolts

It’s actually a pretty great design, because the chainplates are completely dry and pristine – I have no concerns about those since they never see water. And the U-Bolts likely do a better job of sealing out water at the deck level than traditional chainplates do. This is because they have a cover plate which fits tightly with the deck, and then the legs of the U-Bolts are flanged (they have a “lip”) so that they are wider than the holes in the cover plate – they overlap it and fit quite snugly.

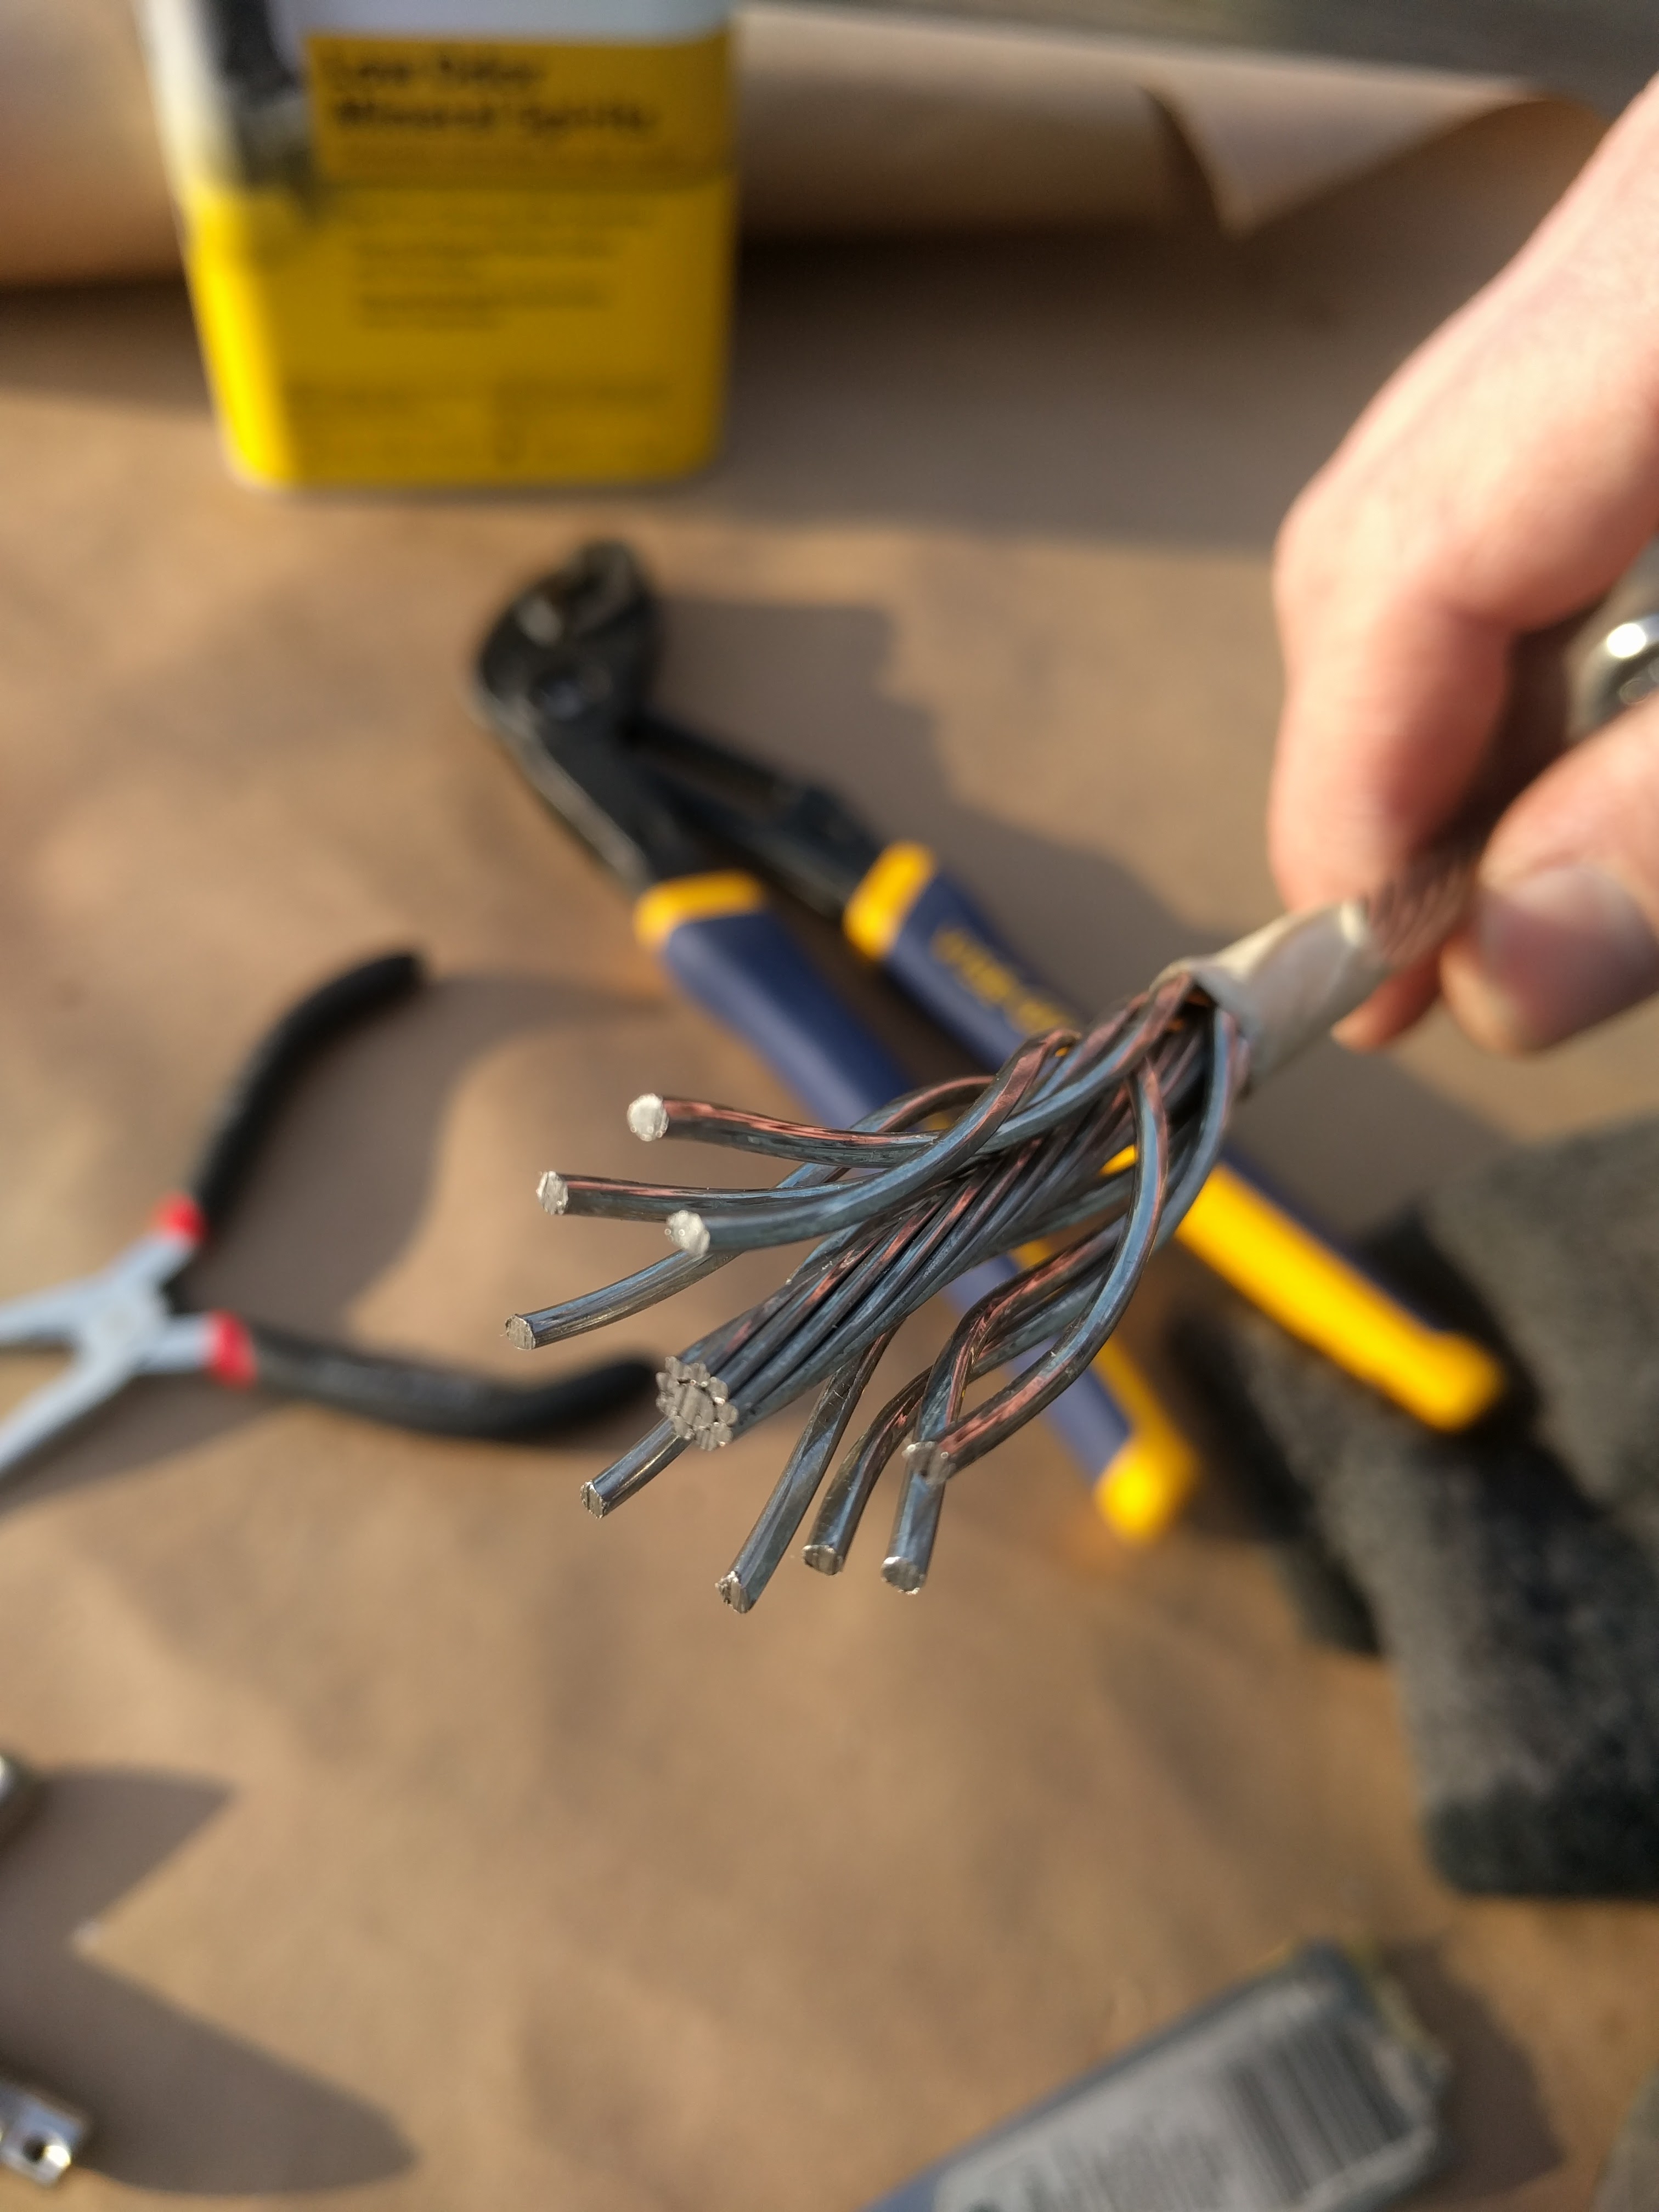
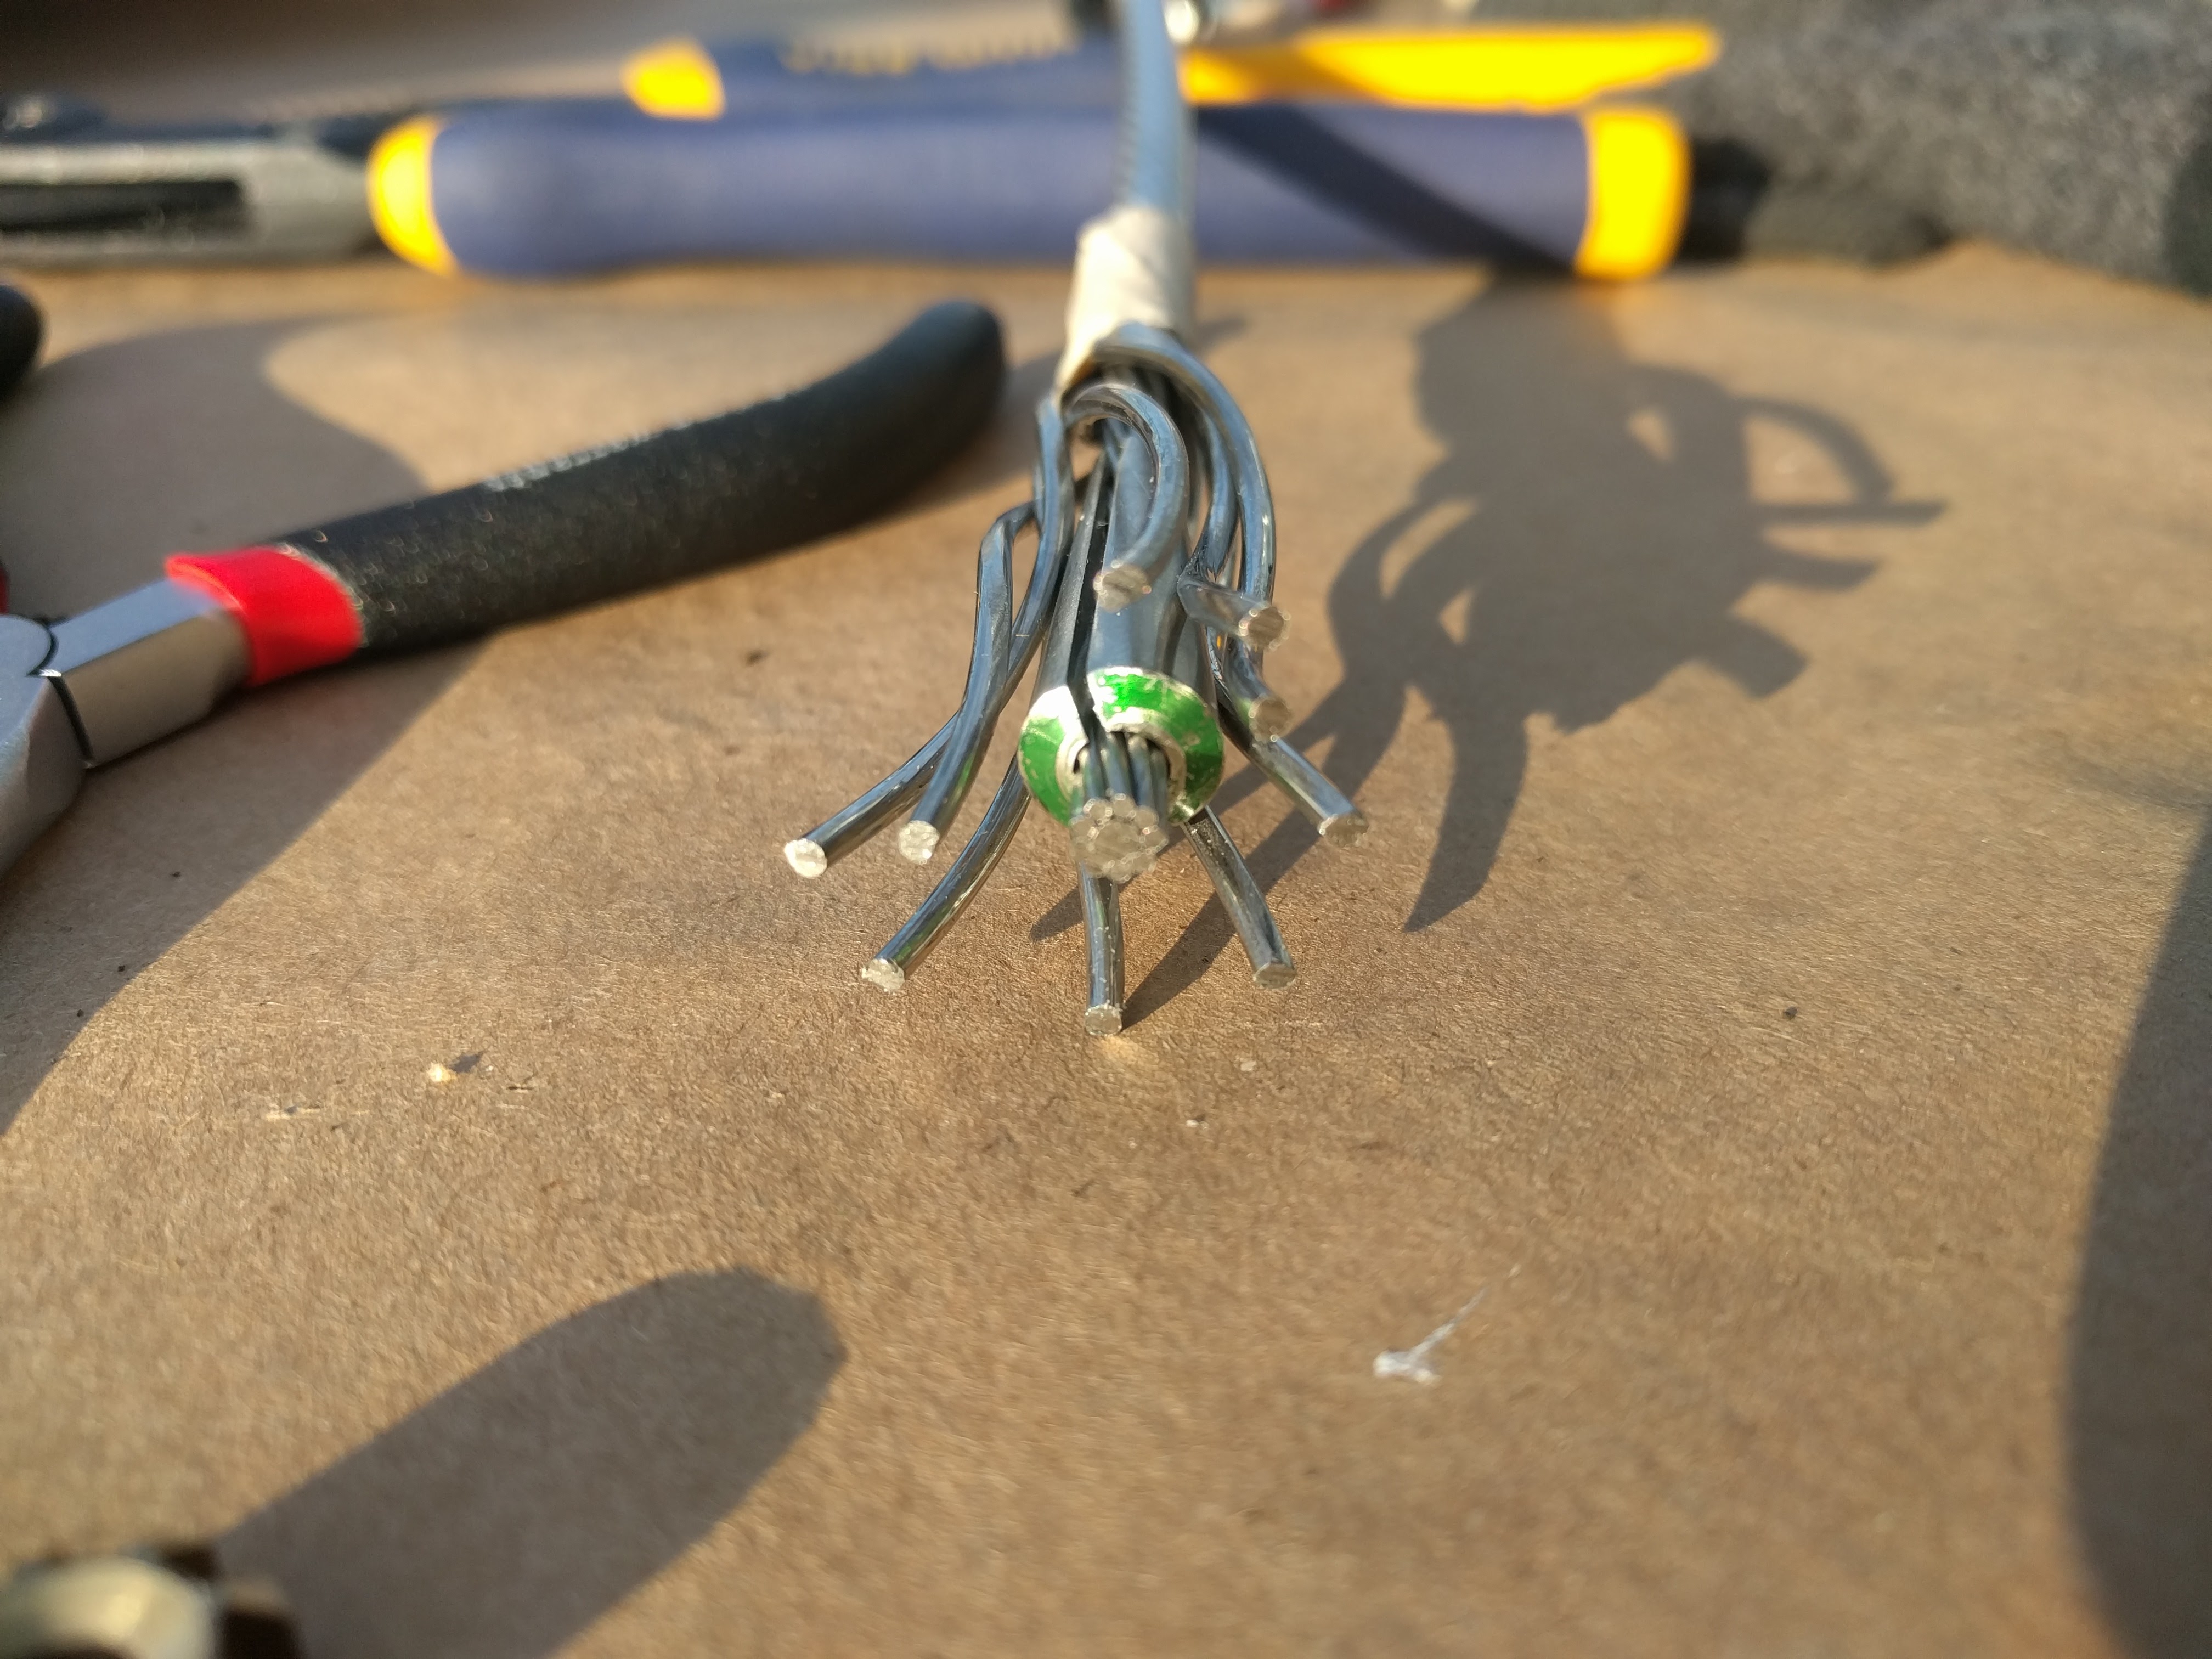
The downside is they’re really hard to get out. The SS U-Bolt legs interact galvanically with the aluminum backing block, producing pasty white powder which basically locked the U-Bolt into the aluminum block.

Continue reading

Rerig Part 3: Now the Projects Really Begin

Warning: This post is pretty technical.  In the last week a lot has gotten done – assembled the wire forestay, a new Harken furler, removed the spreaders, cut out a seized clevis pin, got out a second seized clevis pin for a masthead sheave, ran new VHF coax cable through the mast, sanded and painted the mast collar, and did a whole bunch of cleaning.

Assembling a Hayn HiMod Swageless Fitting

I decided to use a Hayn HiMod swageless fitting for the forestay lower connection so that I could measure / cut the forestay to length, not have to get a wire swaged on site, and have a fitting that could be inspected or shortened in the future if needed.

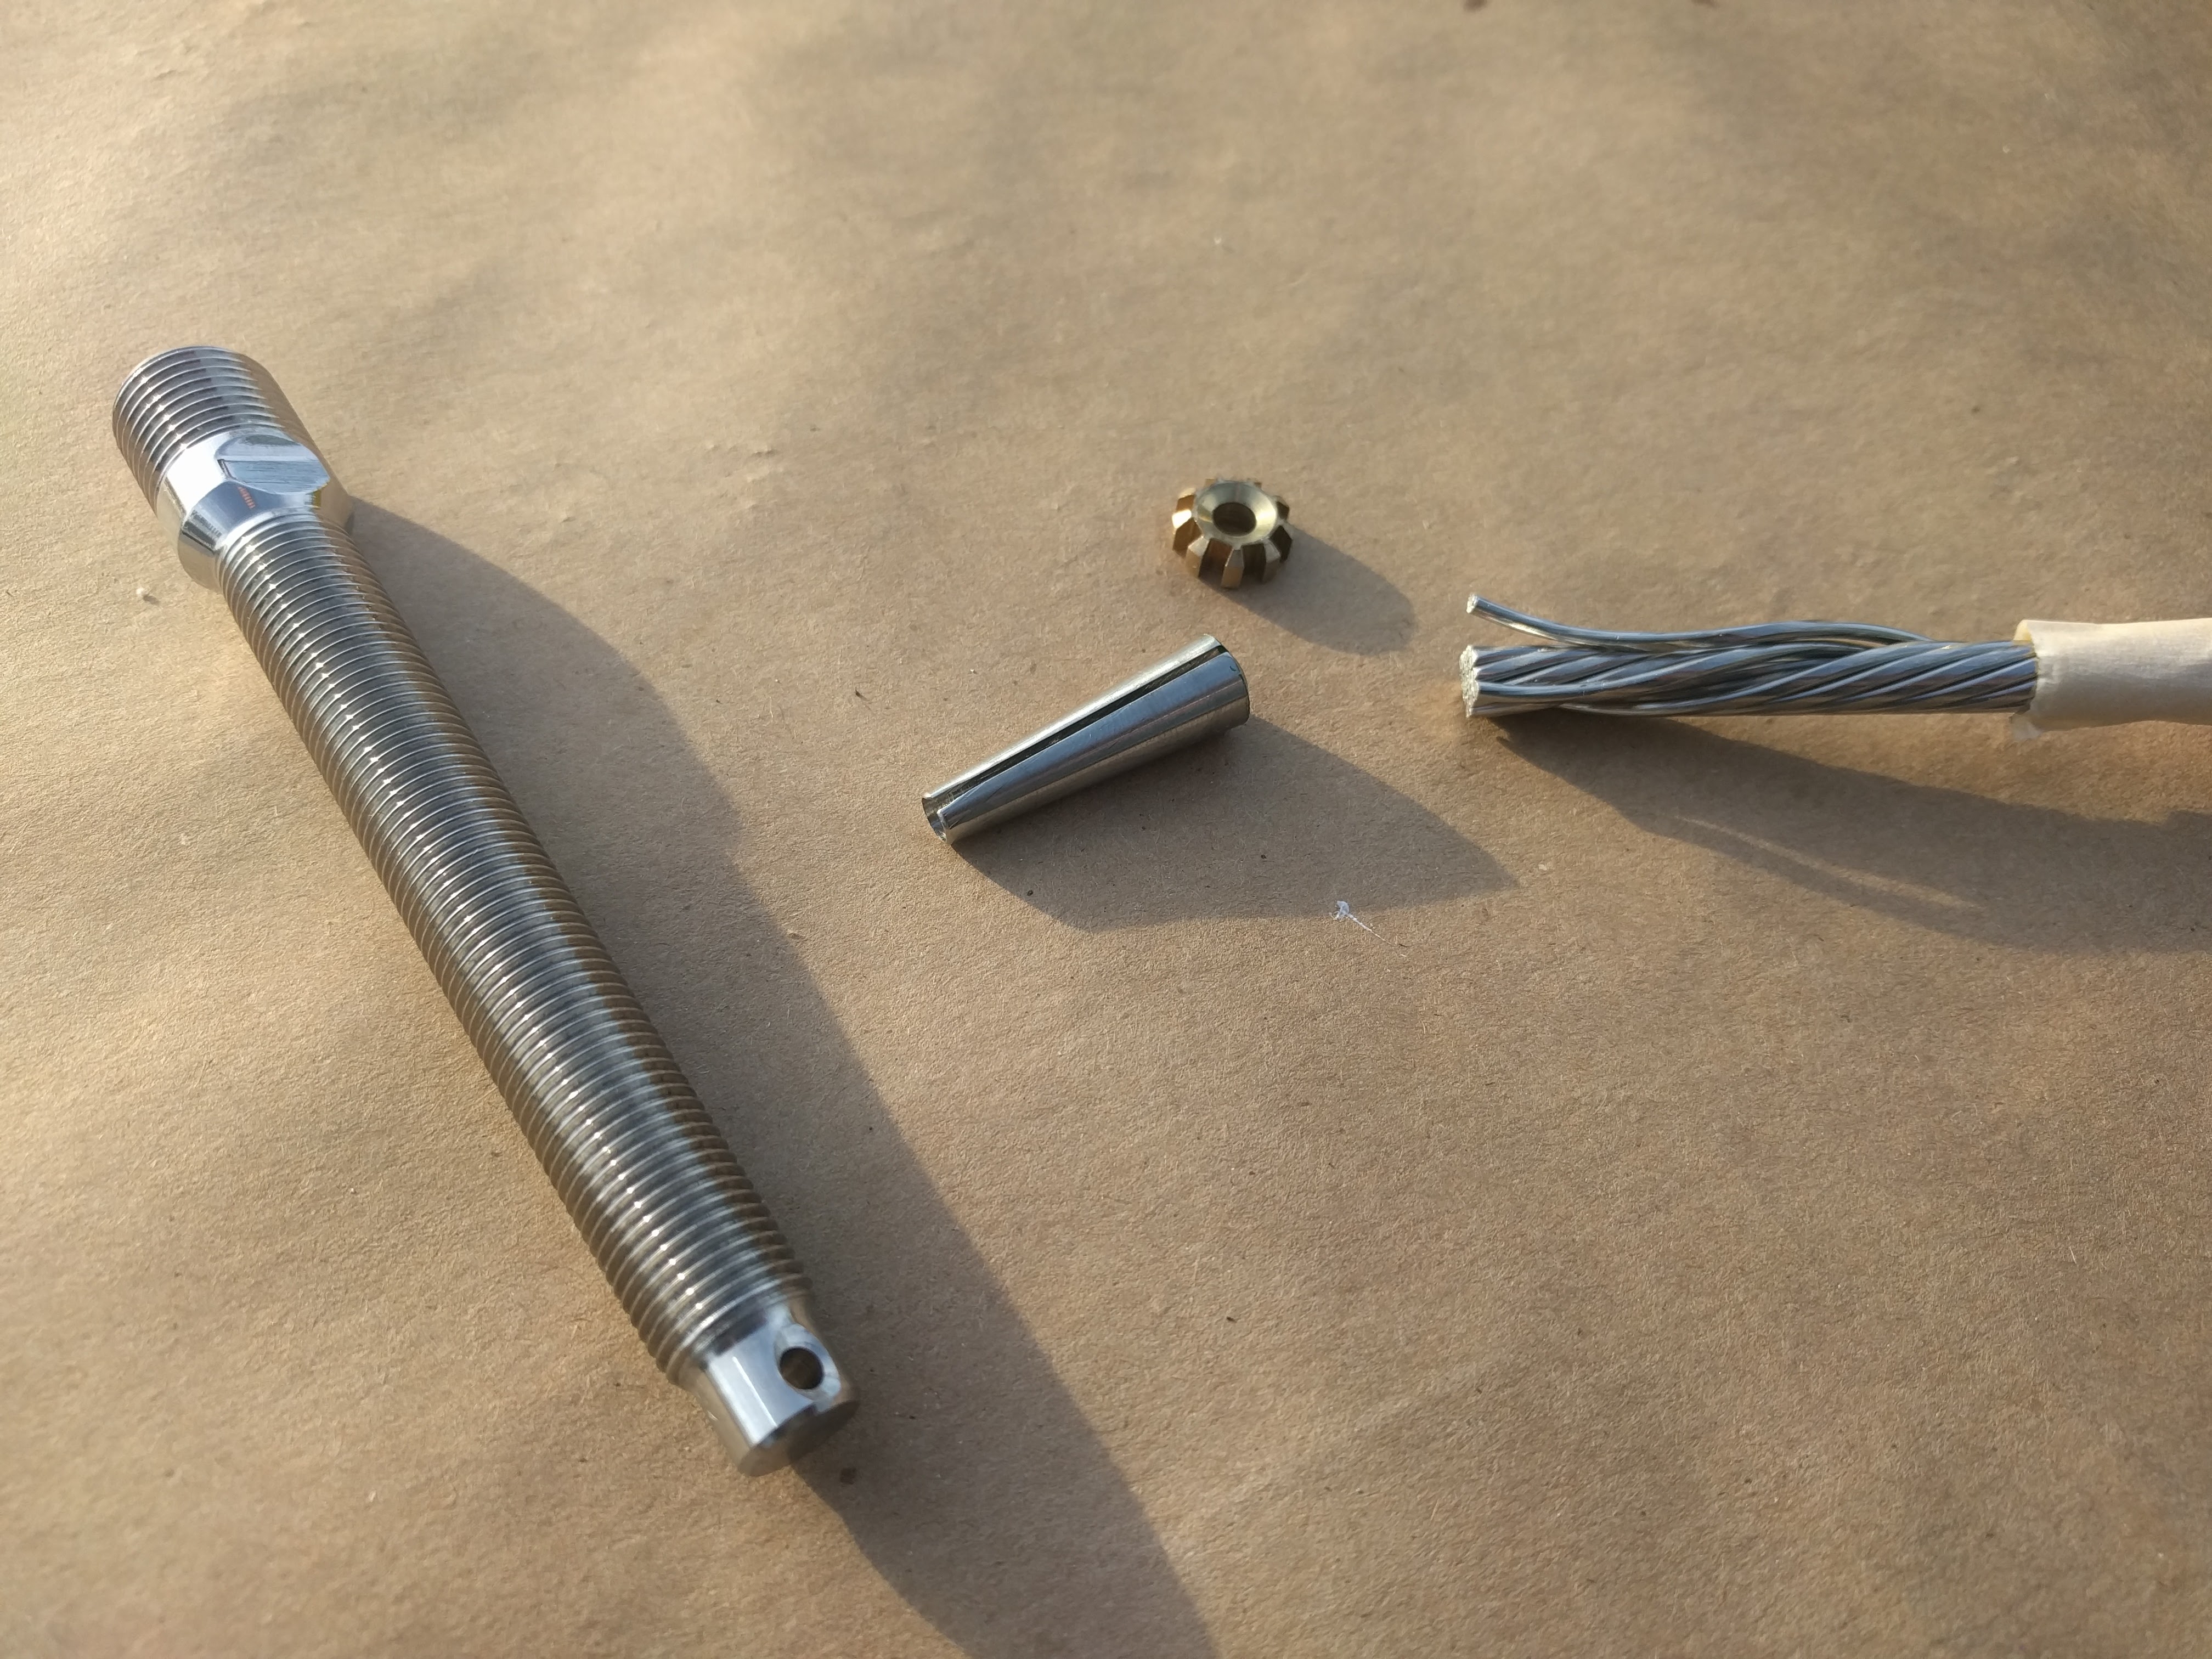
hayn-stud

Hi-Mod components: threaded stud, cone, and crown ring. (The body, not shown, is already on the wire)

hayn-pullingwire

Unlaying the compact strand wire around the core

haynhimodcone

Hi-Mod cone installed on the core

haynhimodinterior

Cone and crown ring installed in the fitting

Project Time:

  • 1 hour – planning, reading and watching YouTube videos.
  • 1 hour – measuring, re-measuring and cutting forestay.
  • 1 hour – assembling Hi-Mod.

Tips:

  • The 7mm compact strand wire (distributed by Alps) was quite difficult to unlay. Since the strands are so tightly compacted together, it’s hard to pick them apart. Standard flat head screwdriver tips were too thick. A thin paint scraper works well, or perhaps my mini screwdriver set (like an eyeglass kit).
  • The big debate with HiMod’s is whether to use sealant or not. Hayn says not to, in their instructions. They’re saying it’s not necessary but you can use it if you want to (they say it’s ok to use in this PDF). I wish there were a more scientific analysis of this.
    I decided to use sealant for a couple reasons: Brion Toss, the rigger in Port Townsend, recommends using sealant in HiMods. And the HaveWindWillTravel sailors on YouTube had their HiMods show rust after just a few months in Florida. They believe it was from metal dust that got on their wire after cutting it with a grinder. That’s a plausible explanation, but perhaps sealant also would’ve helped prevent their issue.
  • Sealant is hard to inject into a Hi-Mod however. The body of the fitting is already on the wire. And the standard injection nozzle that comes with 3M adhesive tubes doesn’t fit in between the wire and the body. A typical syringe doesn’t fit either (the tip isn’t long enough to get past the threaded part of the body). I didn’t want to gunk up the threads, since those are supposed to be secured with Loctite, not 4200 goop. The best option was injecting sealant into the wire strands alongside the cone. I didn’t get sealant squeezing out the top at the end, so maybe didn’t use enough, but it should still be effective.

Continue reading

Rerig Part 2: Pulling The Mast

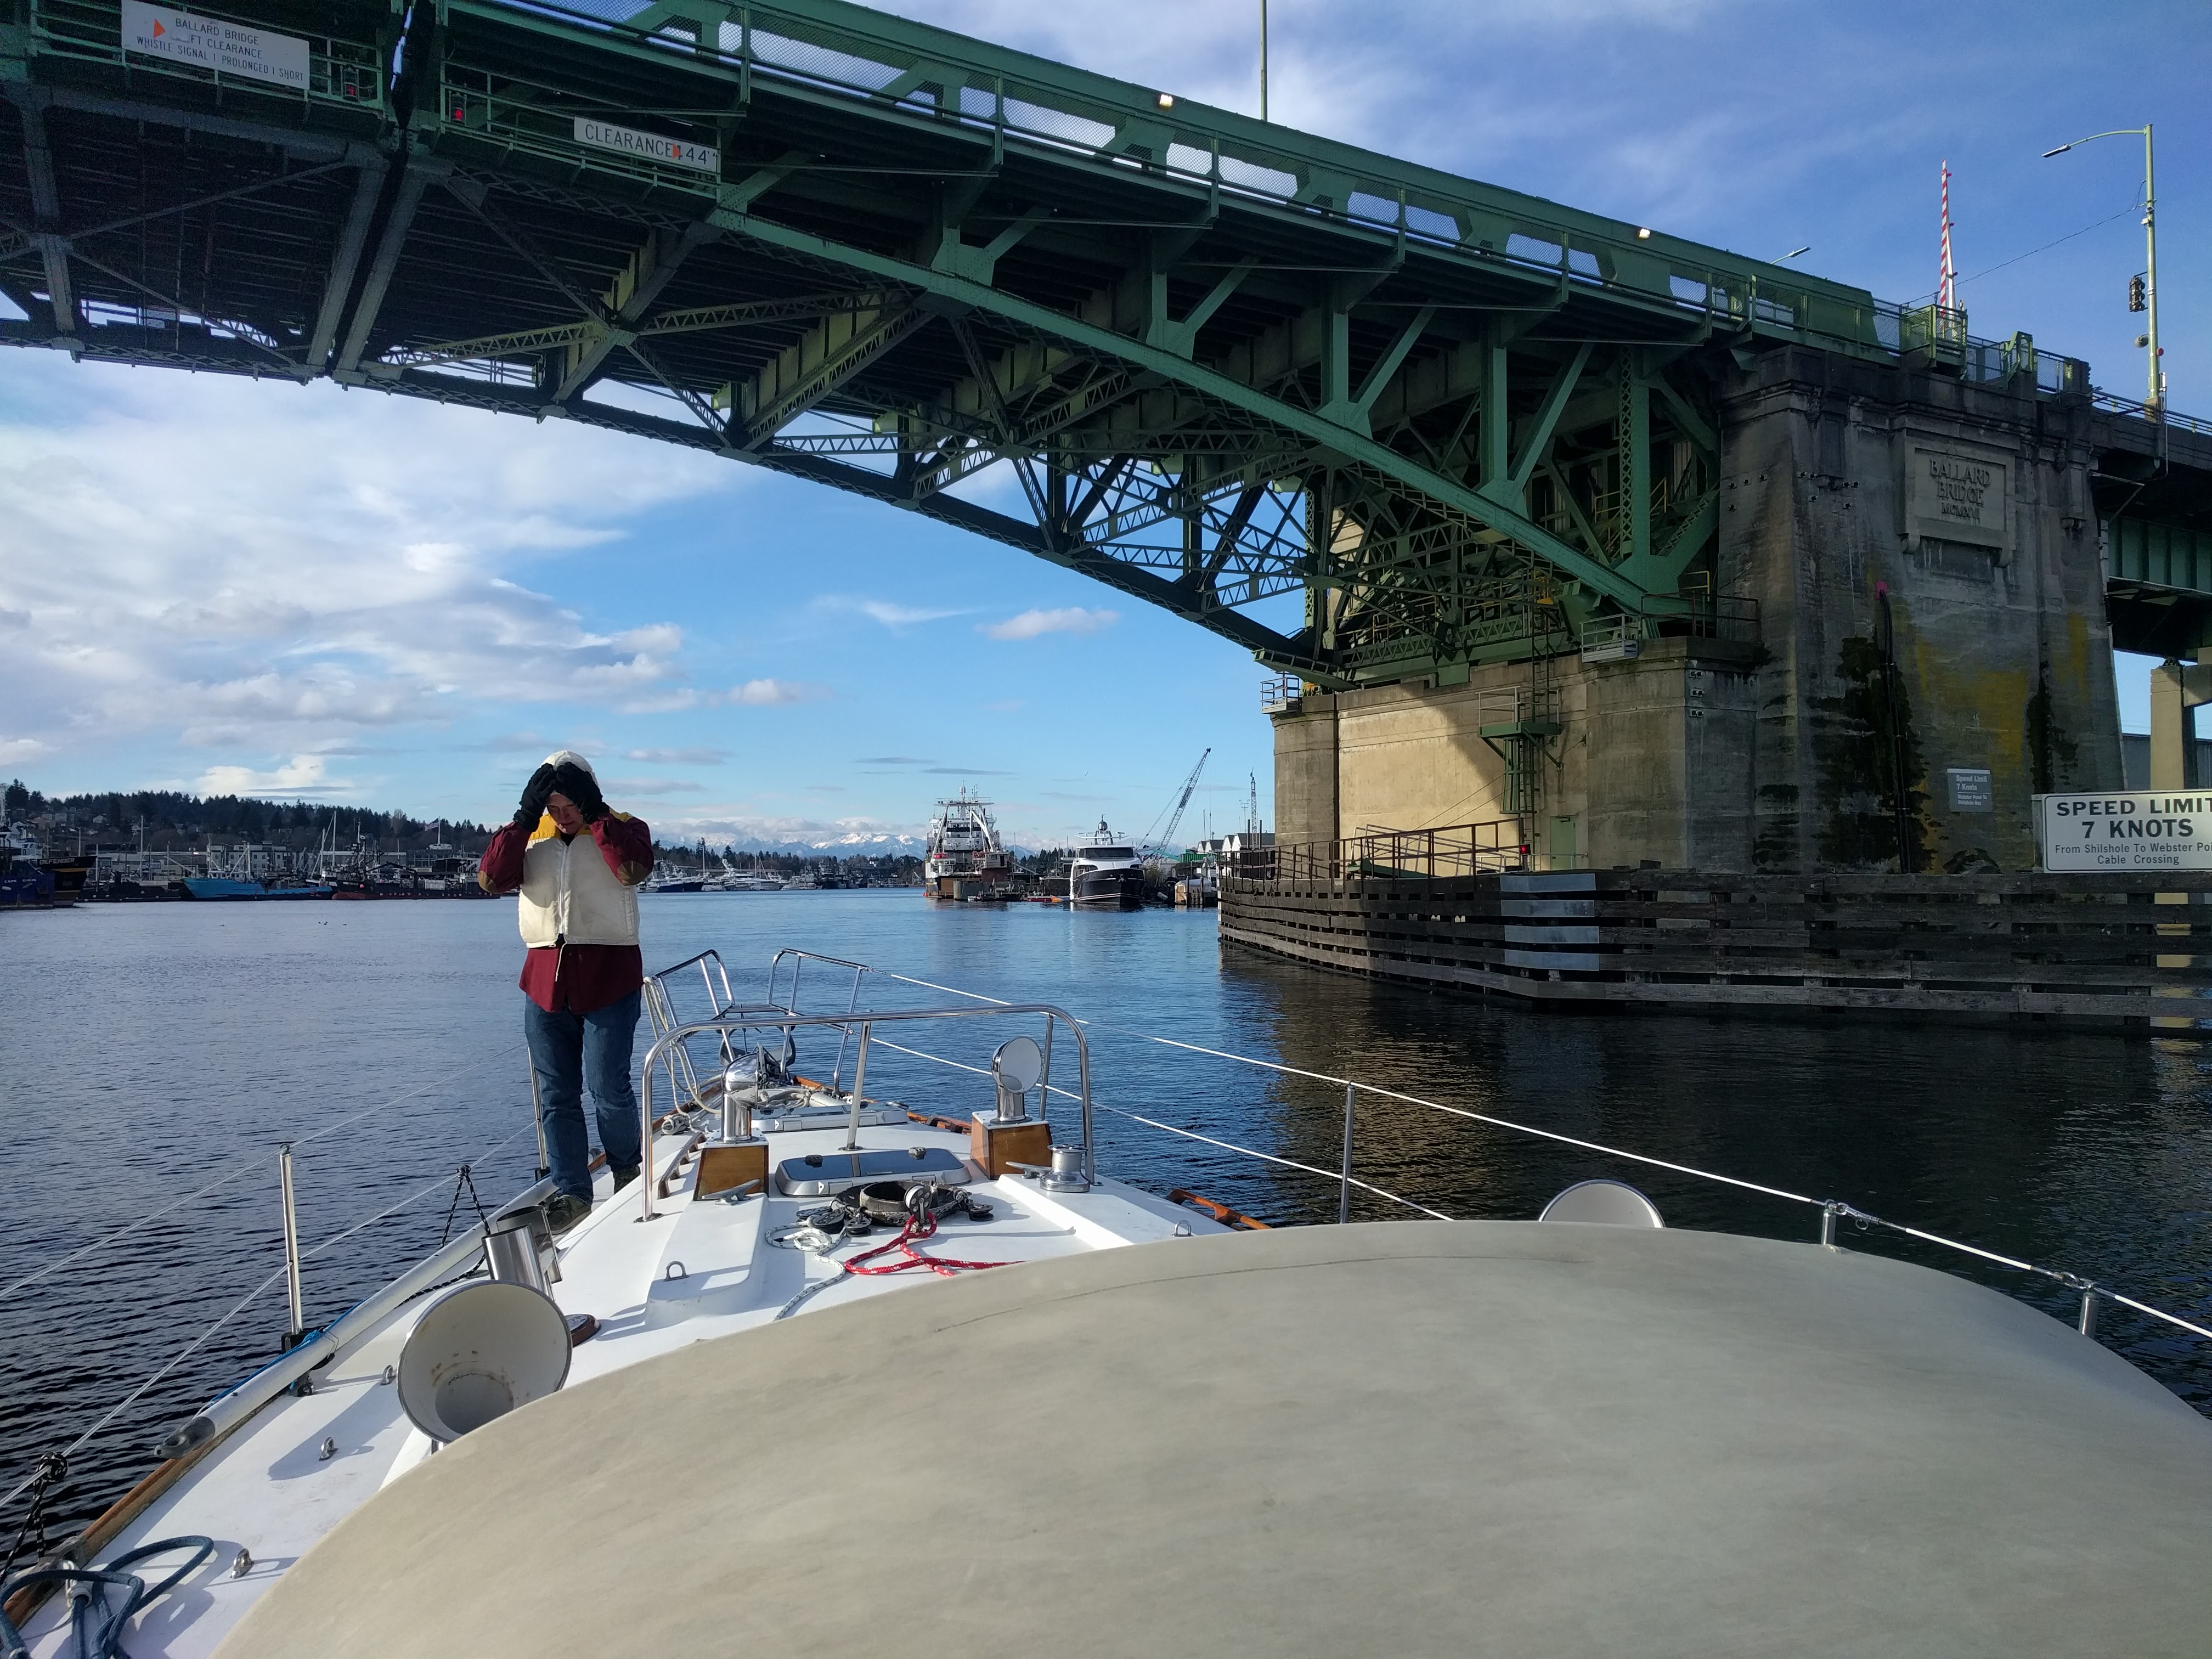
As the Ballard Locks attendant checked our lines, he remarked “Where’s your mast?” I replied “Oh, I knew we forgot something! We’ll have to turn around.” This was actually all part of the plan – an hour ago we had passed under the Ballard Bridge – without raising it! We had left our mast at Canal Boatyard for the next phase of the rerig.

Seeing the mast come out of the boat was a bit unnerving – but it all went really well. It took only 30 minutes to pull the mast, thanks to two days worth of prep work – but that work had actually been pretty fun. We were lucky that nothing was seized or really difficult to get apart. It was mostly a matter of unscrewing bolts, straightening cotter pins, removing the sails and boom, and doing one last climb up the mast to attach the crane’s sling.

Our least favorite part actually was going through the Ballard Locks – that’s pretty much always nerve racking. The small locks got filled by a 70’ motorboat, so we had to wait an hour for the big locks, maintaining position in strong currents between the locks and the lowered railroad bridge. Then on the way back west, the Argosy cruise came up behind us and got priority on the small locks, adding another long wait.

Passing under the Ballard Bridge with no mast

Passing under the Ballard Bridge with no mast

Prep Work

Most of the work of pulling a mast is in the prep work. For us this took about two days (only two 5-6 hour days though). For our boat the steps included:

  • Drop genoa and fold. Remove main sail and fold.
  • Remove the boom – including disconnecting the rigid boom vang, reefing lines, lazy jacks and main sheet.
  • Stow halyards on mast.
  • Remove cabin table that is sandwiched around the mast.
  • Loosen and raise the mast boot.
  • Disconnect mast partners (stainless steel bolt attaching the mast to the deck).
  • Disconnect mast wiring.
  • Attach tag lines to the mast base and furler. (this proved to be unnecessary).
  • Straighten all cotter pins in clevis pins at deck level of stays that you’ll need to release.
  • Mark (tape) the turnbuckle positions so we know the tuned length if we need to remeasure in the yard.
  • Loosen turnbuckles until the rig is moderately slack.

Continue reading