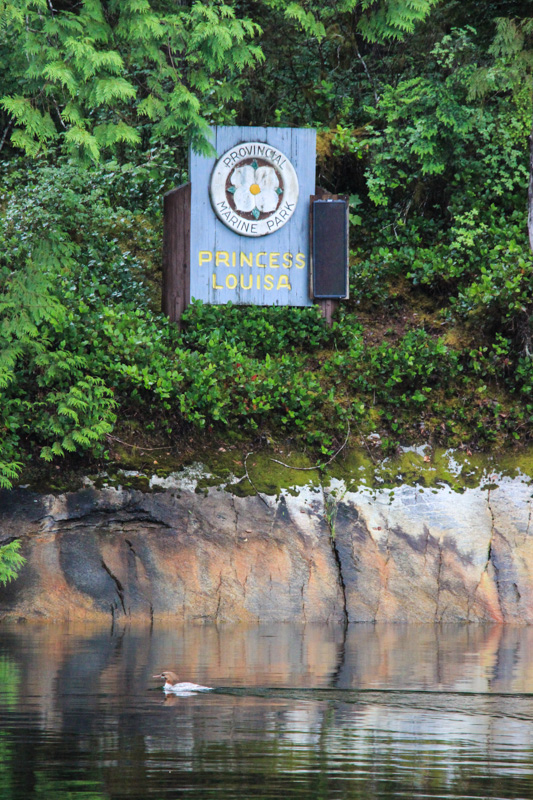
I wasn’t going to write about Princess Louisa because the saying is that everything that could be written about it, already has been. Perhaps that is true, but I’m not so sure. Primarily this will be a pictorial post, so skip to the end if you just want the photos.

It might sound like blasphemy, but for us Princess Louisa wasn’t the heaven-like wonder some had described it as. Maybe it was because we had low cloud cover (~1000 foot level) and never saw the full experience. But we didn’t think Princess Louisa was fundamentally different from many of the other cruising destinations we visit in BC. There are a ton of off-the-beaten track anchorages with amazing scenery and a special connection with nature. This is what cruising is all about. Princess Louisa was simply another version of that – perhaps scaled up by a degree.
To us the cost of visiting Princess Louisa Inlet (PLI) was high though – it’s a long trip for a sailboat that averages 6 knots – we spent 2 days in transit and 2 full days at the anchorage. And Natalie was disappointed that it rained nearly continually all 4 days, and was 15 degrees (F) colder than the Sunshine Coast we left to get to PLI. And I was disappointed because I like sailing but hate motoring (there’s a reason we have a sailboat rather than a trawler). And sailing the entire round-trip distance to PLI would probably be quite a rare event – the first three days we had zero wind, and the last day (departing) we had 15 knot inflow winds – and we were going out. We sailed part of it, but upwind in 15 knots within a narrow inlet is very slow going – inflow winds are on the nose 100% of the time – every time the inlet turns, the wind turns as well.
Perhaps we’re becoming jaded boaters. It’s appalling to complain about such things. But as Natalie said, there wasn’t enough whiskey on the boat to survive 2 more days of rain at Princess Louisa.
Patrick’s Anchoring Tips
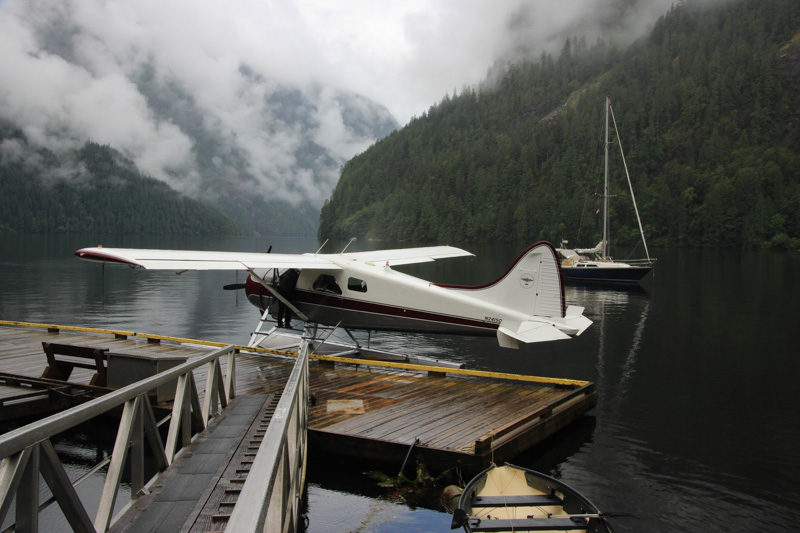
From our time there it appears the public dock (“free” only if you didn’t make the $25 suggested donation) is preferred by most boaters – about 12-15 boats passed through it and only 2 boats other than our’s anchored.
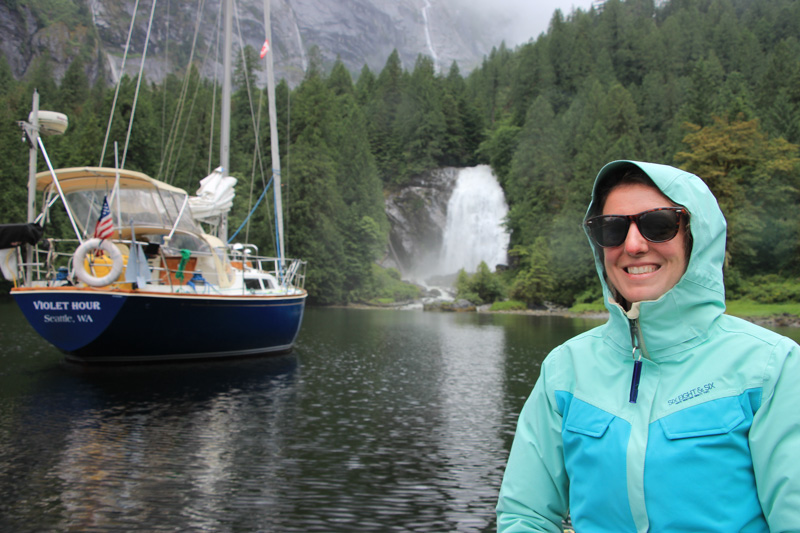
As the Waggoner’s Guide promised, anchoring towards the waterfall provides enough current to keep your boat in mostly the same position, indefinitely (assuming no significant wind, which we never had). This is pretty neat.
Anchoring into current requires some planning though. We made the mistake of using our over-water speedometer to tell us whether we had stopped moving – normally a reliable indicator. It was registering 0.5-0.9 knots still, and the anchor chain was being pushed under the boat with a lot of tension on it so we thought we were still moving forward. More likely the speedometer was registering current, and the chain was being pushed back by the current. So applying reverse power was the wrong thing to do. The chain came under huge tension as our Rocna set at 1.25:1 scope, and I couldn’t let out more chain easily on our manual windlass (if I release the clutch, the chain feeds out like a bat out of hell – dangerously fast).
The next time we anchored (to relocate) went much better – partly because we were better prepared, but also because we were in less current. The right side of the falls, close to the public dock, has less current and the best view. A few hundred feet to left of that is the stronger current and primary flow of the falls (you can easily see this at low tide, but it’s not easy to see at high tide).
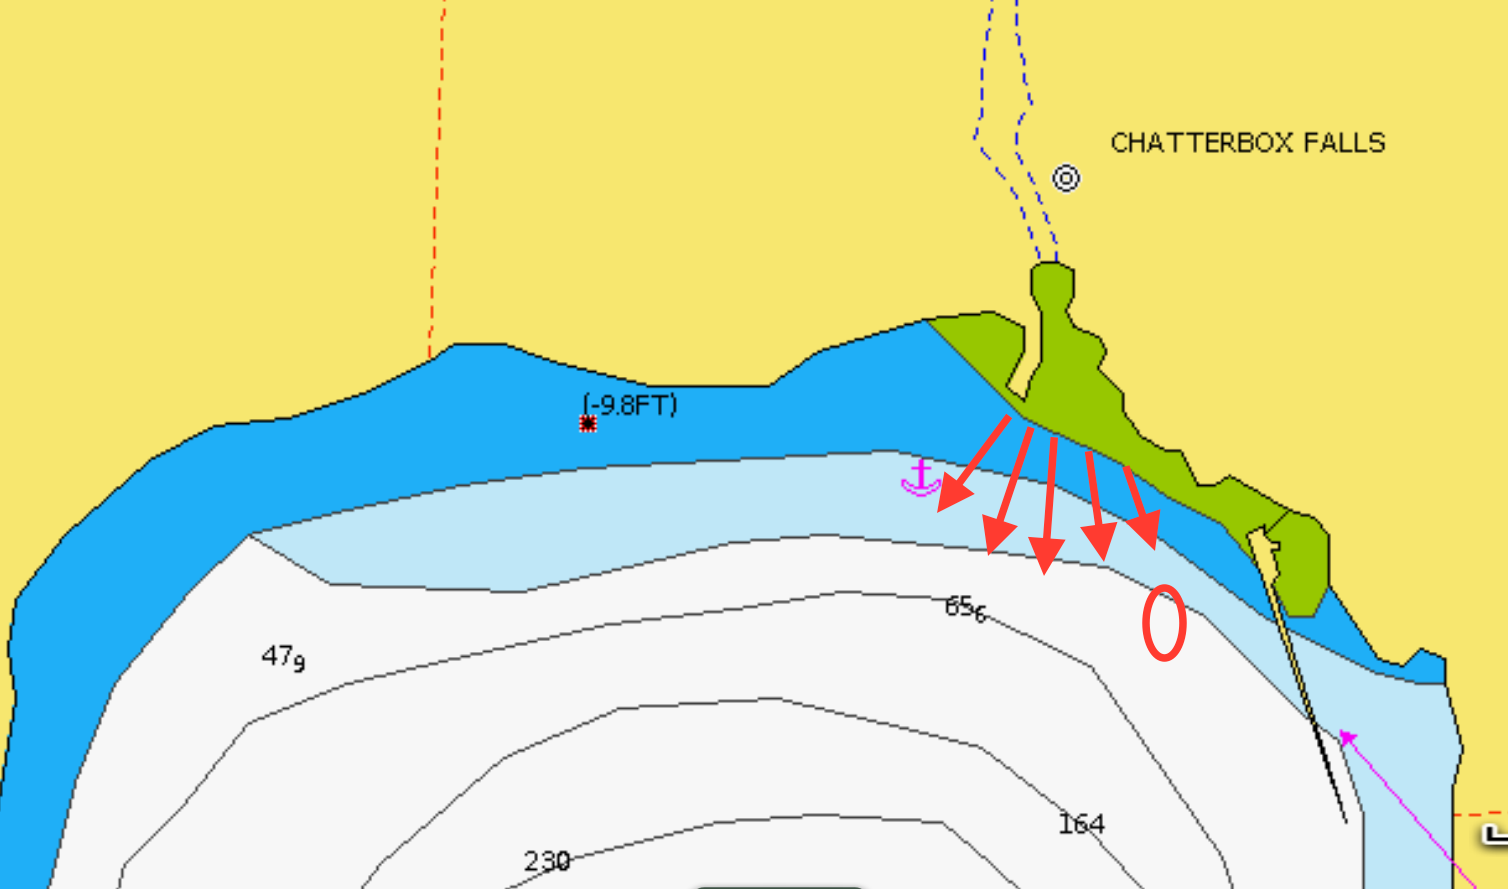
The current from the waterfall flows out in a fan shaped pattern. If you anchor to the right of the main flow, your boat moves to the right of your anchor, and your stern moves slightly to the right (starboard) as well. The best view of the falls is from the position we were at, close to the public dock.
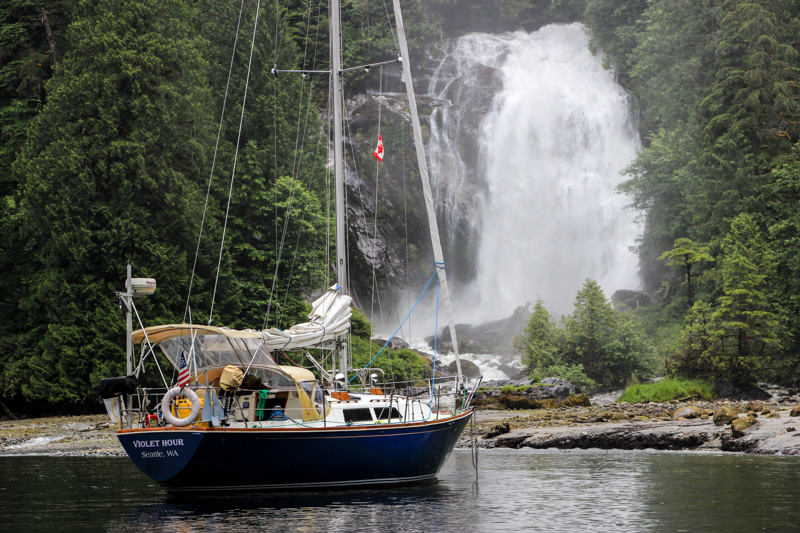
Initially we anchored a bit to the left of the falls, because a small motorboat was in the prime spot. But he left 15 minutes after we arrived, so Natalie suggested we move to his spot. We moved, and had the perfect spot for 2 days.
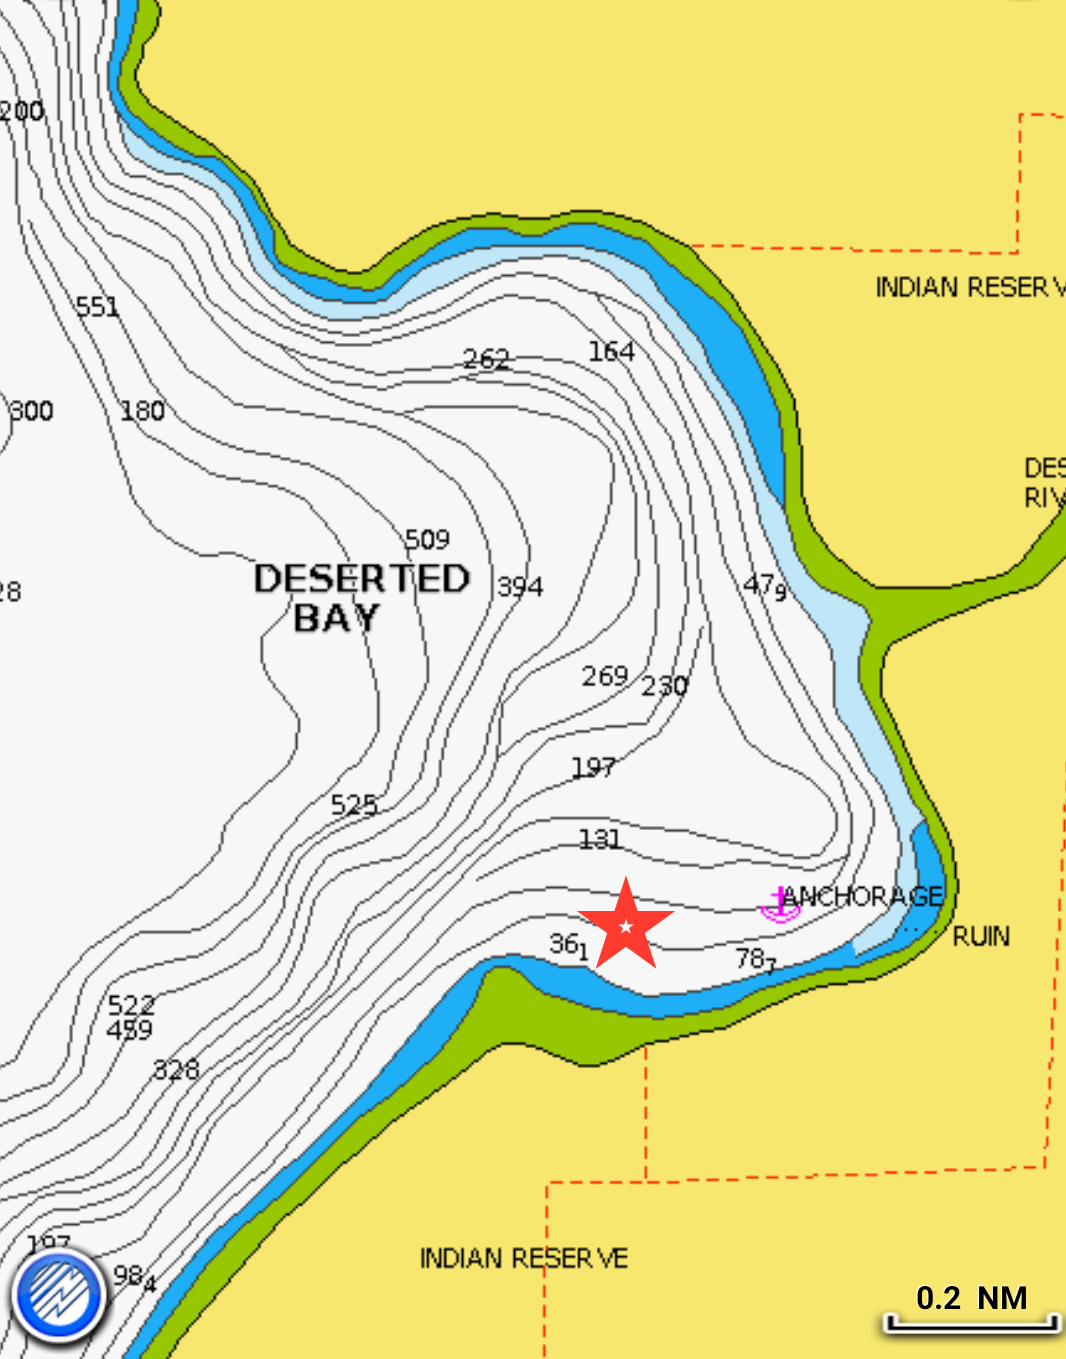
The night before arriving at Princess Louisa we anchored in Deserted Bay (at the spot marked with the star), about 6 nm south of Malibu Rapids, in about 45 ft of water (at near high tide). It was an excellent anchorage, though indeed deserted, and there’s not much to do there.
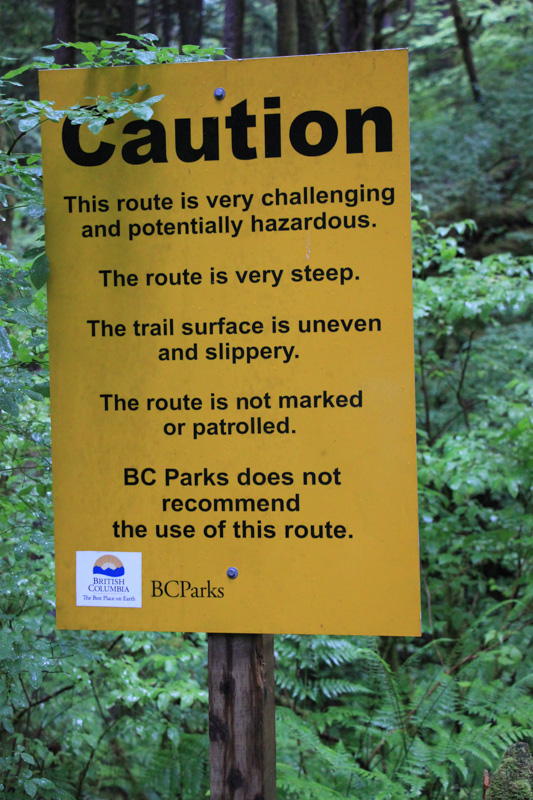
The 2 mile hike to trapper’s cabin is reportedly steep, slippery and dangerous – we went a short ways up the trail and it was indeed very slippery and muddy (given it’s been raining every hour or two) so we didn’t attempt to hike it.
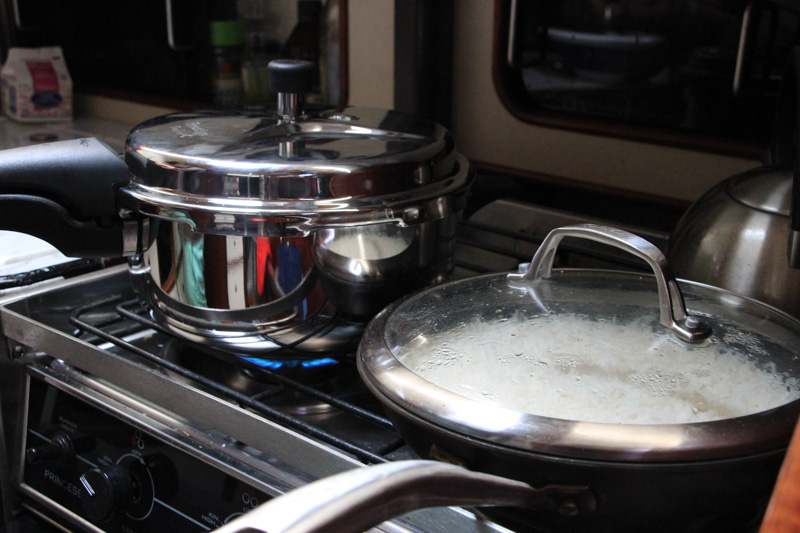
We used the rainy cold weather as a chance to try out our new pressure cooker. Natalie made chicken masala which turned out fantastic.
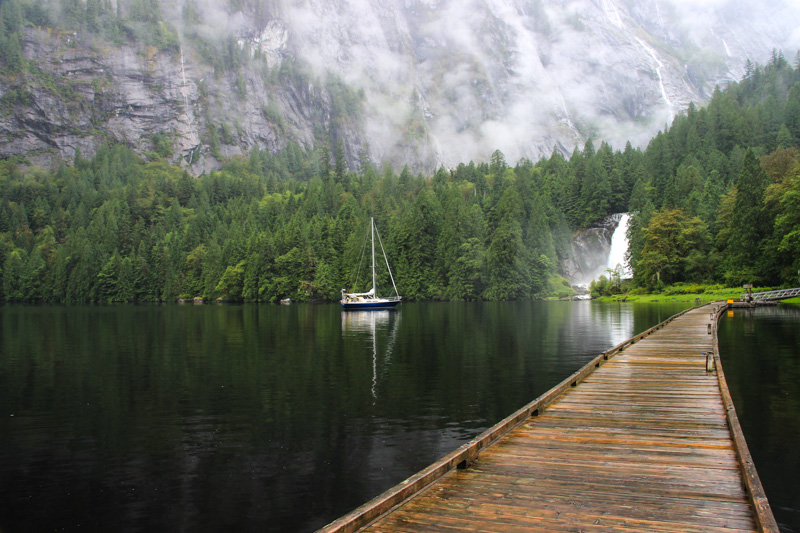
On Thursday there were 9 boats here (7 on the dock, 1 other anchored out with us). Friday morning, all of them left except for one motorboat on the dock, so we had the place nearly to ourselves.
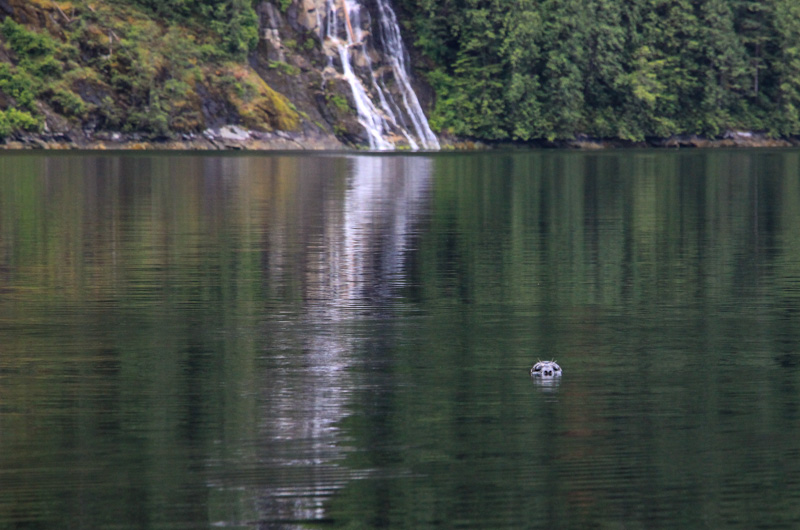
A harbor seal pokes his head up to check us out.

We’ve only coursed that inlet as part of our Malibu experience. We rode the camp steamer both ways from Sunshine Coast and decided against any future sail up that route. You could dock at the camp to dry out, have a coffee and see an amazing facility…
Thanks for the honesty. I’ve only ever heard wonderful things but appreciate hearing both sides.
Looks stunning!
You truly have a unique cruising ground! Love the scenery!
I echo your frustration a the long voyage in/out for an ok experience, but it was on the bucket list so we did it this spring. While we were there we did see one boat have anchor problems when the wind shifted; given the steep nature of the delta he spent over an hour on deck in the rain watching and dragged three times before he gave up and came to dock. Of course that’s when the wind died. We did spend tons of time wandering around at low tide as the flora and fauna are pretty unique.
But for now, it’s been there, done that and likely not to be repeated unless we catch a ride on a power boat. In the end I was more disappointed with Egmont and Harmony Islands which were our entry and exit points. Enjoy the rest of your cruise.
We tried Harmony Islands too and had some difficulty. More on that in an upcoming post. Thanks for commenting!